
Sonata V6-2.7L (2004)
4. Check the groove inside tulip for wear or corrosion.
REASSEMBLY
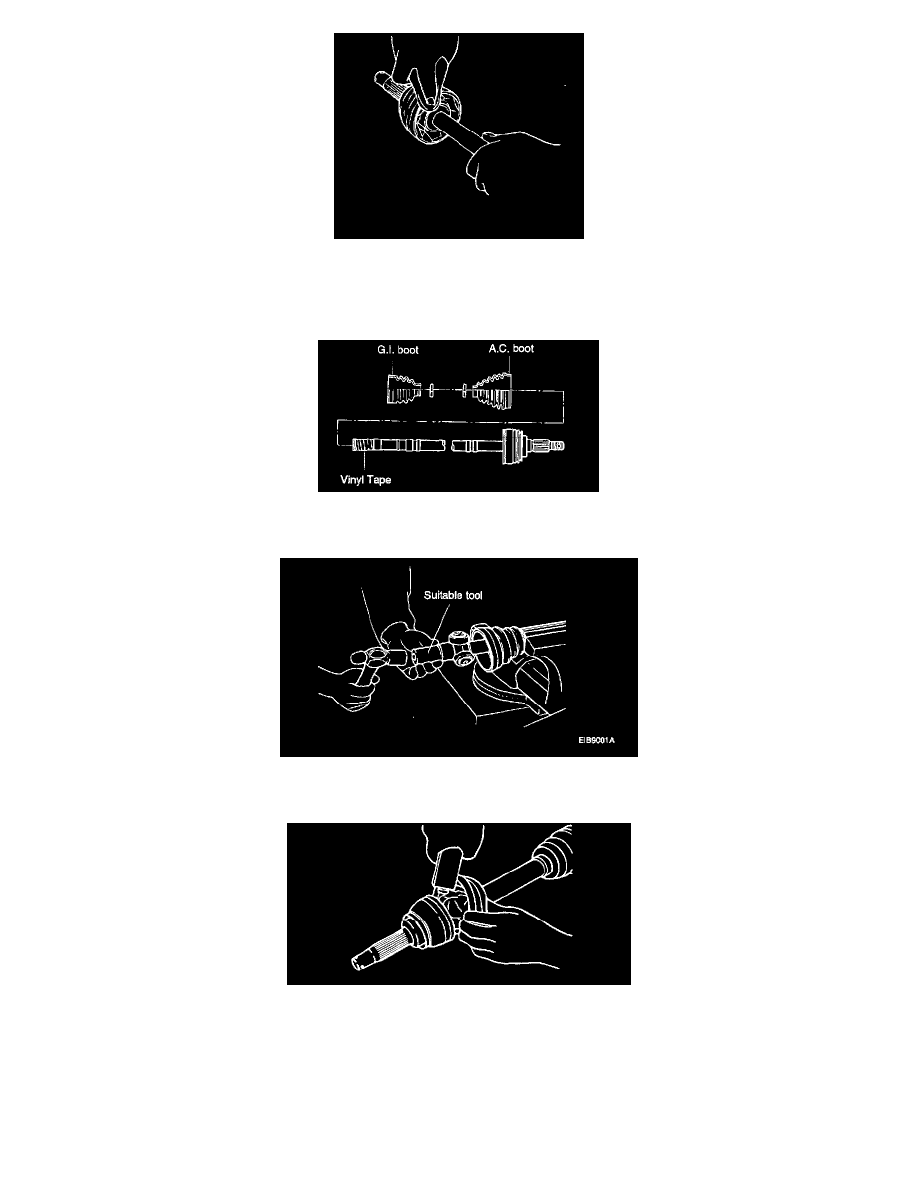
1. Wrap a tape around the driveshaft splines (G.I. side) to prevent the boots from being damaged.
2. Before installing the boots, place a new clamps to the small boot ends and install them to the driveshaft.
3. After aligning the marks, place the beveled side of the tripod axial spline toward the A.C. joint.
4. Using suitable tool and hammer, tap the tripod in the drive shaft .
5. Install the new snap ring.
6. Add specified grease to the A.C. joint and boot, as much as was removed at the time of inspection.
7. Apply specified grease to the G.I. joint and boot.
8. Align the marks and install the G.I. joint to the shaft.
9. Install the boots.
NOTE:
^
Make sure that the 2 boots are on the shaft groove.
^
Make sure that the 2 boots are not stretched.