
Sonata V6-2.7L (2004)
NOTE:
-
Do not scrape down to the painted surface of the body space; damaged paint will interfere with proper bonding.
-
Mask off surrounding surfaces before painting.
-
Remove the clips from the body.
2. Clean the body bonding surface with a sponge dampened in alcohol.
NOTE: After cleaning, keep oil, grease and water from getting on the surface.
3. Install the rear window lower molding mounting clips and rear window lower spacers.
4. If the old rear window is to be reinstalled, use a putty knife to scrape off all traces of old adhesive and the rubber dam, then clean the rear window
surface with alcohol where new adhesive is to be applied.
NOTE: Make sure the bonding surface is kept free of water, oil and grease.
CAUTION: Avoid setting the rear window on its edges; small chips may later develop into cracks.
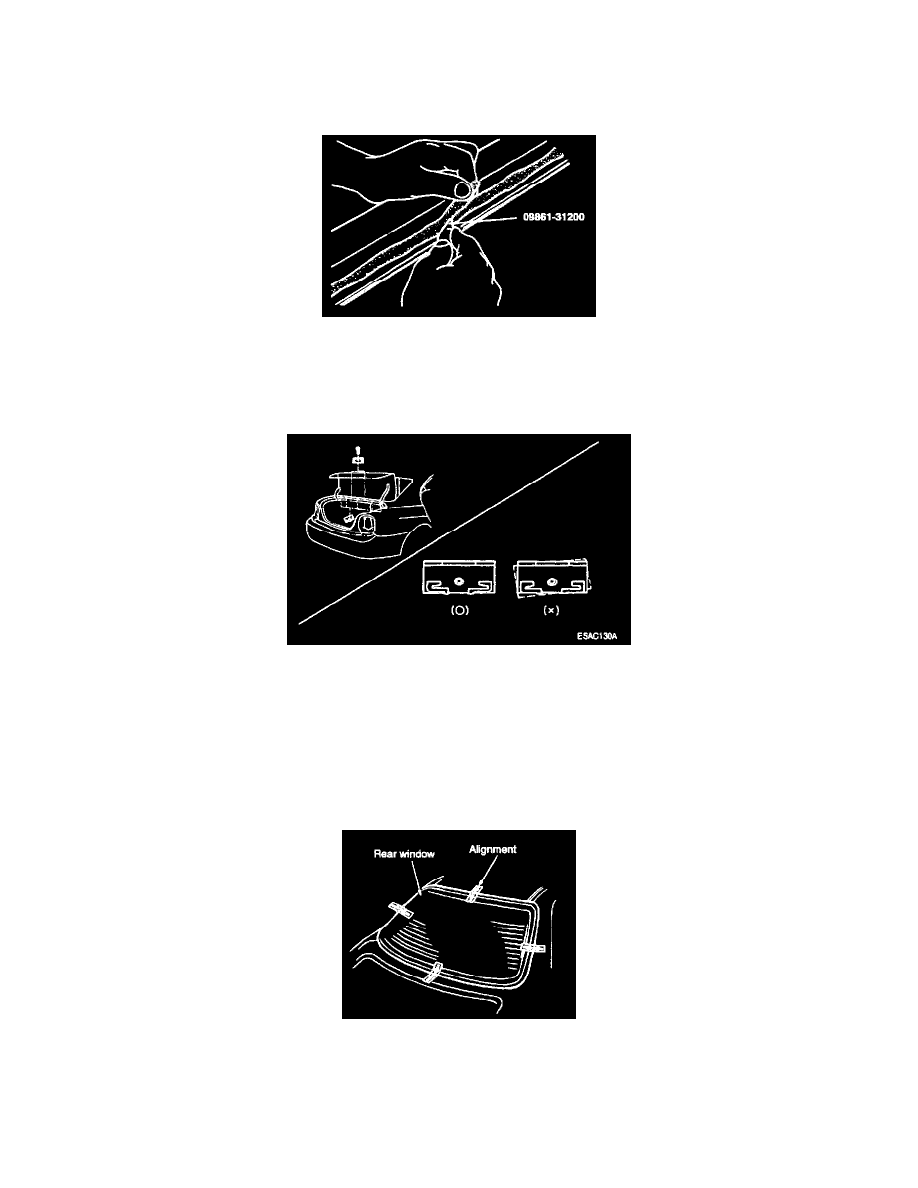
5. Set the rear window, then center it in the opening. Make alignment marks across the rear window and body with a grease pencil at the four points
shown.
6. Evenly apply a light coat of glass primer to the rear window glass and then let it dry for 1 to 15 minutes.
NOTE:
-
Do not apply body primer to the glass.
-
The primer strengthens the adhesive, so be sure to apply it evenly around the entire circumference.
Also, a too thick application will weaken the adhesive.