
Tucson AWD L4-2.4L (2010)
Side Impact Sensor
1. Disconnect the battery negative cable and wait for at least three minutes before beginning work.
2. Remove the lower anchor bolt.
3. Remove the door scuff trim.
4. Remove the center pillar trim.
5. Disconnect the side impact sensor connector.
6. Loosen the side impact sensor mounting bolt and remove the side impact sensor.
Installation
Pressure Side Impact Sensor
CAUTION:
-
Do not turn the ignition switch ON and do not connect the battery cable while replacing the side impact sensor.
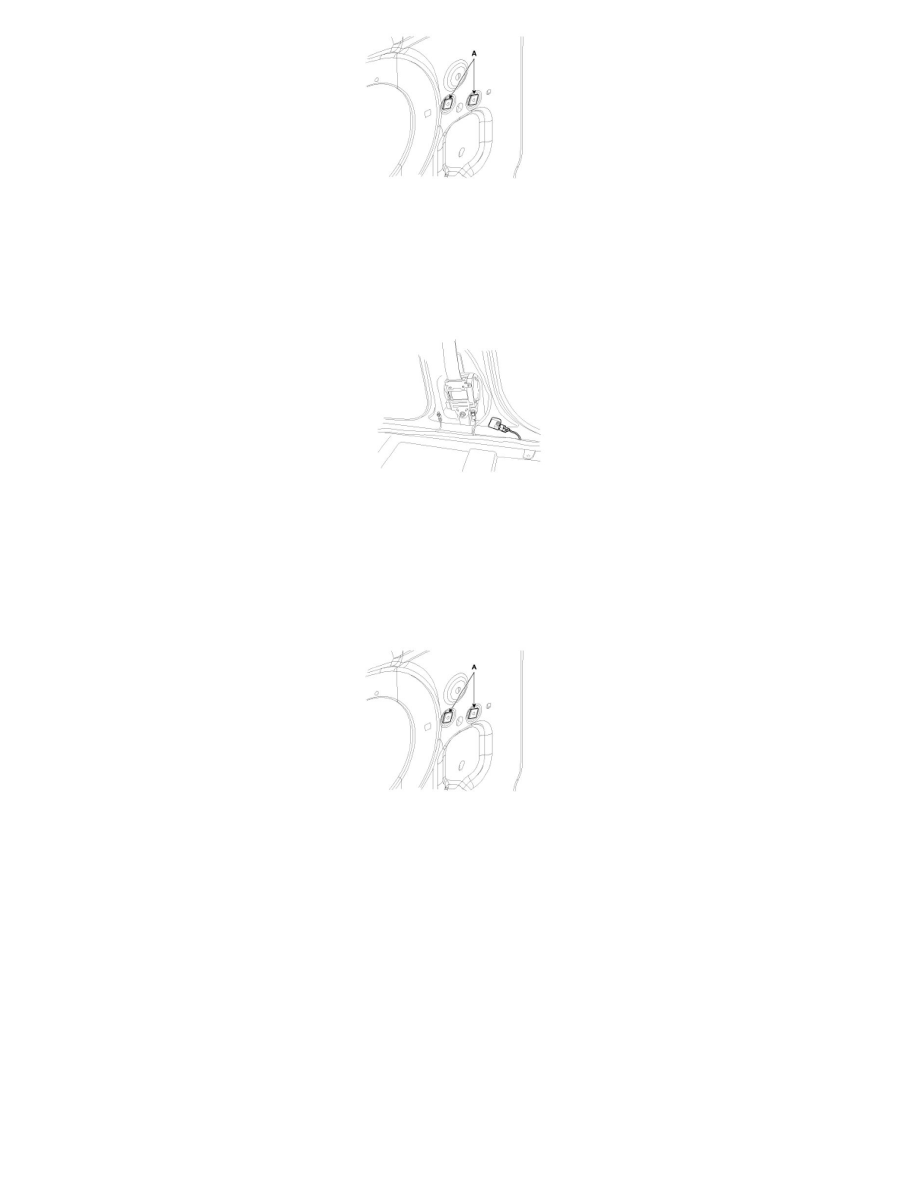
1. Install the screw gromments (A).
CAUTION:
-
Do not reuse the screw grommets (A), whenever installing.
2. Install the new front side impact sensor with the screws then connect the pressure side impact sensor connector.
Tightening torque
: 1.1 - 1.3 Nm (0.11 - 0.13 kgf.m, 0.7 - 1.0 lb.ft)
3. Install the front door trim.
4. Reconnect the battery negative cable.
5. After installing the front side impact sensor, confirm proper system operation:
A. Turn the ignition switch ON; the SRS indicator light should be turned on for about six seconds and then go off.
CAUTION:
-
You must comply with the specified tightening torques with the tool specified because Pressure - Side Impact Sensors (P-SIS) may be broken
or screw gromment may be rotated.
-
Problems may be occurred in the durability of P-SIS or impact sensing performance may be depreciated if screw gromment is rotated.
-
The door module must not be transformed because SRSCM judges a impact through the pressure sensed in the door module.
Side Impact Sensor