
Majestic L6-4.0L (1990)
Power Interrupt Connector/Switch: Technical Service Bulletins
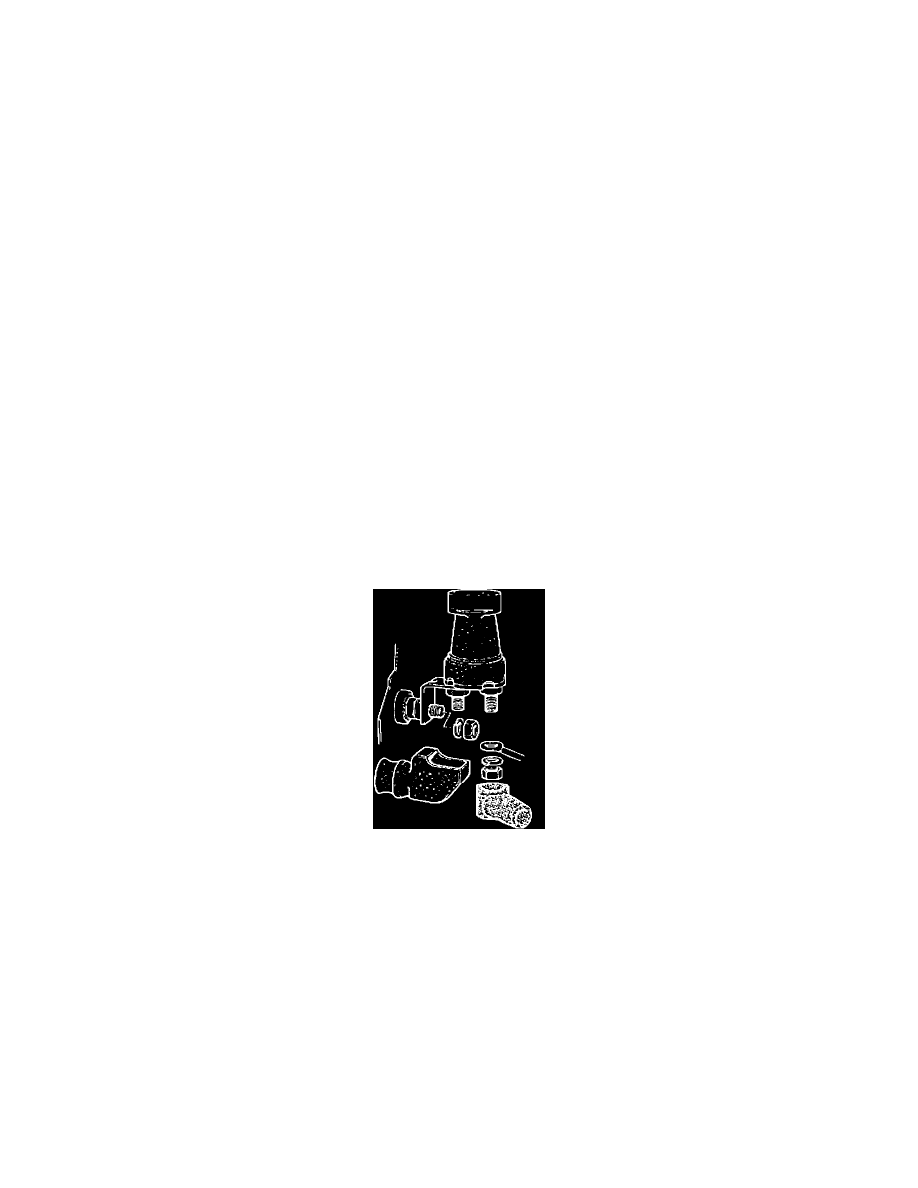
Battery Isolation Switch Kit - Installation and Use
86-108
Battery Isolation Switch - Kit Installation and Use
MODEL
88-91 MY Sedans
DATE
3/92
SUPERSEDES:
TECHNICAL BULLETIN 86-103
ISSUE:
Discharged battery due to prolonged vehicle storage.
ACTION:
Install battery isolation switch kit (JLM 10778) using the following procedure:
1.
Make sure ignition is switched off.
CAUTION:
DO NOT disconnect the battery while the ignition circuit is live as permanent damage to the instrument pack and/or central processor may occur.
2.
Disconnect the battery leads (negative lead first).
3.
Remove the battery.
4.
Pull back the rubber cover from the bulkhead positive stud connection.
5.
Remove the nut and disconnect the positive battery lead.
6.
Using a tapered reamer, enlarge the eyelet hole at the end of the battery positive lead to 9.8 mm (inner dimension) to allow it to be installed on the
isolation switch terminal stud.
7.
Install the isolation switch rubber cover over the positive stud on the firewall.
8.
Install the right angle bracket of the switch body on to the positive stud. Tighten the nut to a torque of 8-9 N-m. (5.5 - 6.6 ft.lbs.).
9.
Pull the rubber cover over the connection.
10.
Connect the battery positive lead to the switch terminal and secure with the spring washer and nut.
11.
Pull down the rubber cover over the terminal connection.
12.
Install and reconnect the battery, positive lead first. Secure and tighten the pinch bolts to 12-15 N-m. (10-11 ft.lbs.).