
XJ-6 L6-3.6L (1989)
CAUTION: All components must be clean before assembly. The accumulator should be free from dirt and any foreign materials.
^
Check that an "O" ring seal is on the replacement accumulator vessel thread.
^
Install the replacement accumulator vessel and, using the strap wrench, torque to 21-26 ft.lbs.
^
Remove the adhesive tape from the non-return valve orifice and install the plug to the non-return valve union.
^
Install the accumulator assembly to the vehicle.
^
Lower the vehicle.
^
Connect RS 25 plug and socket. Secure with a tie strap.
^
Start the engine and allow the hydraulic system to pressurize. Check the system for any leaks.
^
Check and top up the hydraulic system if necessary. Use only the recommended HSMO and do not overfill the reservoir.
Accumulator Switch Replacement Procedure:
^
Depressurize the power hydraulic system by switching off the ignition and depressing the brake pedal repeatedly until high resistance is felt.
^
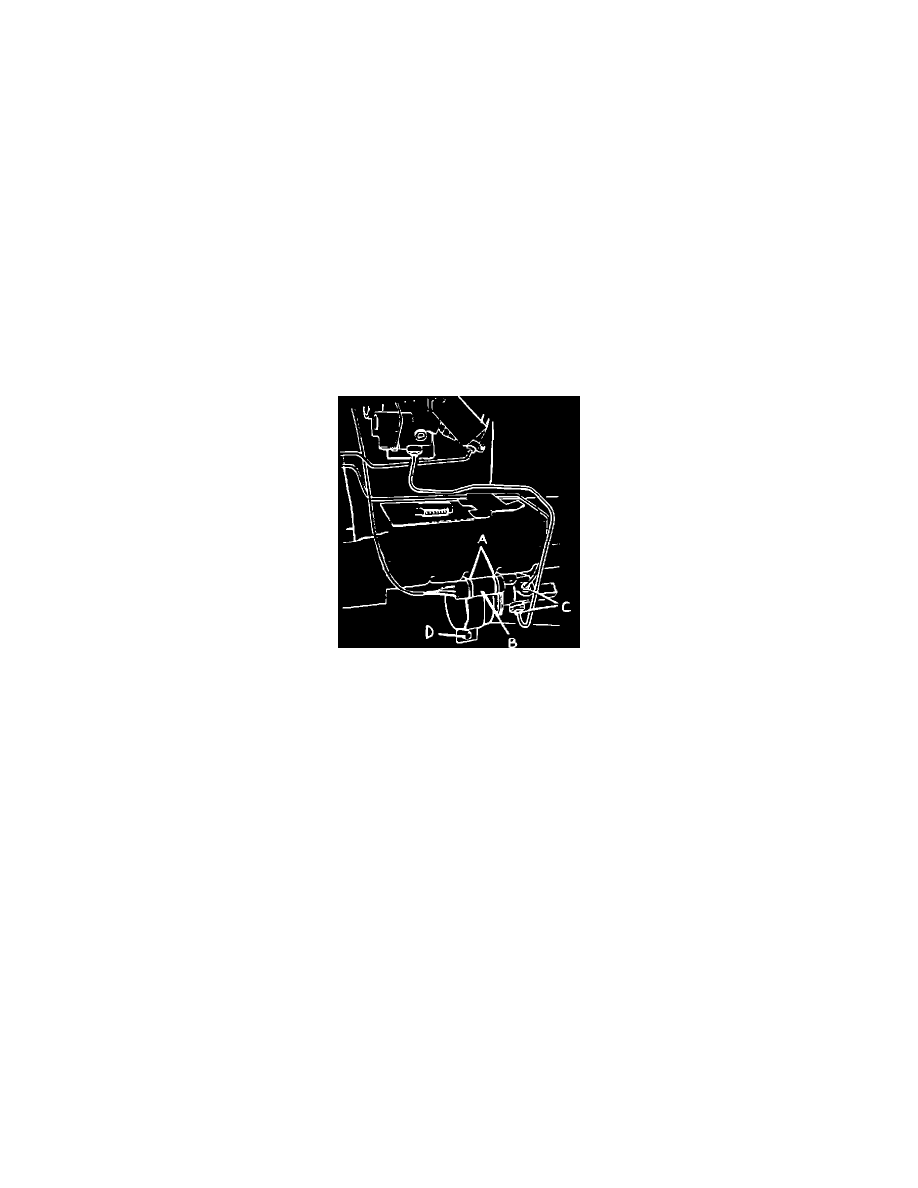
Cut the tie strap that retains connector RS25 (green PM4. fig. 1 A). Disconnect the connector and feed the accumulator harness and multi-plug
down through the engine compartment area.
^
From below, cut and remove the heat shrink sleeve holding the two accumulator switch harnesses together.
^
Remove the anti-back out plate from the rear of the multi-plug.
^
Note the positions of the connections in the multi-plug and remove the seal. Remove the appropriate connector pins from the plug using Service
Tool JD 137.
NOTE:
For additional pin removal information, refer to the XJ6 Repair Manual, Book 4, page 86-69.
^
Thoroughly clean the accumulator switch(es) and ensure that all dirt, etc. is removed from the surrounding area.
^
Remove the switch(es) from the accumulator body.
Reinstallation Procedure:
^
Install the new switch(es) to the accumulator body and tighten.
CAUTION: Ensure that no debris/contamination enters the accumulator.