
XJ-6 L6-3.6L (1989)
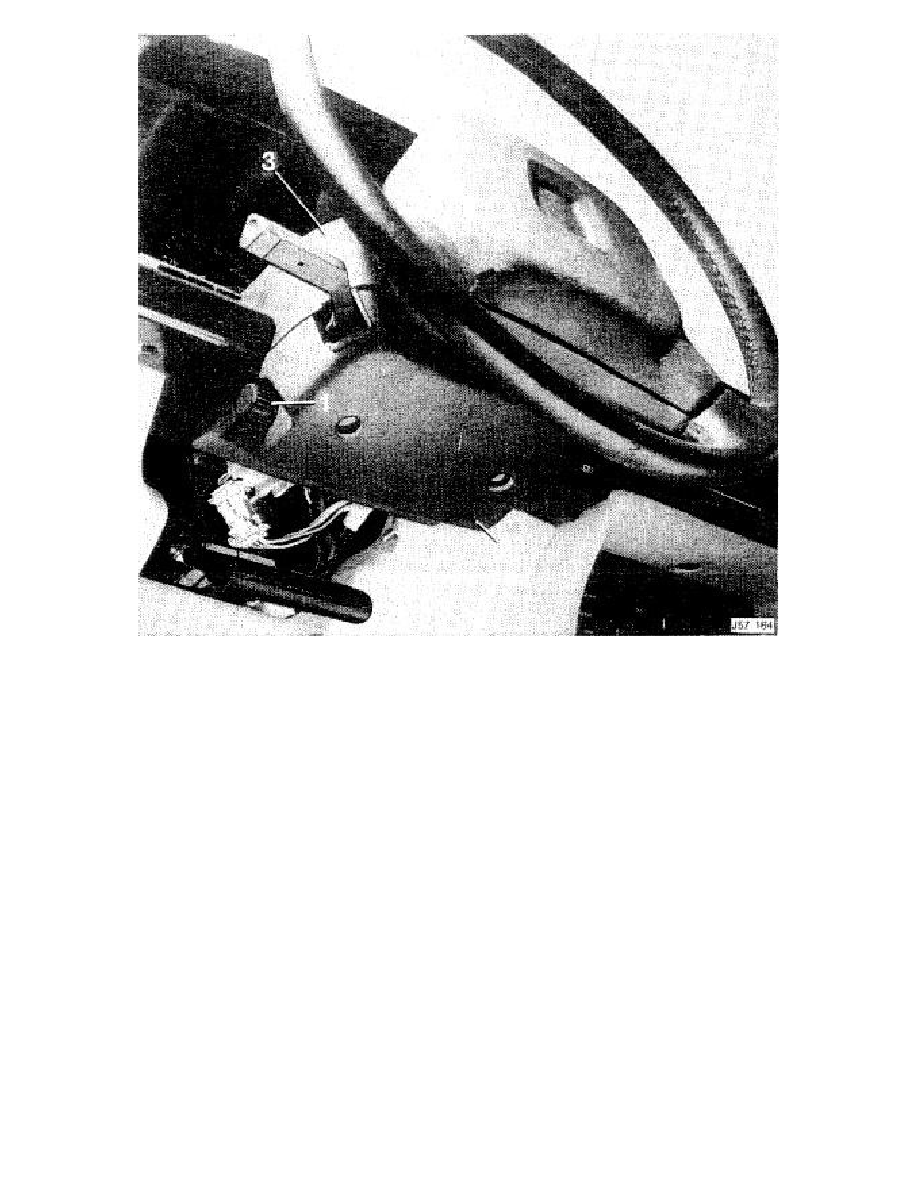
- Remove the instrument illumination rheostat knob (1 Fig 1) and the screws securing the lower nacelle, remove the nacelle.
- Remove the screws (2 Fig 1) securing the upper nacelle and remove the nacelle (3 Fig 1).
- Slacken the screw securing the self cancelling collar clamp and remove the clamp.
- Using a suitable punch remove the steering column lock bolts and remove the column lock/switch assembly from the column.
- Remove the screw securing the ignition switch to the Jock and displace the switch.
- Remove the screws securing the buzzer to the lock and remove the switch.
- Reverse the removal procedure to reassemble/fit the steering lock assembly and steering column ensuring that new steering lock securing bolts are
fitted.
- Lift the dash liner into position engage the clip and secure with the screws.
Note: align the footwell heater duct prior to securing the liner with the screws.
- Apply grease to the split collars and fit to the steering shaft.
- Ensuring that the steering wheel is in the straight ahead position fit to the shaft.
- Fit and tighten the securing nut.
- Refit the steering wheel pad.
- Close the door.