Commander 4WD V8-4.7L VIN N (2006)

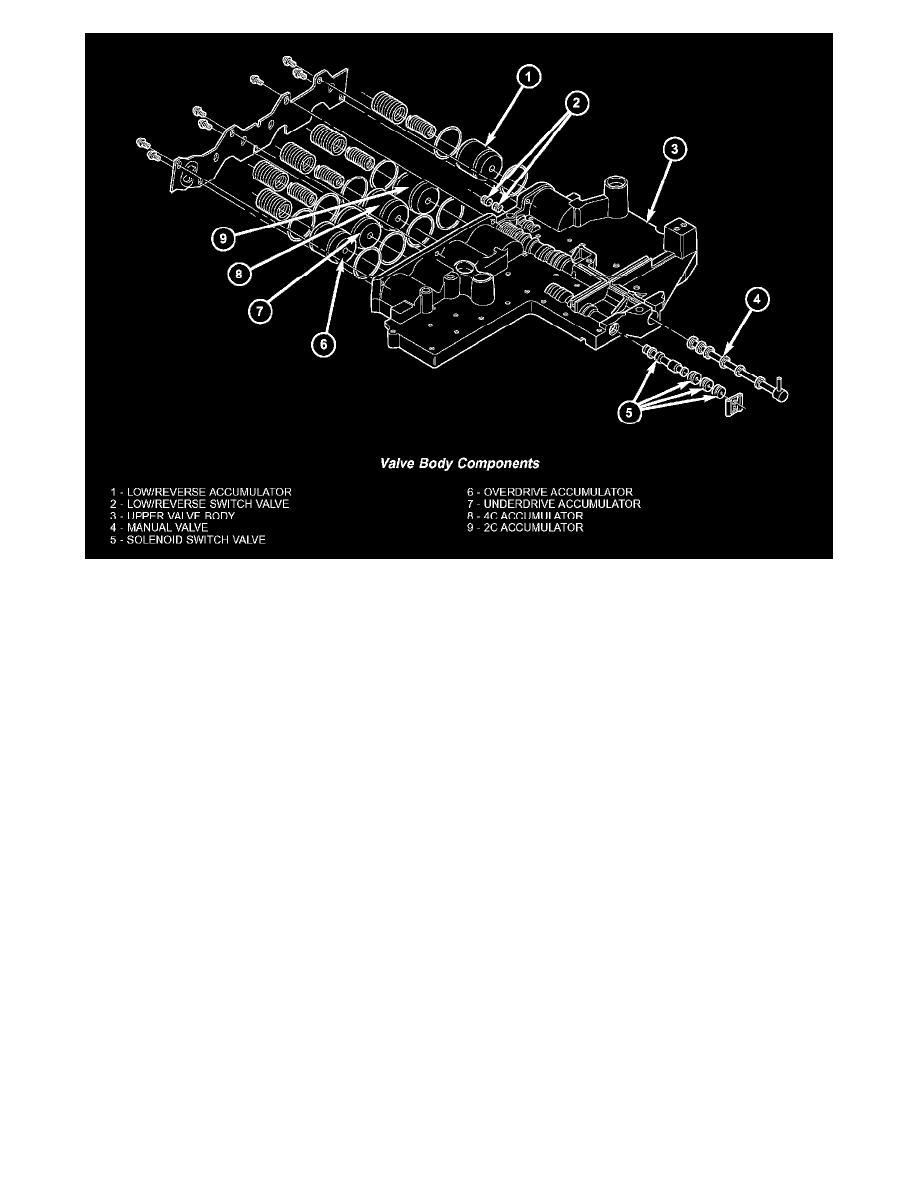
Inspect all of the valve body mating surfaces for scratches, nicks, burrs, or distortion. Use a straightedge to check surface flatness. Minor scratches
may be removed with crocus cloth using only very light pressure.
Minor distortion of a valve body mating surface may be corrected by smoothing the surface with a sheet of crocus cloth. Position the crocus cloth on a
surface plate, sheet of plate glass or equally flat surface. If distortion is severe or any surfaces are heavily scored, the valve body will have to be
replaced.
Inspect the valves and plugs for scratches, burrs, nicks, or scores. Minor surface scratches on steel valves and plugs can be removed with crocus cloth
but do not round off the edges of the valve or plug lands. Maintaining sharpness of these edges is vitally important. The edges prevent foreign matter
from lodging between the valves and plugs and the bore.
Inspect all the valve and plug bores in the valve body. Use a penlight to view the bore interiors. Replace the valve body if any bores are distorted or
scored. Inspect all of the valve body springs. The springs must be free of distortion, warpage or broken coils.
Trial fit each valve and plug in its bore to check freedom of operation. When clean and dry, the valves and plugs should drop freely into the bores.
Valve body bores do not change dimensionally with use. If the valve body functioned correctly when new, it will continue to operate properly after
cleaning and inspection. It should not be necessary to replace a valve body assembly unless it is damaged in handling.
