
Compass 4WD L4-2.4L VIN W (2007)
COORDINATED TO THE LATEST LEVELS. ALWAYS CHECK THE CONTROLLER THAT WAS NOT REPLACED FOR THE LATEST
UPDATE AND IF A LATER (NEWER) VERSION OF SOFTWARE IS AVAILABLE UPDATE THE MODULE TO THE LATEST LEVEL.
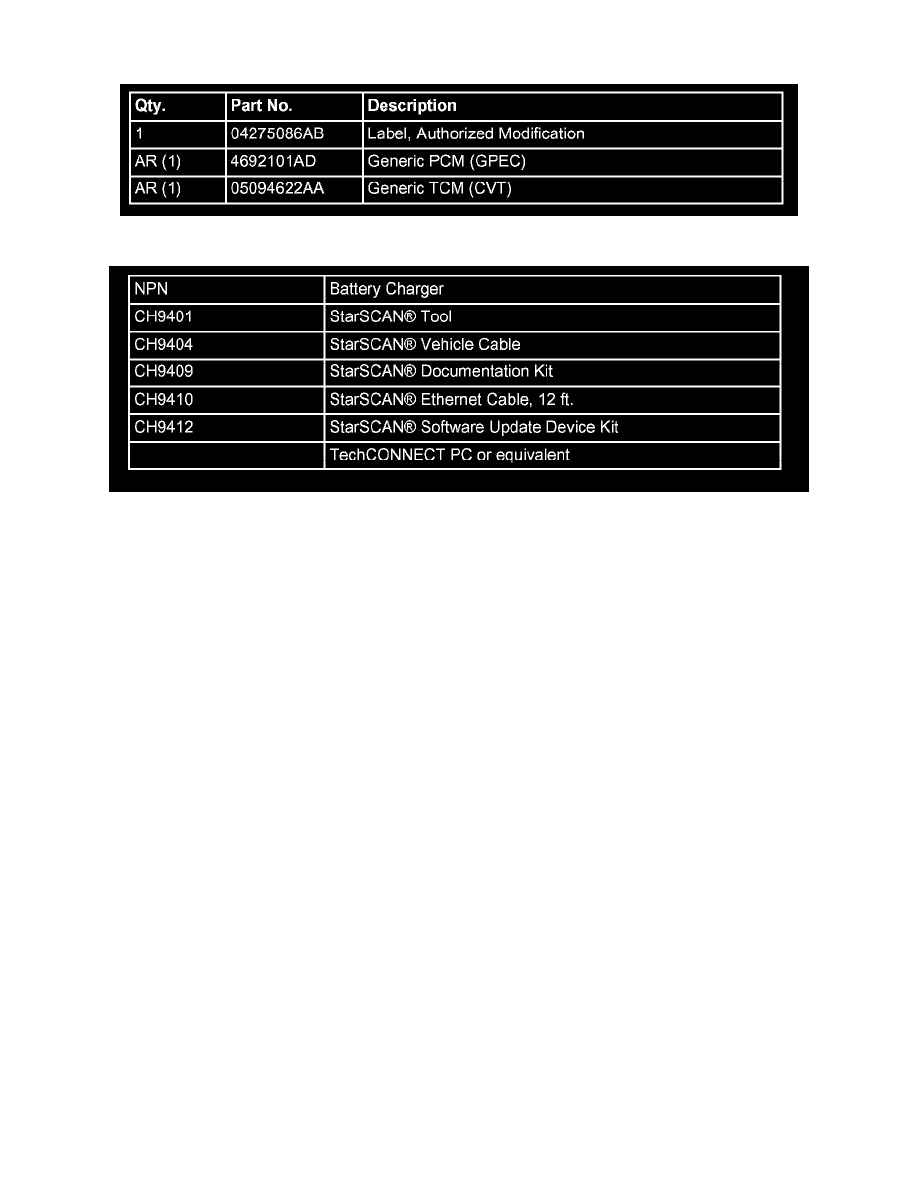
PARTS REQUIRED:
SPECIAL TOOLS / EQUIPMENT REQUIRED:
PCM REPAIR PROCEDURE - USING THE INTERNET TO RETRIEVE THE FLASH FILE:
CAUTION:
EXTREME CARE MUST BE TAKEN WHEN PROGRAMMING A CALIBRATION INTO A GENERIC PCM OR TCM. DO NOT
RANDOMLY SELECT A CALIBRATION. ONCE A CALIBRATION IS SELECTED AND PROGRAMMED, THE CONTROLLER CANNOT
BE REPROGRAMMED TO A DIFFERENT APPLICATION. THE MODULE CAN ONLY BE REPROGRAMMED TO A MORE RECENT
VERSION OF THAT SAME CALIBRATION.
1.
Using the StarSCAN(R) attempt to read/record the part number of the existing controller before removing it from the vehicle. This part number
can be used to identify the correct calibration for down load.
2.
Replace the controller using the steps outlined in DealerCONNECT / TechCONNECT.
CAUTION:
DO NOT START THE ENGINE PRIOR TO COMPLETING STEP 7n. IF THE PROCEDURE IS NOT ADHERED TO THE CONTROLLERS
MAY NOT COMPLETE THE PROGRAMMING PROCESS.
NOTE:
When performing this Repair Procedure, the software release level in the StarSCAN®; must be programmed with 7.03 software or higher. The
software release level is visible in the blue header at the top of the StarSCAN(R) screen.
NOTE:
The StarSCAN(R) diagnostic scan tool fully supports Internet connectivity. However, to take advantage of this feature you must first configure the
StarSCAN(R) for your dealership's network. Make sure the StarSCAN(R) is configured to the dealership's network before proceeding. For
instruction on setting up your StarSCAN(R) for the dealer's network refer to either:
"DealerCONNECT > Service> StarSCAN and StarMOBILE tools > Online Documentation", or refer to the StarSCAN(R) Quick Start Networking
Guide. The StarSCAN(R) Quick Start Networking Guide is also available on the website under the "Download Center".
NOTE:
If this flash process is interrupted/aborted, the flash should be restarted.
3.
Install a battery charger and verify that the charging rate provides approximately 13.5 volts. Set the battery charger to continuous charge. Do not
allow the charger to time out during the flash process. Remove the charger from the battery when the flash process is complete.