
Grand Cherokee 2WD V6-3.7L (2008)
NOTE: Whenever the valves are removed from the cylinder head it is recommended that the valve springs be inspected and tested for reuse.
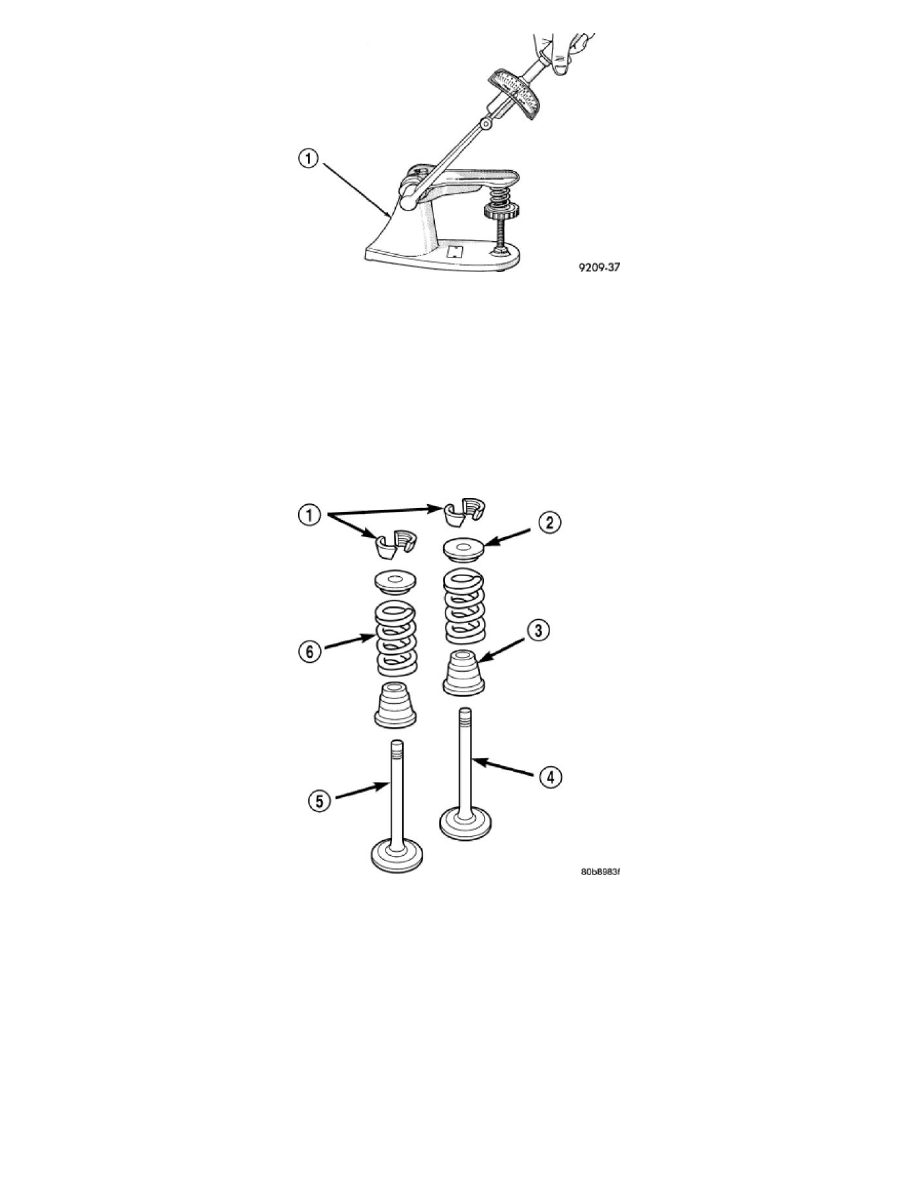
Inspect the valve springs for physical signs of wear or damage. Turn table of Tool C-647 (1) until surface is in line with the 40.12 mm (1.579 in.) mark
on the threaded stud and the zero mark on the front. Place spring over the stud on the table and lift compressing lever to set tone device. Pull on torque
wrench until a Ping is heard. Take reading on torque wrench at this instant. Multiply this reading by two. This will give the spring load at test length.
Fractional measurements are indicated on the table for finer adjustments. Refer to Specifications Section to obtain specified height and allowable
tensions. Replace any springs that do not meet specifications.
Installation
INSTALLATION
1. Coat the valve stem with clean engine oil and insert it into the cylinder head.
2. Install the valve stem seal (3). Make sure the seal is fully seated and that the garter spring at the top of the seal is intact.
3. Install the spring and the spring retainer (2).
4. Using the valve spring compressor, compress the spring (6) and install the two valve spring retainer halves (1).
5. Release the valve spring compressor and make sure the two spring retainer halves (1) and the spring retainer (2) are fully seated.
6. Lubricate the camshaft journal with clean engine oil then position the camshaft, with the sprocket dowel on the left camshaft at 11 o'clock and the
right camshaft at 12 o'clock, then position the camshaft bearing caps.