
Grand Cherokee 4WD V8-4.7L (2003)
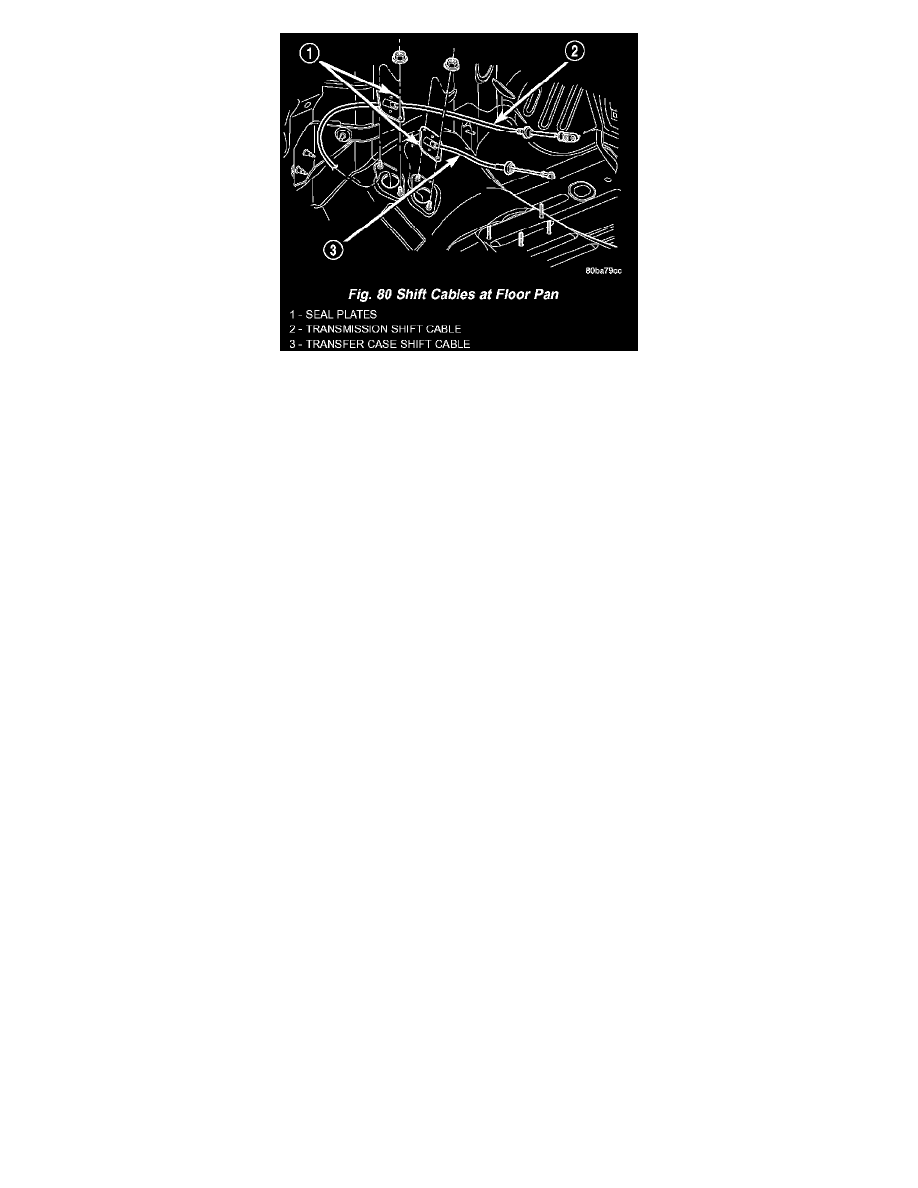
8. Remove the nuts holding the shift cable seal plate to the floor pan (Fig. 80).
9. Pull cable through floor panel opening.
10. Remove transfer case shift cable from vehicle.
INSTALLATION
1. Route cable through hole in floor pan.
2. Install seal plate to studs in floor pan.
3. Install nuts to hold seal plate to floor pan (Fig. 80). Tighten nuts to 7 Nm (65 in. lbs.).
4. Install the transfer case shift cable to the shifter assembly bracket. Seat cable in bracket and install clip (Fig. 79).
5. Verify the transfer case shift lever (at console) is in the NEUTRAL position.
6. Snap the cable onto the shift lever pin (Fig. 79).
7. Raise the vehicle.
8. Install the shift cable to the shift cable support bracket and install clip (Fig. 78).
9. Verify that the transfer case is still in the NEUTRAL position.
10. Snap the shift cable onto the transfer case shift lever (Fig. 78).
11. Lower vehicle.
12. Verify correct transfer case operation in all ranges.
13. Install any console parts removed for access to transfer case shift cable.