
Liberty 4WD V6-3.7L (2009)
Marker Lamp Bulb: Service and Repair
Side Marker Lamp Bulb - Installation
BULB
CAUTION: Always use the correct bulb size and type for replacement. An incorrect bulb size or type may overheat and cause damage to the
lamp, the socket or the lamp wiring.
NOTE: The following procedure applies only to vehicles manufactured for domestic markets. Vehicles manufactured for export markets do
not have a bulb, socket or wiring provided to illuminate the front side marker compartment of the front lamp unit. The front side
marker for export vehicles is replaced by a white reflector.
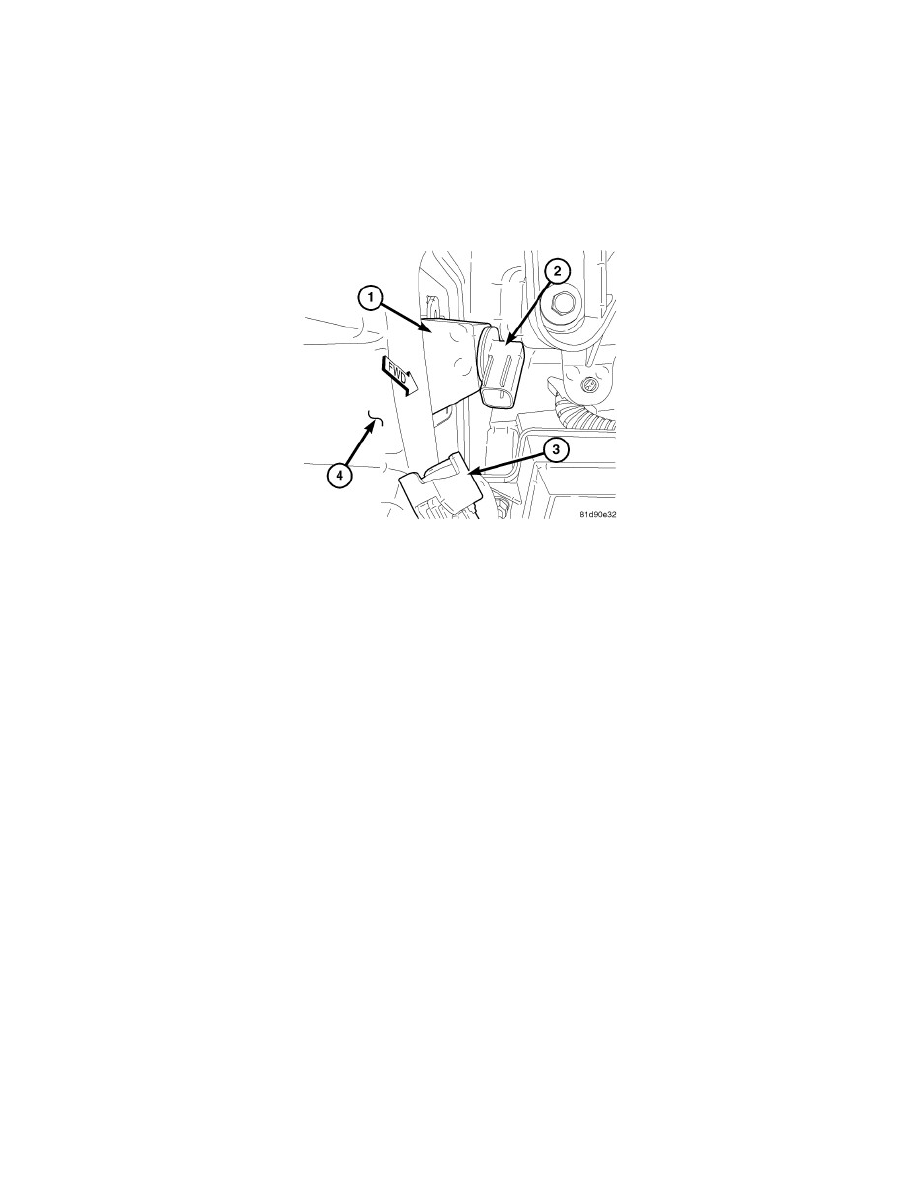
1. Align the base of the bulb with the front side marker bulb socket (2).
2. Push the bulb straight into the socket until the base is firmly seated.
3. Align the socket and bulb with the keyed opening on the back of the front side marker lamp housing (1) located on the inside of the
outboard-facing end of the front fascia (4).
4. Insert the socket and bulb into the housing until the socket is firmly seated.
5. Rotate the socket clockwise about 30 degrees to lock it into place. The connector receptacle integral to the bulb socket should be pointed
downward.
6. Reconnect the wire harness connector (3) to the connector receptacle integral to the bulb socket.
7. Reinstall the liner to the front of the front fender wheel house. See: Body and Frame/Fender/Front Fender/Front Fender Liner/Service and
Repair/Splash Shield - Installation.
8. Reconnect the battery negative cable.