
Wrangler L6-4.0L VIN S (2000)
Brake Master Cylinder: Service and Repair
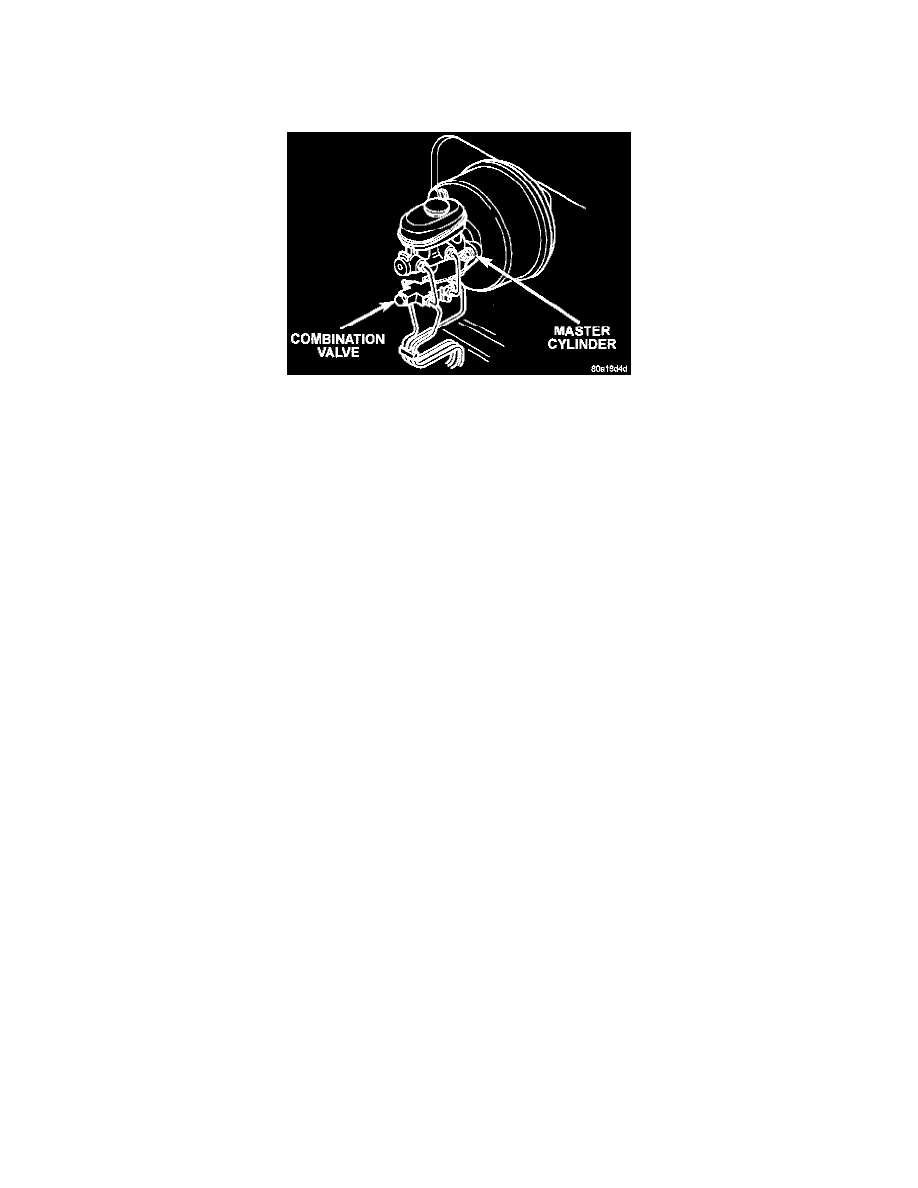
Master Cylinder Removal and Installation
REMOVAL
1. Remove evaporative canister, refer to Powertrain Management.
Combination Valve/Master Cylinder
2. Disconnect brake lines to master cylinder and combination valve.
3. Remove combination valve bracket mounting nuts and remove valve.
4. Remove master cylinder mounting nuts and remove master cylinder.
5. Remove cylinder cover and drain fluid.
INSTALLATION
NOTE: If master cylinder is replaced, bleed cylinder before installation.
1. Remove protective sleeve from primary piston shank on new master cylinder.
2. Check condition of seal at rear of cylinder body. Reposition seal if dislodged. Replace seal if cut, or torn.
3. Install master cylinder onto brake booster studs and tighten mounting nuts to 17 Nm (13 ft. lbs.).
NOTE: Use only original or factory replacement nuts.
4. Install combination valve onto brake booster studs and tighten mounting nuts to 20 Nm (15 ft. lbs.).
5. Install brake lines to master cylinder and combination valve by hand to avoid cross threading.
6. Tighten master cylinder brake lines to 19 Nm (14 ft. lbs.).
7. Tighten combination valve brake lines to 19 Nm (14 ft. lbs.).
8. Install evaporative canister, refer to Powertrain Management.
9. Bleed base brake system.