
Side window door glass clips adrift
- Make
- Land Rover
- Model
- Defender Technical Bulletins
- Section
- Side window door glass clips adrift › Side window door glass clips adrift
SIDE WINDOW DOOR GLASS CLIPS ADRIFT
- Model
- Defender
- Affected vehicles
- All
- Date
- 1997-04-09
- Reference
- 09/04/97
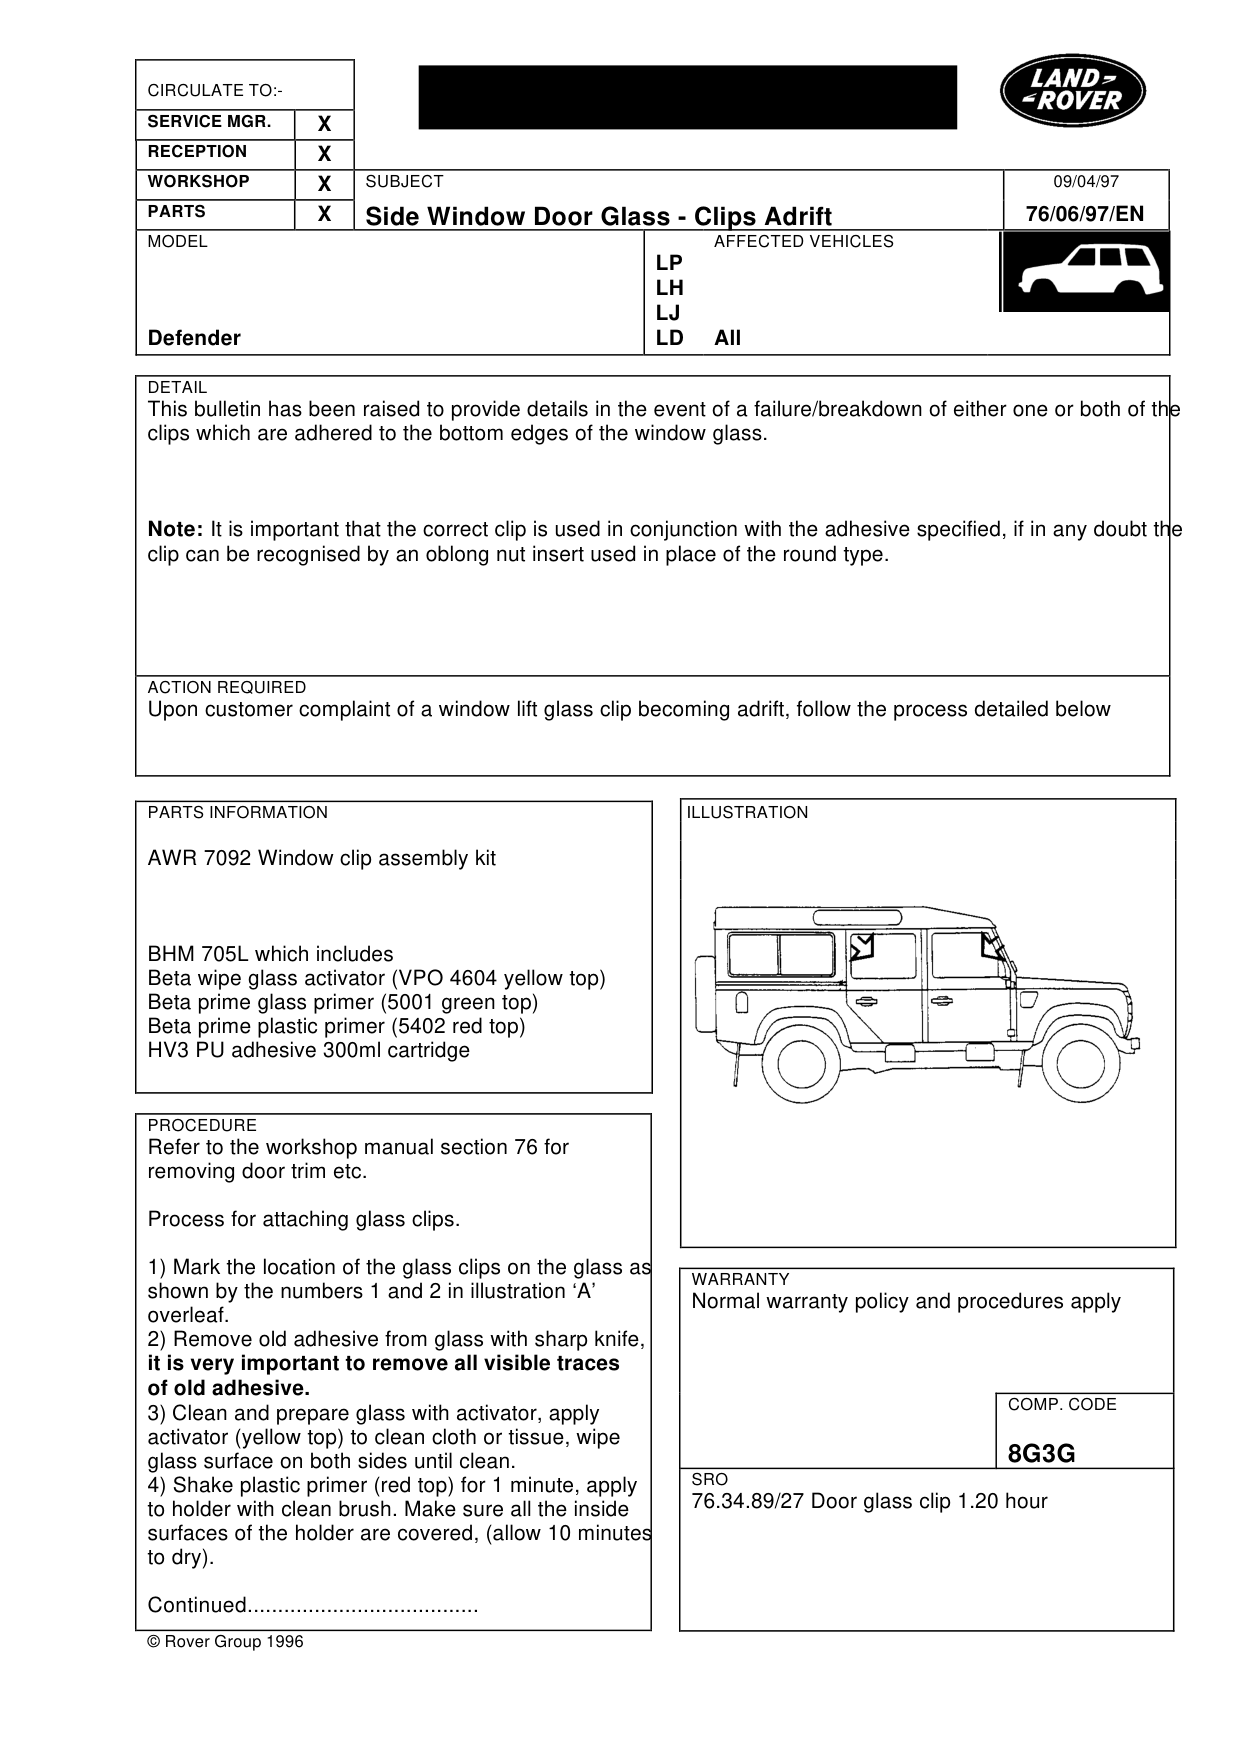
Bulletin text
Side Window Door Glass - Clips Adrift
MODEL
Defender
DETAIL
This bulletin has been raised to provide details in the event of a failure/breakdown of either one or both of the clips which are adhered to the bottom edges of the window glass.
Note: It is important that the correct clip is used in conjunction with the adhesive specified, if in any doubt the clip can be recognised by an oblong nut insert used in place of the round type.
ACTION REQUIRED
Upon customer complaint of a window lift glass clip becoming adrift, follow the process detailed below
PARTS INFORMATION
AWR 7092 Window clip assembly kit
BHM 705L which includes Beta wipe glass activator (VPO 4604 yellow top) Beta prime glass primer (5001 green top) Beta prime plastic primer (5402 red top) HV3 PU adhesive 300ml cartridge
PROCEDURE
Refer to the workshop manual section 76 for removing door trim etc.
Process for attaching glass clips.
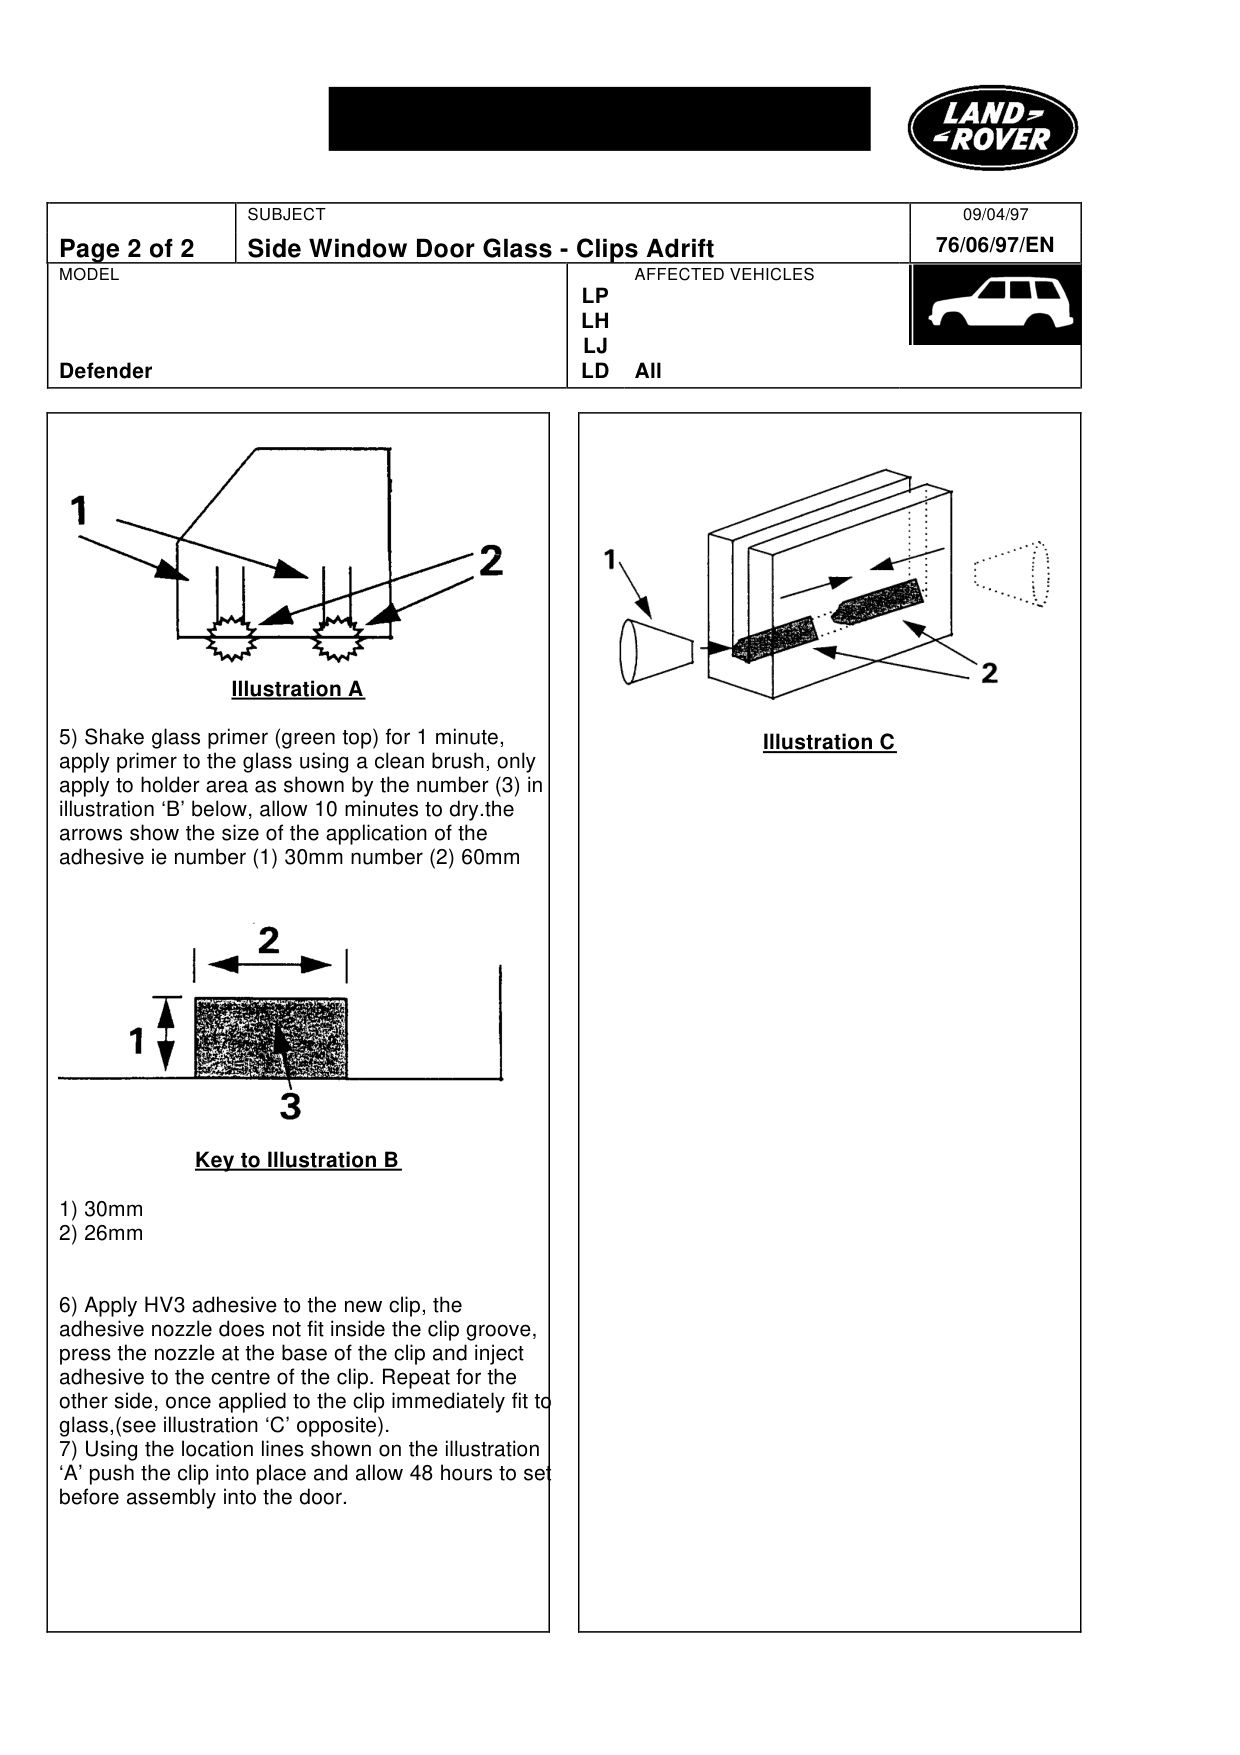
1) Mark the location of the glass clips on the glass as shown by the numbers 1 and 2 in illustration ‘A’ overleaf. 2) Remove old adhesive from glass with sharp knife, it is very important to remove all visible traces of old adhesive. 3) Clean and prepare glass with activator, apply activator (yellow top) to clean cloth or tissue, wipe glass surface on both sides until clean. 4) Shake plastic primer (red top) for 1 minute, apply to holder with clean brush. Make sure all the inside surfaces of the holder are covered, (allow 10 minutes to dry).
Continued......................................
© Rover Group 1996
09/04/97
76/06/97/EN
AFFECTED VEHICLES
LP LH LJ LD All
WARRANTY
Normal warranty policy and procedures apply
COMP. CODE
8G3G
SRO
76.34.89/27 Door glass clip 1.20 hour
Side Window Door Glass - Clips Adrift
MODEL
Defender
Illustration A
5) Shake glass primer (green top) for 1 minute, apply primer to the glass using a clean brush, only apply to holder area as shown by the number (3) in illustration ‘B’ below, allow 10 minutes to dry.the arrows show the size of the application of the adhesive ie number (1) 30mm number (2) 60mm
Key to Illustration B
1) 30mm 2) 26mm
6) Apply HV3 adhesive to the new clip, the adhesive nozzle does not fit inside the clip groove, press the nozzle at the base of the clip and inject adhesive to the centre of the clip. Repeat for the other side, once applied to the clip immediately fit to glass,(see illustration ‘C’ opposite). 7) Using the location lines shown on the illustration ‘A’ push the clip into place and allow 48 hours to set before assembly into the door.
09/04/97 76/06/97/EN
AFFECTED VEHICLES
LP LH LJ LD All
Illustration C
Parts & tools for this job For Land Rover Defender
- TOOLTrim removal tool kitSearch: trim removal tool kit
- PARTTouch-up paintSearch: Land Rover touch up paint
- PARTPanel clip assortmentSearch: Land Rover panel clips assortment
Links open Amazon search results in a new tab. As an Amazon Associate I earn from qualifying purchases.