Discovery II

HARNESSES
86-7-28 REPAIRS
50. Feed harness through to front panel.
51. Secure fog lamp multiplug.
52. Connect headlamp level motor, headlamp and
side lamp multiplugs.
53. Fit indicator lamp.
LIGHTING, REPAIRS, Lamp - front
54. Secure harness to RH front panel.
55. Connect cooling fan and horn multiplug.
56. Secure harness to lower support rail.
57. Connect receiver drier and air temperature
sensor multiplugs.
58. Fit front bumper.
59. Fit battery tray.
60. Fit air filter assembly.
V8, REPAIRS, Air cleaner assembly.
61. Position both lower 'A' post trims and secure
with studs.
62. Fit heater assembly.
REPAIRS, Heater assembly - models with
air conditioning.
REPAIRS, Heater assembly - models
without air conditioning.
Harness - main - DVD unit
$% 86.70.25
Remove
1. Remove battery cover and disconnect the
battery earth lead.
2. Remove CD switch box.
REPAIRS, Switch box - CD/DVD player.
3. Remove DVD player unit.
REPAIRS, DVD screen/player unit.
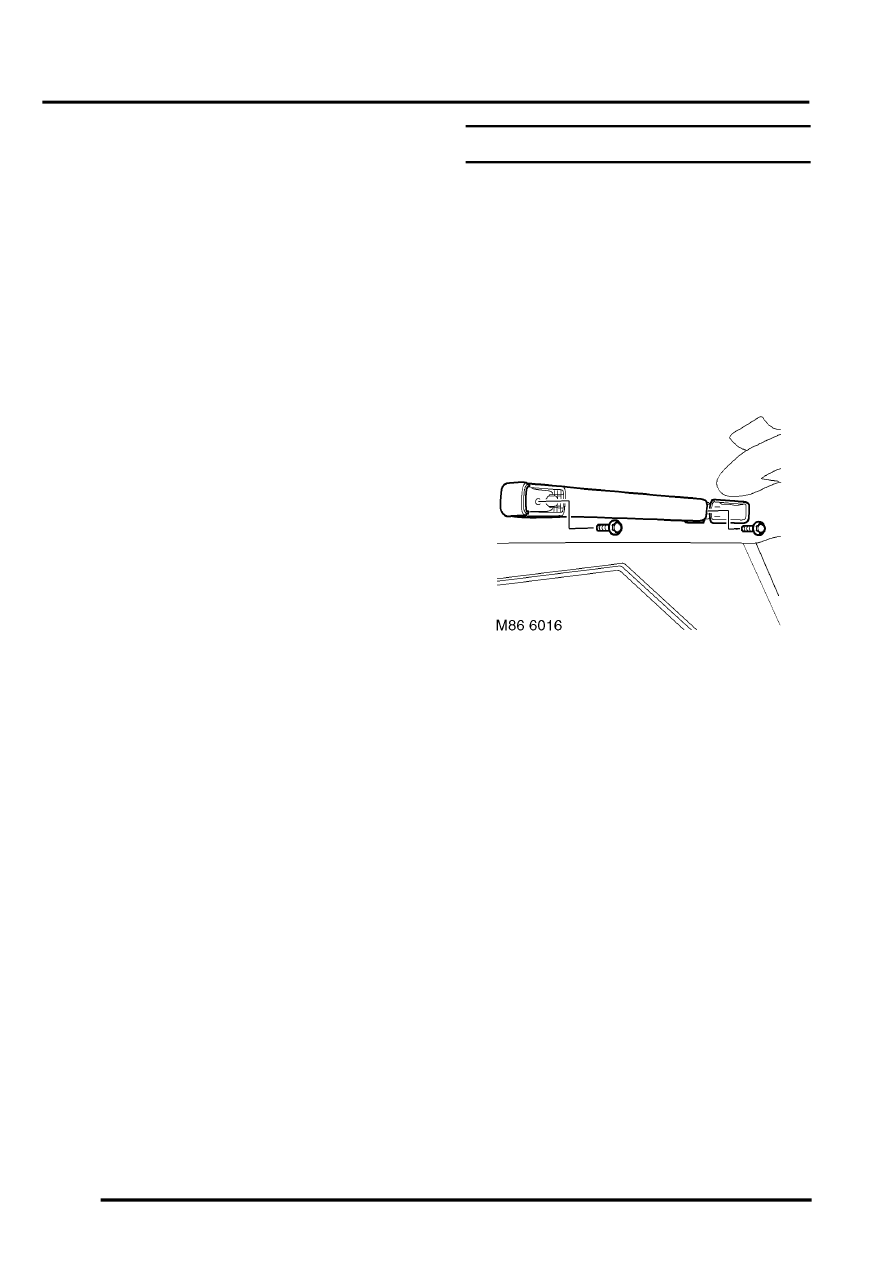
4. Release screw covers, remove 4 screws and
remove front and rear grab handles from
drivers side.
