
Water ingress into passenger footwell
- Make
- Land Rover
- Model
- Discovery Technical Bulletins
- Section
- Water ingress into passenger footwell › Water ingress into passenger footwell
WATER INGRESS INTO PASSENGER FOOTWELL
- Model
- Discovery
- Affected vehicles
- All Derivatives from LJ 081991 (Left and Right hand drive vehicles)
- Date
- 1994-12-14
- Reference
- 14/12/94
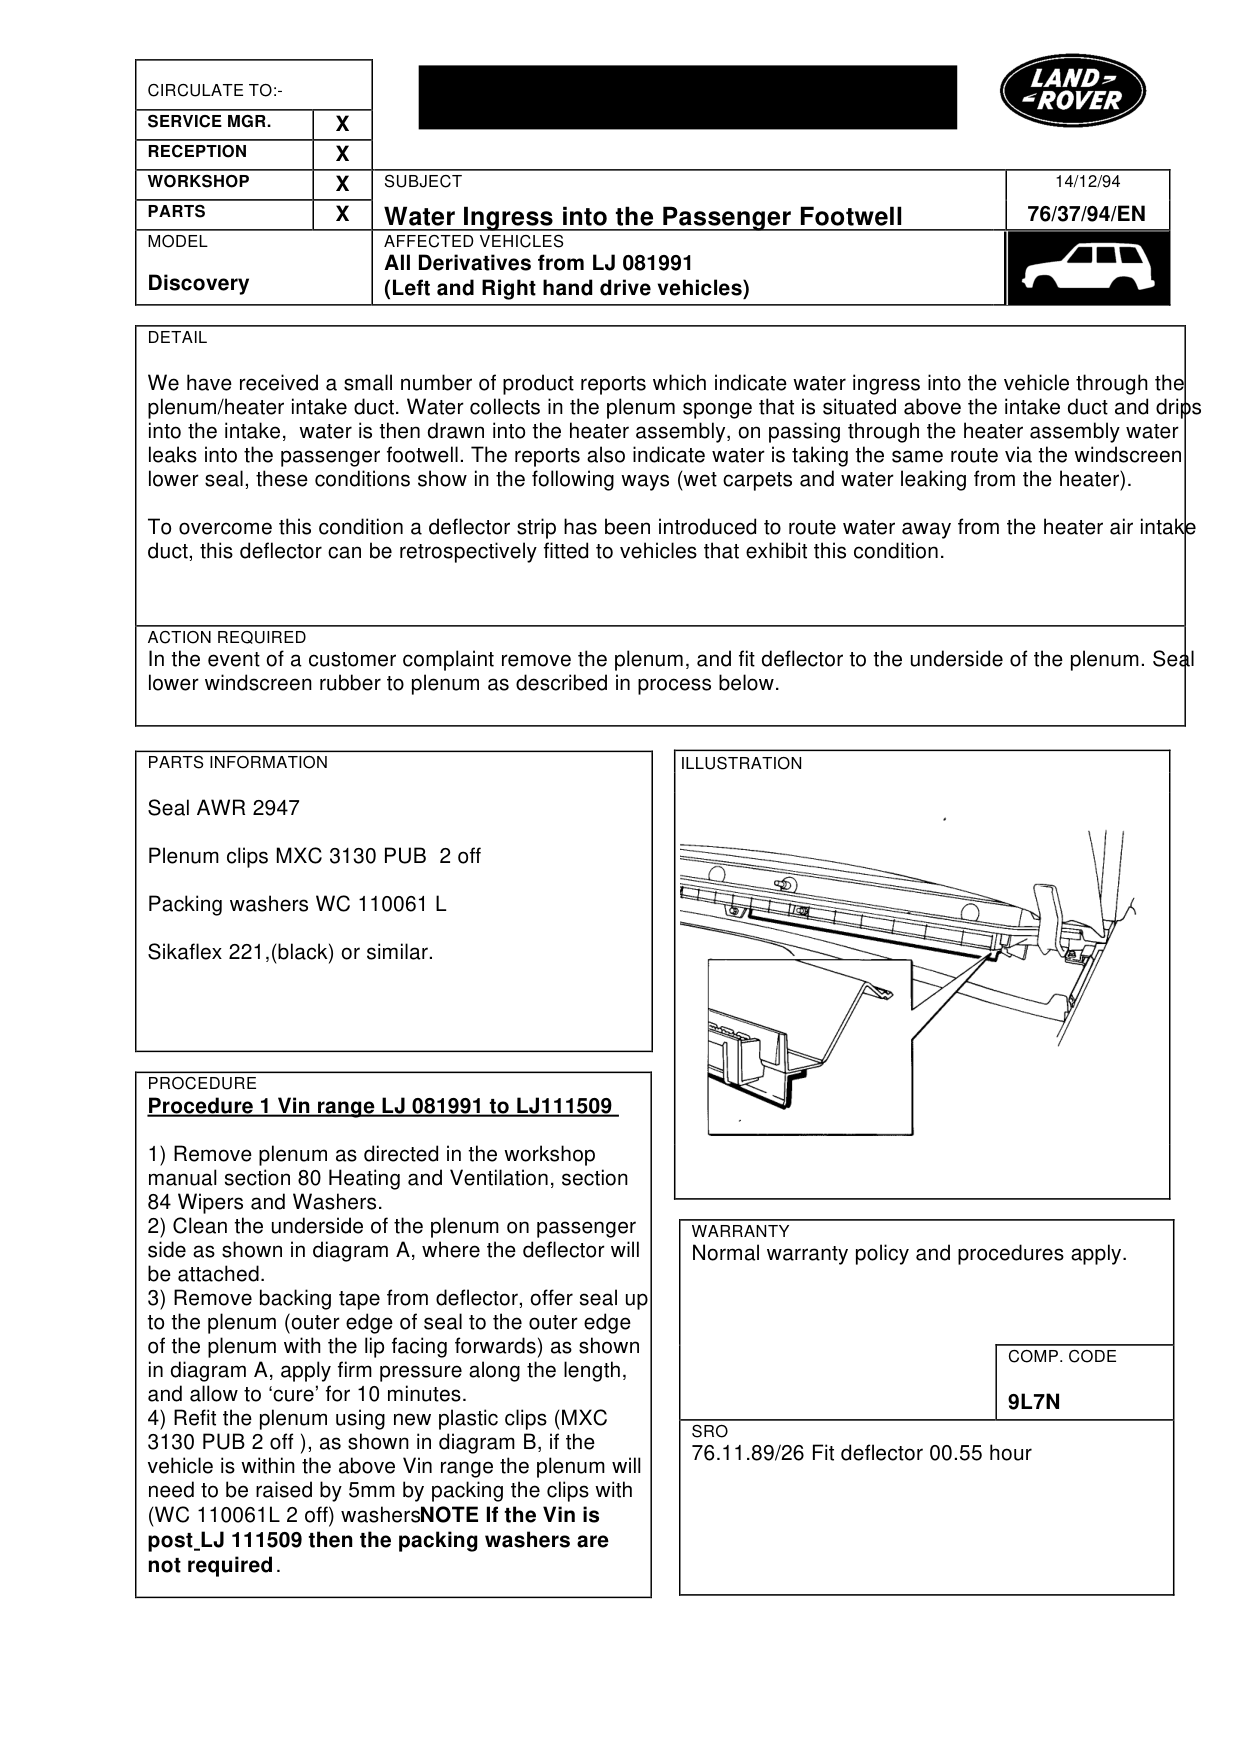
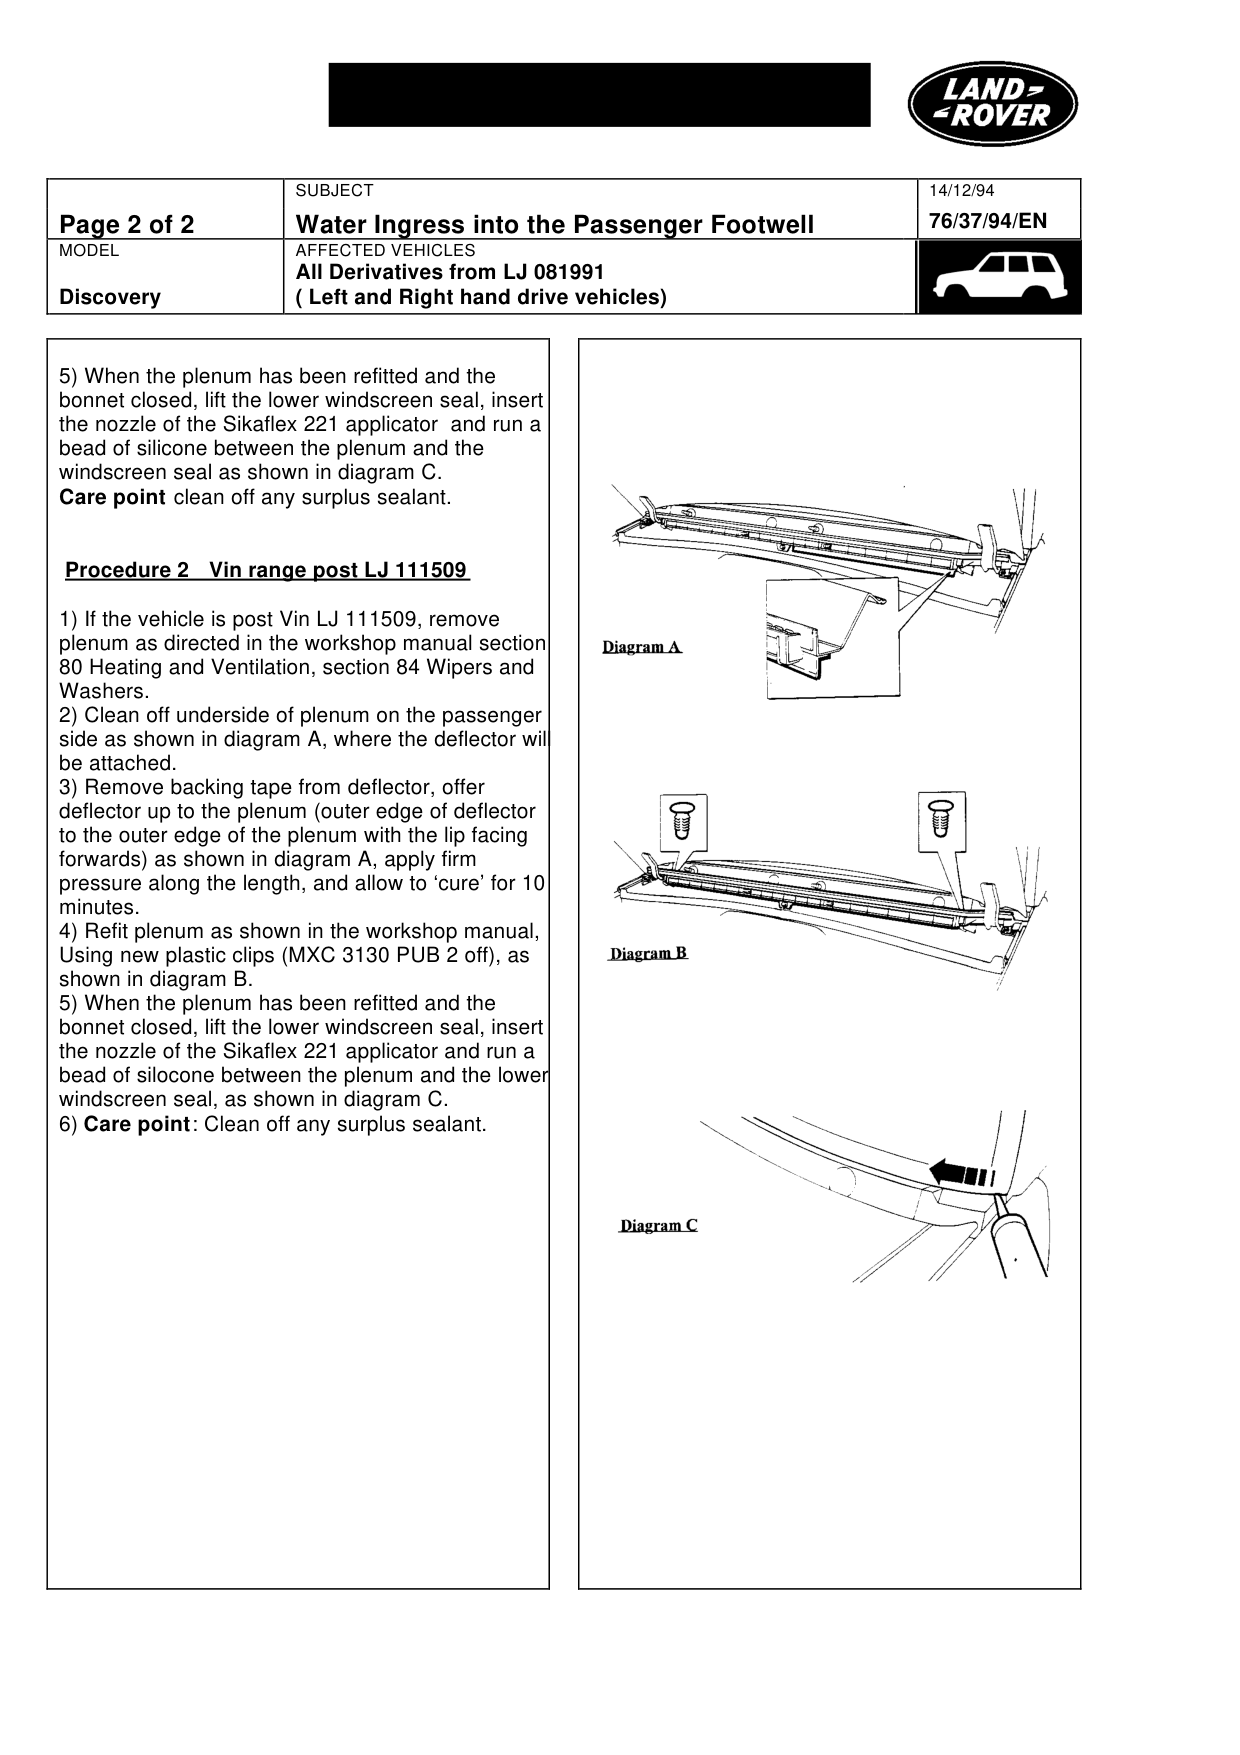
Bulletin text
Water Ingress into the Passenger Footwell
MODEL AFFECTED VEHICLES
All Derivatives from LJ 081991 Discovery (Left and Right hand drive vehicles)
DETAIL
We have received a small number of product reports which indicate water ingress into the vehicle through the plenum/heater intake duct. Water collects in the plenum sponge that is situated above the intake duct and drips into the intake, water is then drawn into the heater assembly, on passing through the heater assembly water leaks into the passenger footwell. The reports also indicate water is taking the same route via the windscreen lower seal, these conditions show in the following ways (wet carpets and water leaking from the heater).
To overcome this condition a deflector strip has been introduced to route water away from the heater air intake duct, this deflector can be retrospectively fitted to vehicles that exhibit this condition.
ACTION REQUIRED
In the event of a customer complaint remove the plenum, and fit deflector to the underside of the plenum. Seal lower windscreen rubber to plenum as described in process below.
PARTS INFORMATION
Seal AWR 2947
Plenum clips MXC 3130 PUB 2 off
Packing washers WC 110061 L
Sikaflex 221,(black) or similar.
PROCEDURE
Procedure 1 Vin range LJ 081991 to LJ111509
1) Remove plenum as directed in the workshop manual section 80 Heating and Ventilation, section 84 Wipers and Washers. 2) Clean the underside of the plenum on passenger side as shown in diagram A, where the deflector will be attached. 3) Remove backing tape from deflector, offer seal up to the plenum (outer edge of seal to the outer edge of the plenum with the lip facing forwards) as shown in diagram A, apply firm pressure along the length, and allow to ‘cure’ for 10 minutes. 4) Refit the plenum using new plastic clips (MXC 3130 PUB 2 off ), as shown in diagram B, if the vehicle is within the above Vin range the plenum will need to be raised by 5mm by packing the clips with (WC 110061L 2 off) washers NOTE If the Vin is post LJ 111509 then the packing washers are not required .
14/12/94
76/37/94/EN
WARRANTY
Normal warranty policy and procedures apply.
COMP. CODE
9L7N
SRO
76.11.89/26 Fit deflector 00.55 hour
Water Ingress into the Passenger Footwell
MODEL AFFECTED VEHICLES
All Derivatives from LJ 081991 Discovery ( Left and Right hand drive vehicles)
5) When the plenum has been refitted and the bonnet closed, lift the lower windscreen seal, insert the nozzle of the Sikaflex 221 applicator and run a bead of silicone between the plenum and the windscreen seal as shown in diagram C. Care point clean off any surplus sealant.
Procedure 2 Vin range post LJ 111509
1) If the vehicle is post Vin LJ 111509, remove plenum as directed in the workshop manual section 80 Heating and Ventilation, section 84 Wipers and Washers. 2) Clean off underside of plenum on the passenger side as shown in diagram A, where the deflector will be attached. 3) Remove backing tape from deflector, offer deflector up to the plenum (outer edge of deflector to the outer edge of the plenum with the lip facing forwards) as shown in diagram A, apply firm pressure along the length, and allow to ‘cure’ for 10 minutes. 4) Refit plenum as shown in the workshop manual, Using new plastic clips (MXC 3130 PUB 2 off), as shown in diagram B. 5) When the plenum has been refitted and the bonnet closed, lift the lower windscreen seal, insert the nozzle of the Sikaflex 221 applicator and run a bead of silocone between the plenum and the lower windscreen seal, as shown in diagram C. 6) Care point : Clean off any surplus sealant.
14/12/94 76/37/94/EN
Parts & tools for this job For Land Rover Discovery
- TOOLOBD2 scanner with SRSSearch: OBD2 scanner ABS SRS
- TOOLTrim removal tool kitSearch: trim removal tool kit
Links open Amazon search results in a new tab. As an Amazon Associate I earn from qualifying purchases.