
Door mirrors - wind noise
- Make
- Land Rover
- Model
- Discovery Technical Bulletins
- Section
- Door mirrors - wind noise › Door mirrors - wind noise
DOOR MIRRORS - WIND NOISE
- Model
- Discovery Discovery
- Affected vehicles
- upto 723455 upto 557506
- Date
- 1997-04-15
- Reference
- 15/04/97
Bulletin text
Door Mirrors - Wind noise
MODEL
Discovery Discovery
DETAIL
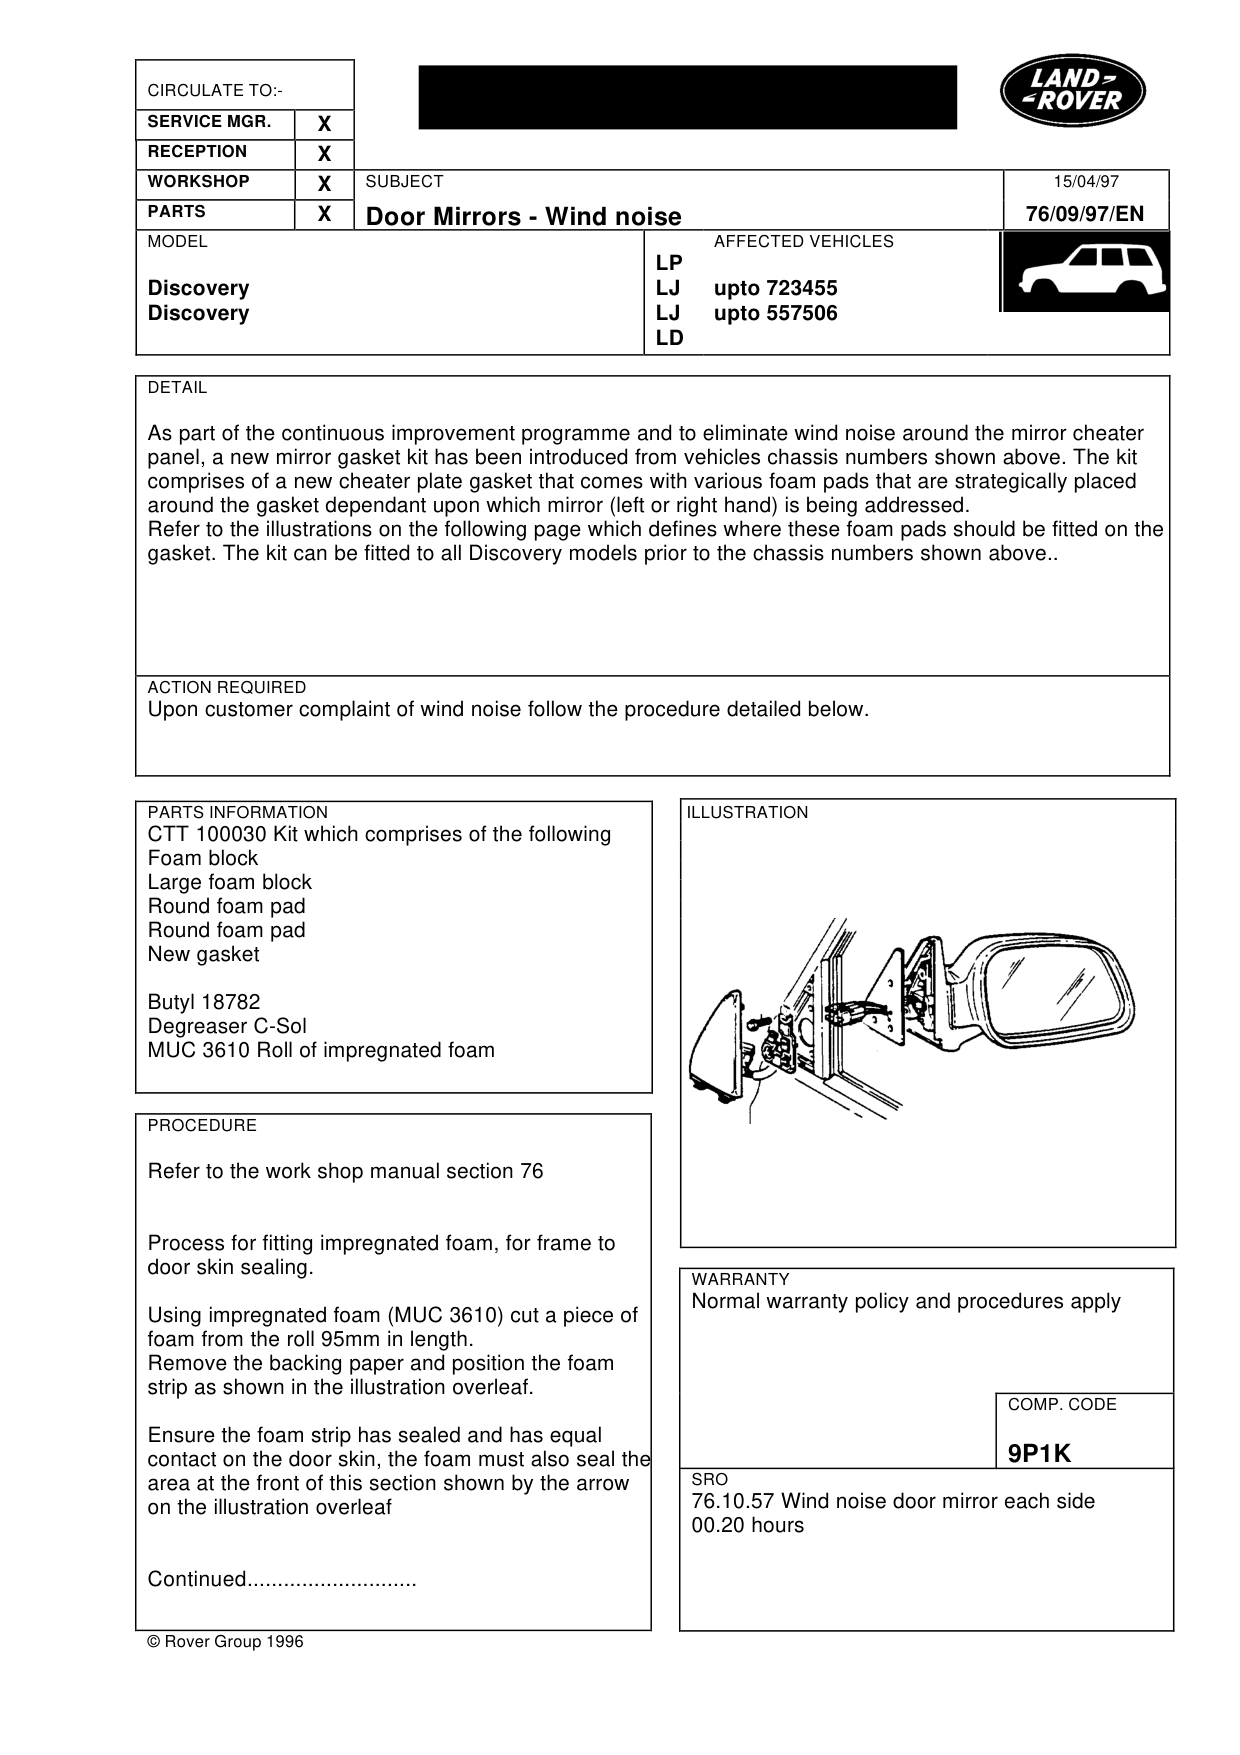
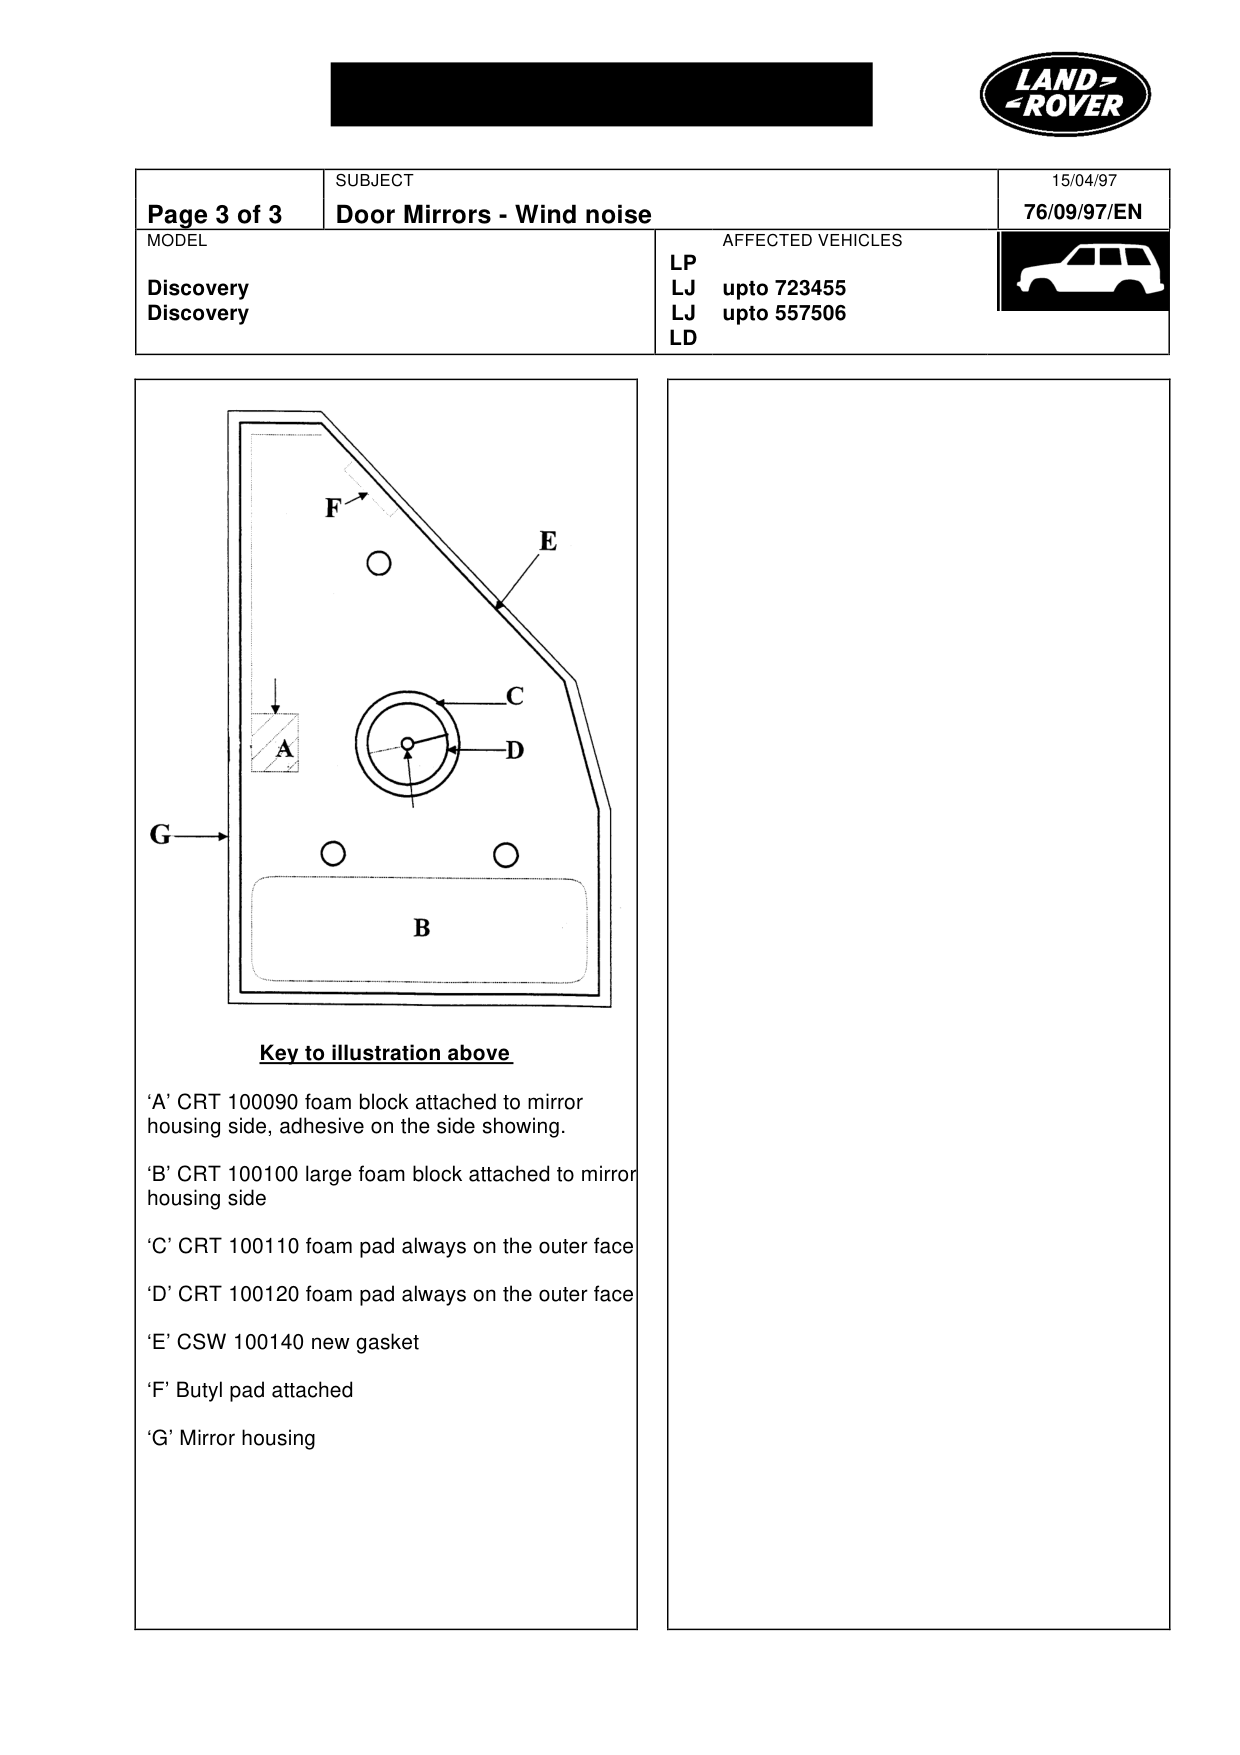
As part of the continuous improvement programme and to eliminate wind noise around the mirror cheater panel, a new mirror gasket kit has been introduced from vehicles chassis numbers shown above. The kit comprises of a new cheater plate gasket that comes with various foam pads that are strategically placed around the gasket dependant upon which mirror (left or right hand) is being addressed. Refer to the illustrations on the following page which defines where these foam pads should be fitted on the gasket. The kit can be fitted to all Discovery models prior to the chassis numbers shown above..
ACTION REQUIRED
Upon customer complaint of wind noise follow the procedure detailed below.
PARTS INFORMATION
CTT 100030 Kit which comprises of the following Foam block Large foam block Round foam pad Round foam pad New gasket
Butyl 18782 Degreaser C-Sol MUC 3610 Roll of impregnated foam
PROCEDURE
Refer to the work shop manual section 76
Process for fitting impregnated foam, for frame to door skin sealing.
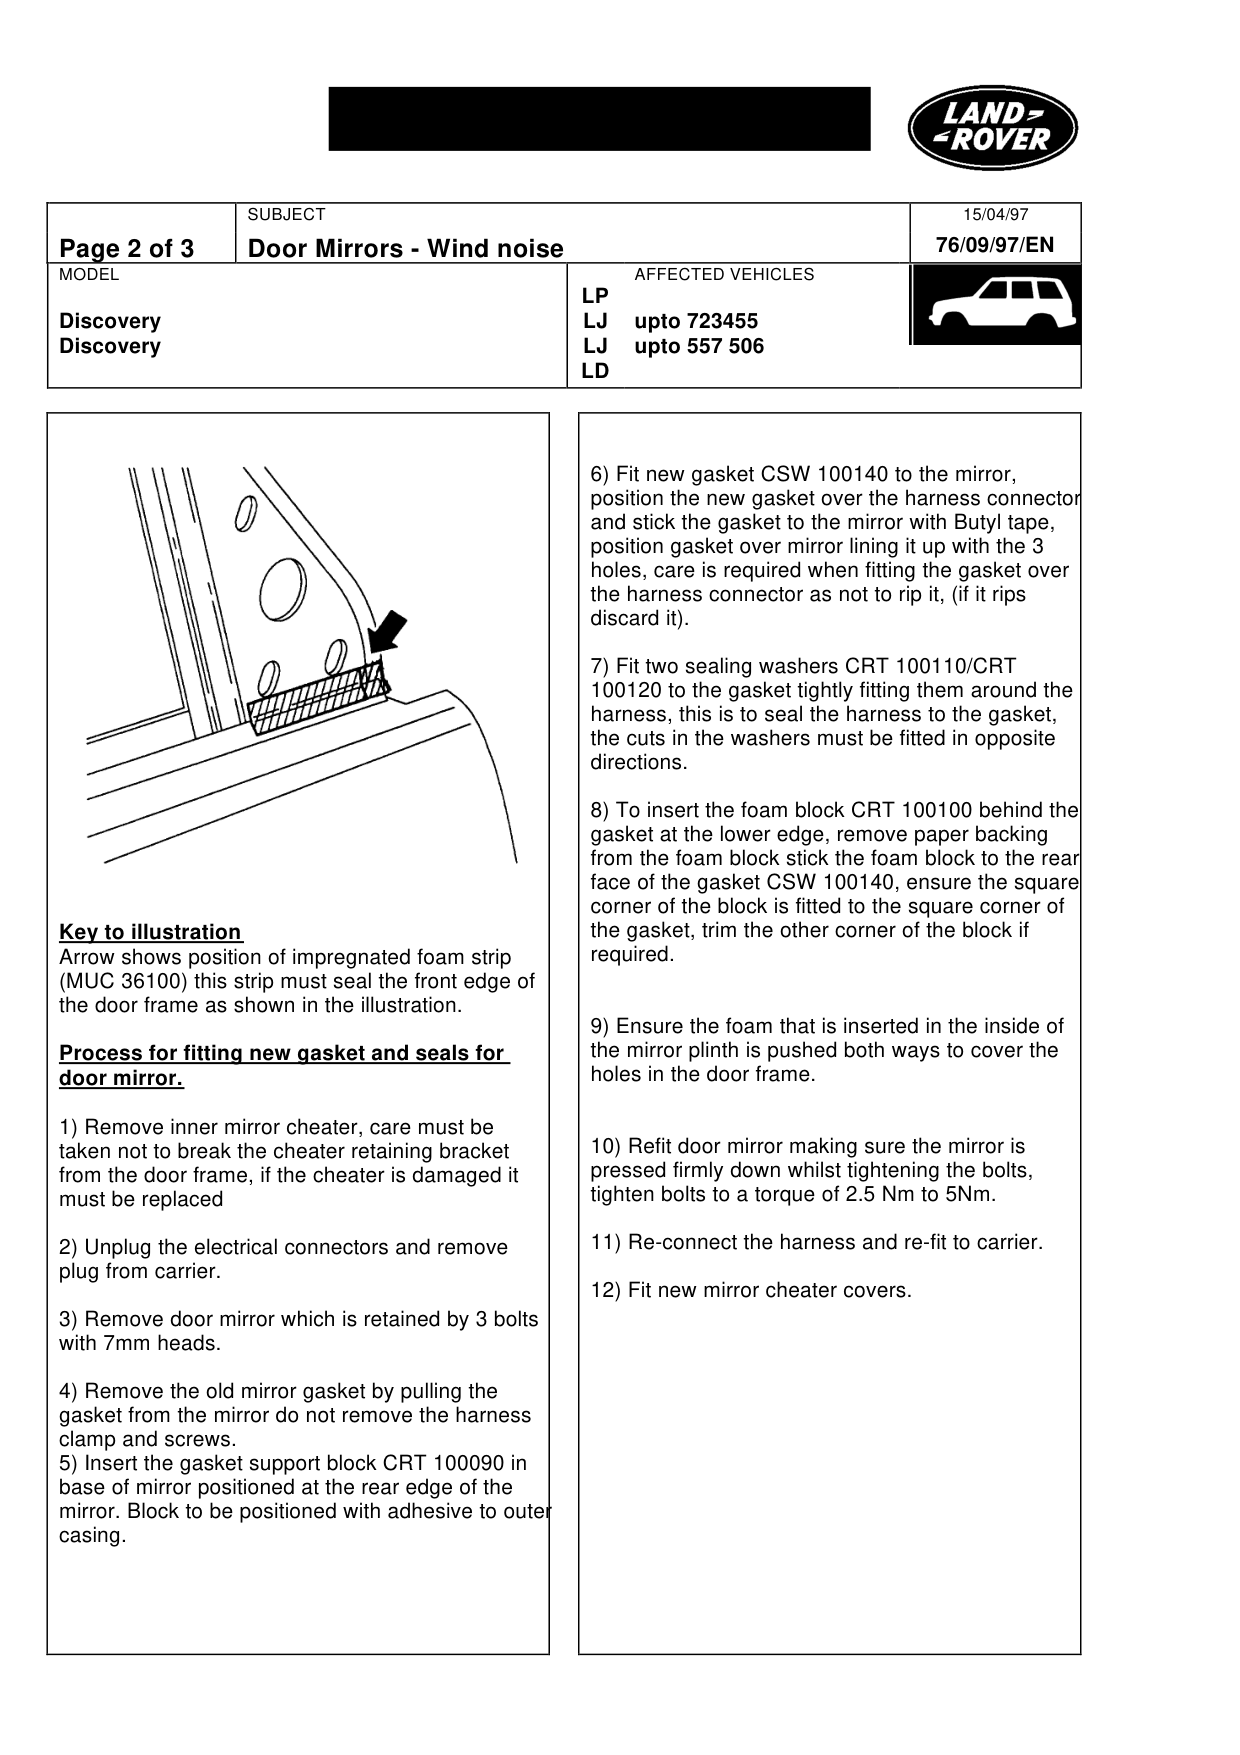
Using impregnated foam (MUC 3610) cut a piece of foam from the roll 95mm in length. Remove the backing paper and position the foam strip as shown in the illustration overleaf.
Ensure the foam strip has sealed and has equal contact on the door skin, the foam must also seal the area at the front of this section shown by the arrow on the illustration overleaf
Continued............................
© Rover Group 1996
15/04/97
76/09/97/EN
AFFECTED VEHICLES
LP LJ upto 723455 LJ upto 557506 LD
WARRANTY
Normal warranty policy and procedures apply
COMP. CODE
9P1K
SRO
76.10.57 Wind noise door mirror each side 00.20 hours
Door Mirrors - Wind noise
MODEL
Discovery Discovery
Key to illustration Arrow shows position of impregnated foam strip (MUC 36100) this strip must seal the front edge of the door frame as shown in the illustration.
Process for fitting new gasket and seals for door mirror.
1) Remove inner mirror cheater, care must be taken not to break the cheater retaining bracket from the door frame, if the cheater is damaged it must be replaced
2) Unplug the electrical connectors and remove plug from carrier.
3) Remove door mirror which is retained by 3 bolts with 7mm heads.
4) Remove the old mirror gasket by pulling the gasket from the mirror do not remove the harness clamp and screws. 5) Insert the gasket support block CRT 100090 in base of mirror positioned at the rear edge of the mirror. Block to be positioned with adhesive to outer casing.
15/04/97 76/09/97/EN
AFFECTED VEHICLES
LP LJ upto 723455 LJ upto 557 506 LD
6) Fit new gasket CSW 100140 to the mirror, position the new gasket over the harness connector and stick the gasket to the mirror with Butyl tape, position gasket over mirror lining it up with the 3 holes, care is required when fitting the gasket over the harness connector as not to rip it, (if it rips discard it).
7) Fit two sealing washers CRT 100110/CRT 100120 to the gasket tightly fitting them around the harness, this is to seal the harness to the gasket, the cuts in the washers must be fitted in opposite directions.
8) To insert the foam block CRT 100100 behind the gasket at the lower edge, remove paper backing from the foam block stick the foam block to the rear face of the gasket CSW 100140, ensure the square corner of the block is fitted to the square corner of the gasket, trim the other corner of the block if required.
9) Ensure the foam that is inserted in the inside of the mirror plinth is pushed both ways to cover the holes in the door frame.
10) Refit door mirror making sure the mirror is pressed firmly down whilst tightening the bolts, tighten bolts to a torque of 2.5 Nm to 5Nm.
11) Re-connect the harness and re-fit to carrier.
12) Fit new mirror cheater covers.
Door Mirrors - Wind noise
MODEL
Discovery Discovery
Key to illustration above
‘A’ CRT 100090 foam block attached to mirror housing side, adhesive on the side showing.
‘B’ CRT 100100 large foam block attached to mirror housing side
‘C’ CRT 100110 foam pad always on the outer face
‘D’ CRT 100120 foam pad always on the outer face
‘E’ CSW 100140 new gasket
‘F’ Butyl pad attached
‘G’ Mirror housing
15/04/97 76/09/97/EN
AFFECTED VEHICLES
LP LJ upto 723455 LJ upto 557506 LD
Parts & tools for this job For Land Rover Discovery
- TOOLTrim removal tool kitSearch: trim removal tool kit
- PARTTouch-up paintSearch: Land Rover touch up paint
- PARTPanel clip assortmentSearch: Land Rover panel clips assortment
Links open Amazon search results in a new tab. As an Amazon Associate I earn from qualifying purchases.