
Radio\cassette rattle
- Make
- Land Rover
- Model
- Discovery Technical Bulletins
- Section
- Radio\cassette rattle › Radio\cassette rattle
RADIO\CASSETTE RATTLE
- Model
- Discovery
- Affected vehicles
- All Discovery with factory fitted radio/cassette from LJ 081991 to LJ 089306
- Date
- 1994-07-14
- Reference
- 14/07/94
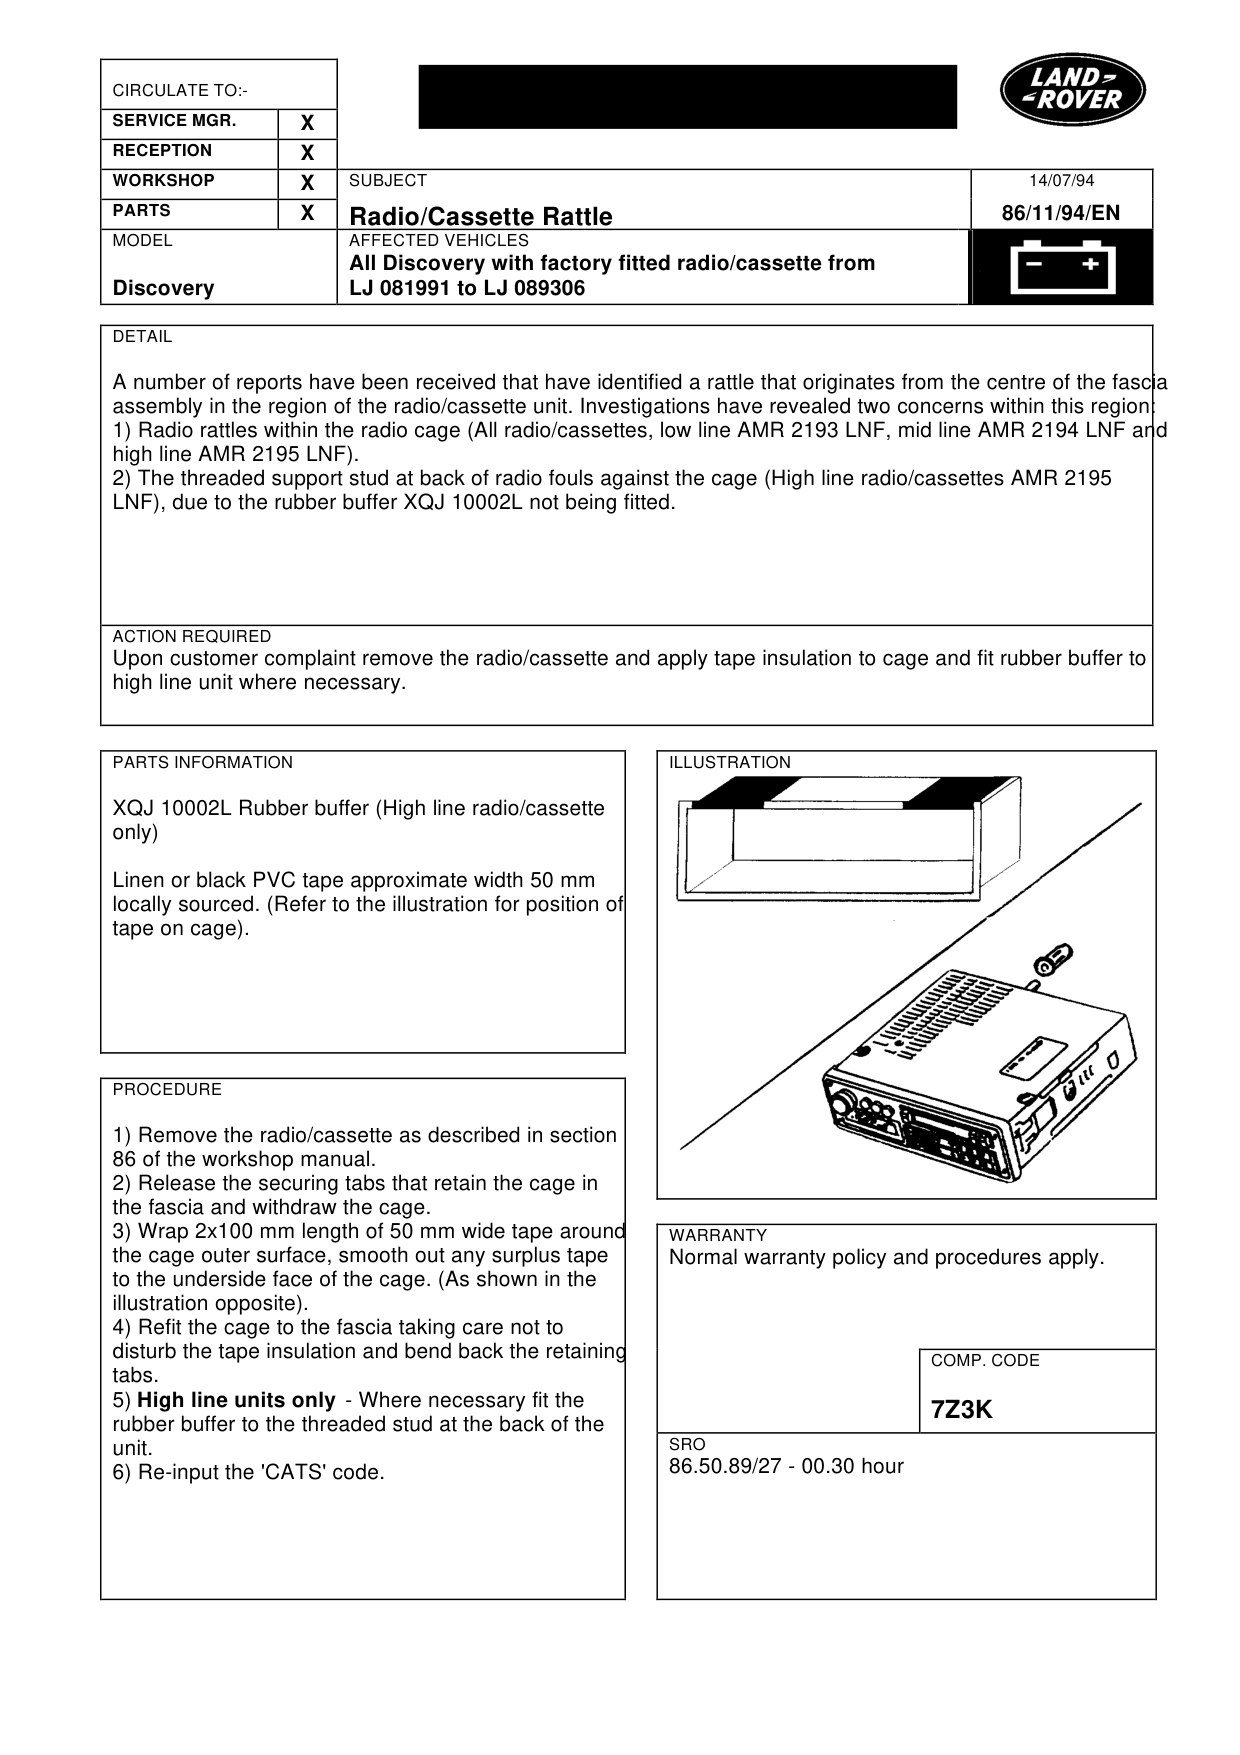
Bulletin text
Radio/Cassette Rattle
MODEL AFFECTED VEHICLES
All Discovery with factory fitted radio/cassette from Discovery LJ 081991 to LJ 089306
DETAIL
A number of reports have been received that have identified a rattle that originates from the centre of the fascia assembly in the region of the radio/cassette unit. Investigations have revealed two concerns within this region: 1) Radio rattles within the radio cage (All radio/cassettes, low line AMR 2193 LNF, mid line AMR 2194 LNF and high line AMR 2195 LNF). 2) The threaded support stud at back of radio fouls against the cage (High line radio/cassettes AMR 2195 LNF), due to the rubber buffer XQJ 10002L not being fitted.
ACTION REQUIRED
Upon customer complaint remove the radio/cassette and apply tape insulation to cage and fit rubber buffer to high line unit where necessary.
PARTS INFORMATION
XQJ 10002L Rubber buffer (High line radio/cassette only)
Linen or black PVC tape approximate width 50 mm locally sourced. (Refer to the illustration for position of tape on cage).
PROCEDURE
1) Remove the radio/cassette as described in section 86 of the workshop manual. 2) Release the securing tabs that retain the cage in the fascia and withdraw the cage. 3) Wrap 2x100 mm length of 50 mm wide tape around the cage outer surface, smooth out any surplus tape to the underside face of the cage. (As shown in the illustration opposite). 4) Refit the cage to the fascia taking care not to disturb the tape insulation and bend back the retaining tabs. 5) High line units only - Where necessary fit the rubber buffer to the threaded stud at the back of the unit. 6) Re-input the 'CATS' code.
14/07/94
86/11/94/EN
WARRANTY
Normal warranty policy and procedures apply.
COMP. CODE
7Z3K
SRO
86.50.89/27 - 00.30 hour
Parts & tools for this job For Land Rover Discovery
- TOOLDigital multimeterSearch: automotive digital multimeter
- PARTAssorted fuse kitSearch: car fuse assortment kit
- TOOLWire crimper and connector kitSearch: wire crimper connector kit
Links open Amazon search results in a new tab. As an Amazon Associate I earn from qualifying purchases.