
Sunroof glass water dam adrift
- Make
- Land Rover
- Model
- Discovery Technical Bulletins
- Section
- Sunroof glass water dam adrift › Sunroof glass water dam adrift
SUNROOF GLASS WATER DAM ADRIFT
- Model
- Discovery follow procedure ‘A’ Discovery follow procedure ‘B’
- Affected vehicles
- 197933 and 528703 197934 and 528704
- Date
- 1996-06-19
- Reference
- 19/06/96
Bulletin text
Sunroof Glass Water Dam Adrift
MODEL
Discovery follow procedure ‘A’ Discovery follow procedure ‘B’
DETAIL
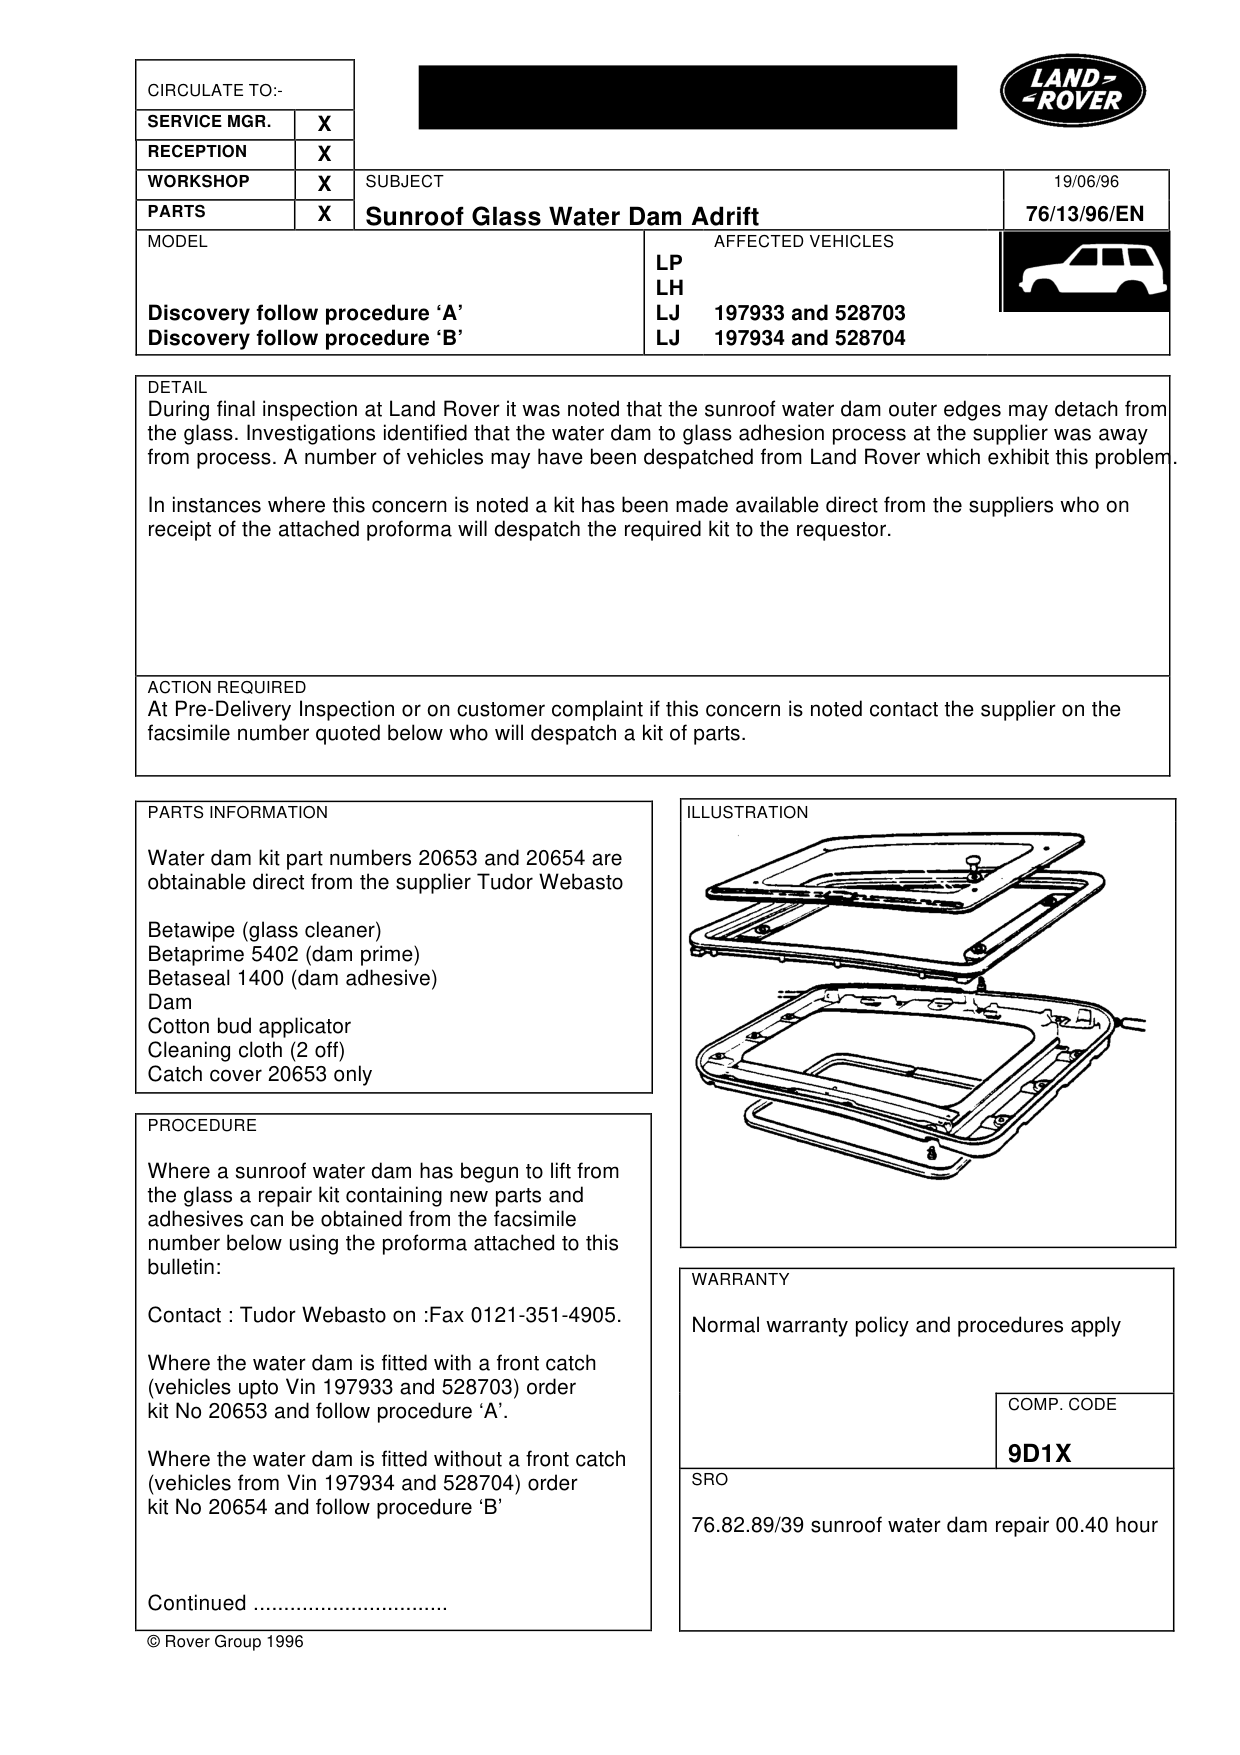
During final inspection at Land Rover it was noted that the sunroof water dam outer edges may detach from the glass. Investigations identified that the water dam to glass adhesion process at the supplier was away from process. A number of vehicles may have been despatched from Land Rover which exhibit this problem.
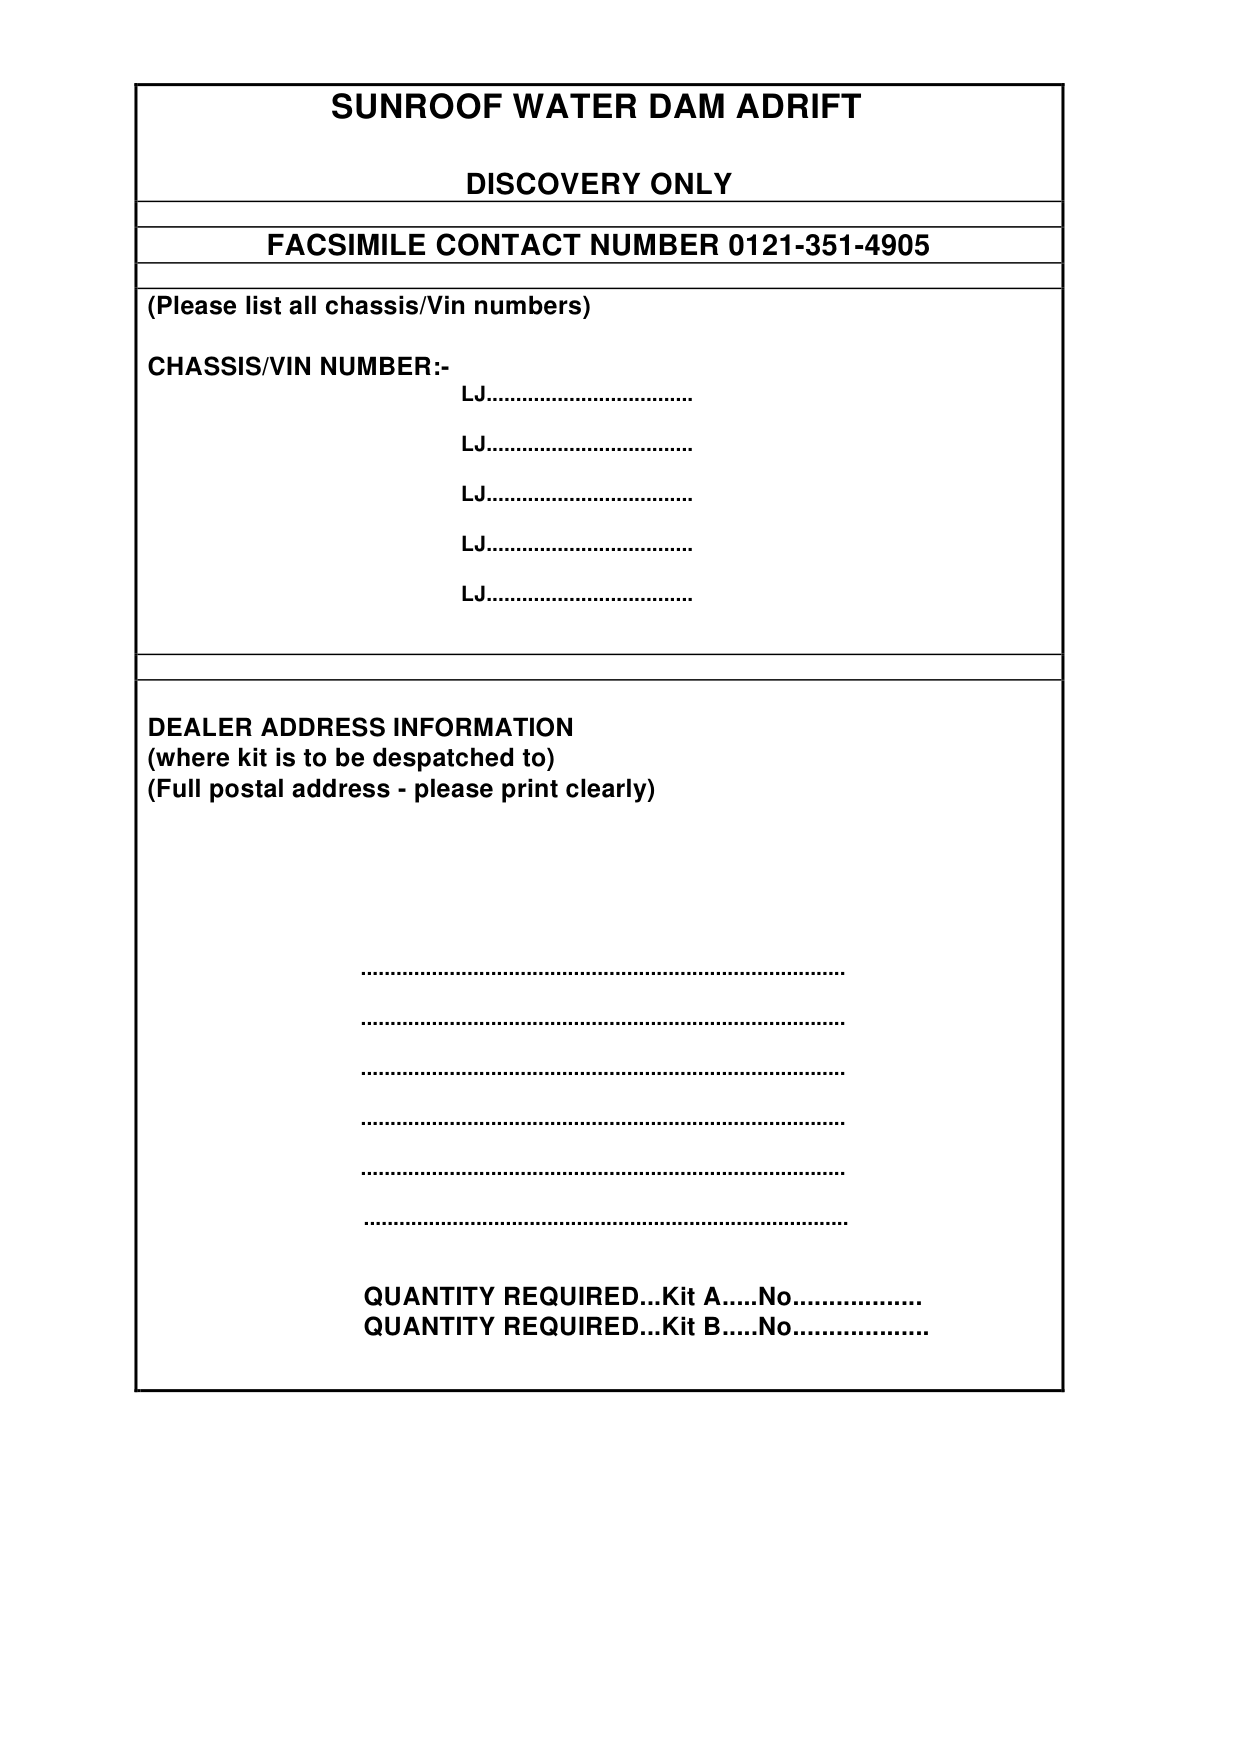
In instances where this concern is noted a kit has been made available direct from the suppliers who on receipt of the attached proforma will despatch the required kit to the requestor.
ACTION REQUIRED
At Pre-Delivery Inspection or on customer complaint if this concern is noted contact the supplier on the facsimile number quoted below who will despatch a kit of parts.
PARTS INFORMATION
Water dam kit part numbers 20653 and 20654 are obtainable direct from the supplier Tudor Webasto
Betawipe (glass cleaner) Betaprime 5402 (dam prime) Betaseal 1400 (dam adhesive) Dam Cotton bud applicator Cleaning cloth (2 off) Catch cover 20653 only
PROCEDURE
Where a sunroof water dam has begun to lift from the glass a repair kit containing new parts and adhesives can be obtained from the facsimile number below using the proforma attached to this bulletin:
Contact : Tudor Webasto on :Fax 0121-351-4905.
Where the water dam is fitted with a front catch (vehicles upto Vin 197933 and 528703) order kit No 20653 and follow procedure ‘A’.
Where the water dam is fitted without a front catch (vehicles from Vin 197934 and 528704) order kit No 20654 and follow procedure ‘B’
Continued ................................
© Rover Group 1996
19/06/96
76/13/96/EN
AFFECTED VEHICLES
LP LH LJ 197933 and 528703 LJ 197934 and 528704
WARRANTY
Normal warranty policy and procedures apply
COMP. CODE
9D1X
SRO
76.82.89/39 sunroof water dam repair 00.40 hour
Sunroof Glass Water Dam Adrift
MODEL
Discovery follow procedure ‘A’ Discovery follow procedure ‘B’
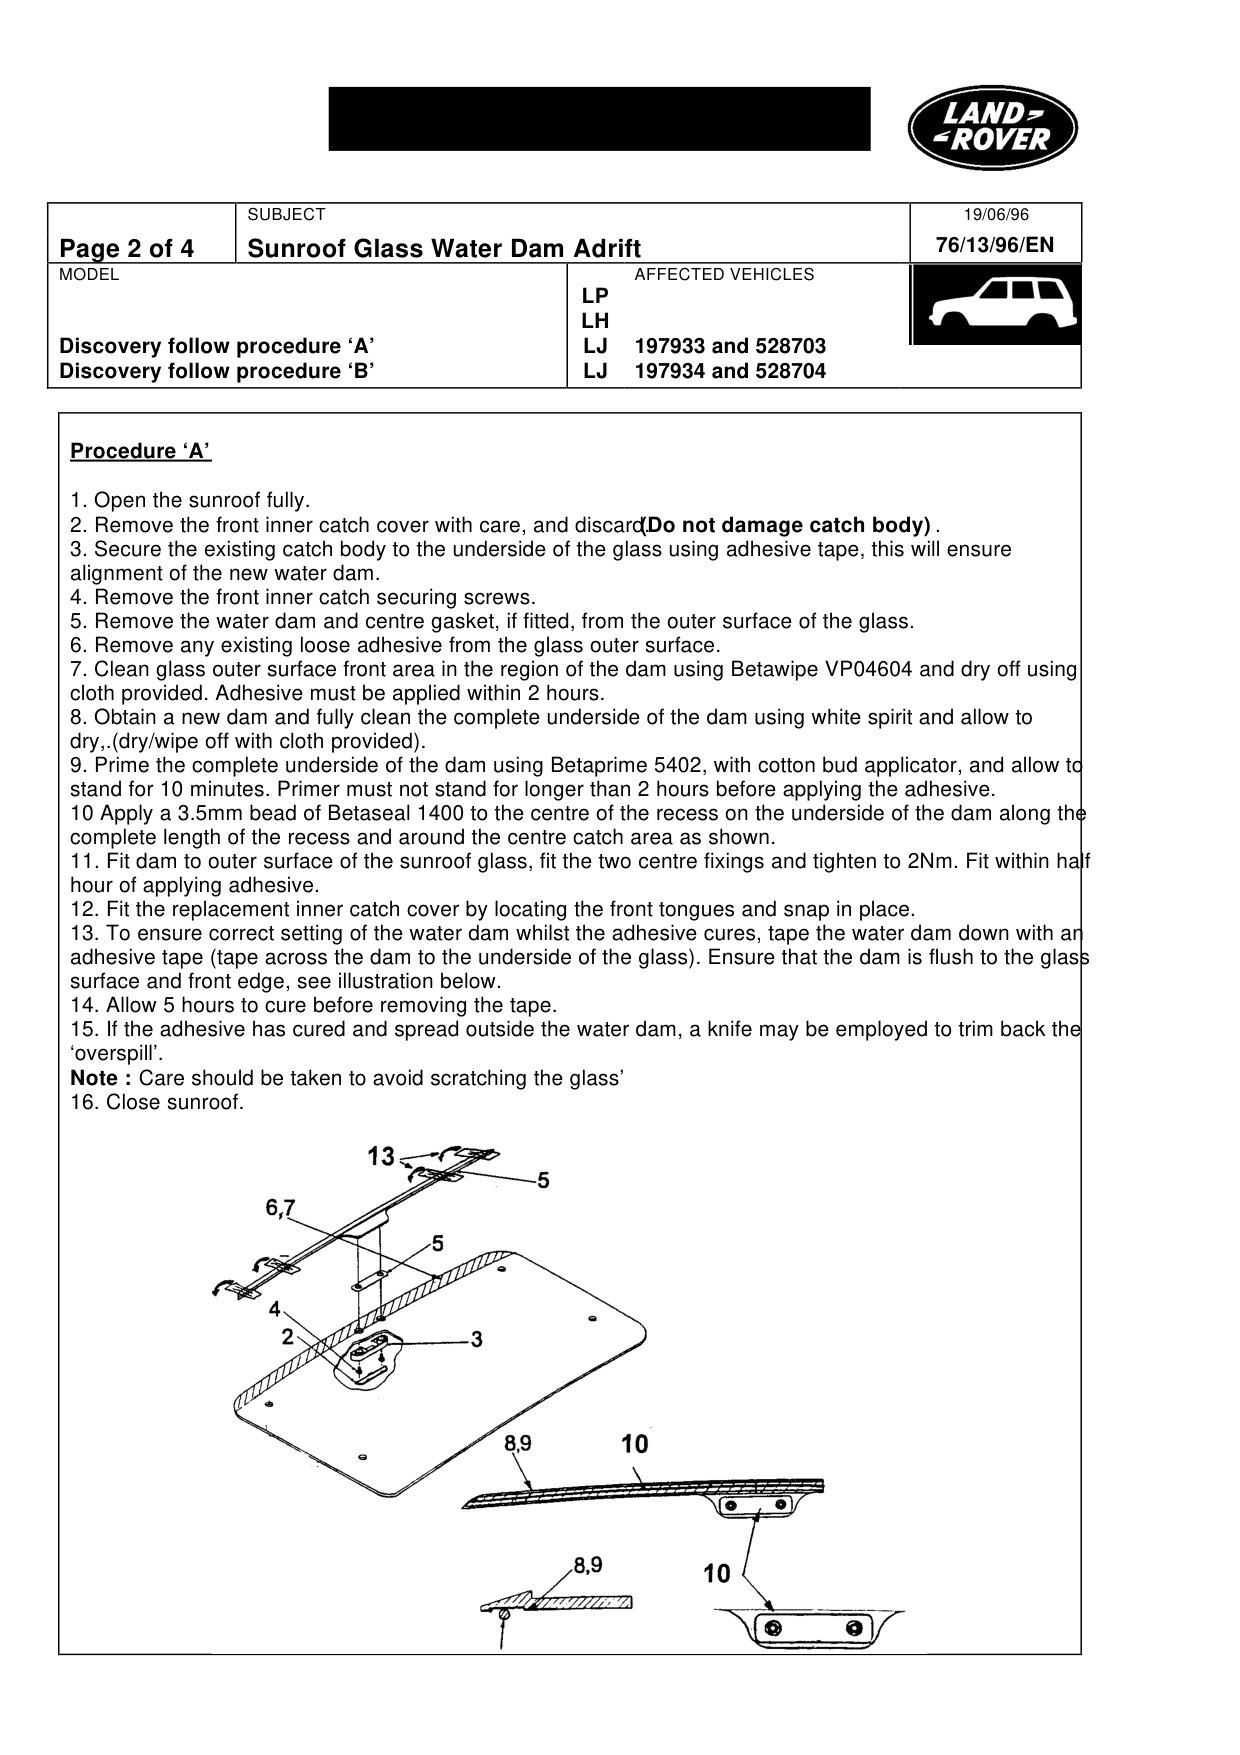
Procedure ‘A’
1. Open the sunroof fully. 2. Remove the front inner catch cover with care, and discard. (Do not damage catch body) . 3. Secure the existing catch body to the underside of the glass using adhesive tape, this will ensure alignment of the new water dam. 4. Remove the front inner catch securing screws. 5. Remove the water dam and centre gasket, if fitted, from the outer surface of the glass. 6. Remove any existing loose adhesive from the glass outer surface. 7. Clean glass outer surface front area in the region of the dam using Betawipe VP04604 and dry off using cloth provided. Adhesive must be applied within 2 hours. 8. Obtain a new dam and fully clean the complete underside of the dam using white spirit and allow to dry,.(dry/wipe off with cloth provided). 9. Prime the complete underside of the dam using Betaprime 5402, with cotton bud applicator, and allow to stand for 10 minutes. Primer must not stand for longer than 2 hours before applying the adhesive. 10 Apply a 3.5mm bead of Betaseal 1400 to the centre of the recess on the underside of the dam along the complete length of the recess and around the centre catch area as shown. 11. Fit dam to outer surface of the sunroof glass, fit the two centre fixings and tighten to 2Nm. Fit within half hour of applying adhesive. 12. Fit the replacement inner catch cover by locating the front tongues and snap in place. 13. To ensure correct setting of the water dam whilst the adhesive cures, tape the water dam down with an adhesive tape (tape across the dam to the underside of the glass). Ensure that the dam is flush to the glass surface and front edge, see illustration below. 14. Allow 5 hours to cure before removing the tape. 15. If the adhesive has cured and spread outside the water dam, a knife may be employed to trim back the ‘overspill’. Note : Care should be taken to avoid scratching the glass’ 16. Close sunroof.
19/06/96 76/13/96/EN
AFFECTED VEHICLES
LP LH LJ 197933 and 528703 LJ 197934 and 528704
Sunroof Glass Water Dam Adrift
MODEL
Discovery follow procedure ‘A’ Discovery follow procedure ‘B’
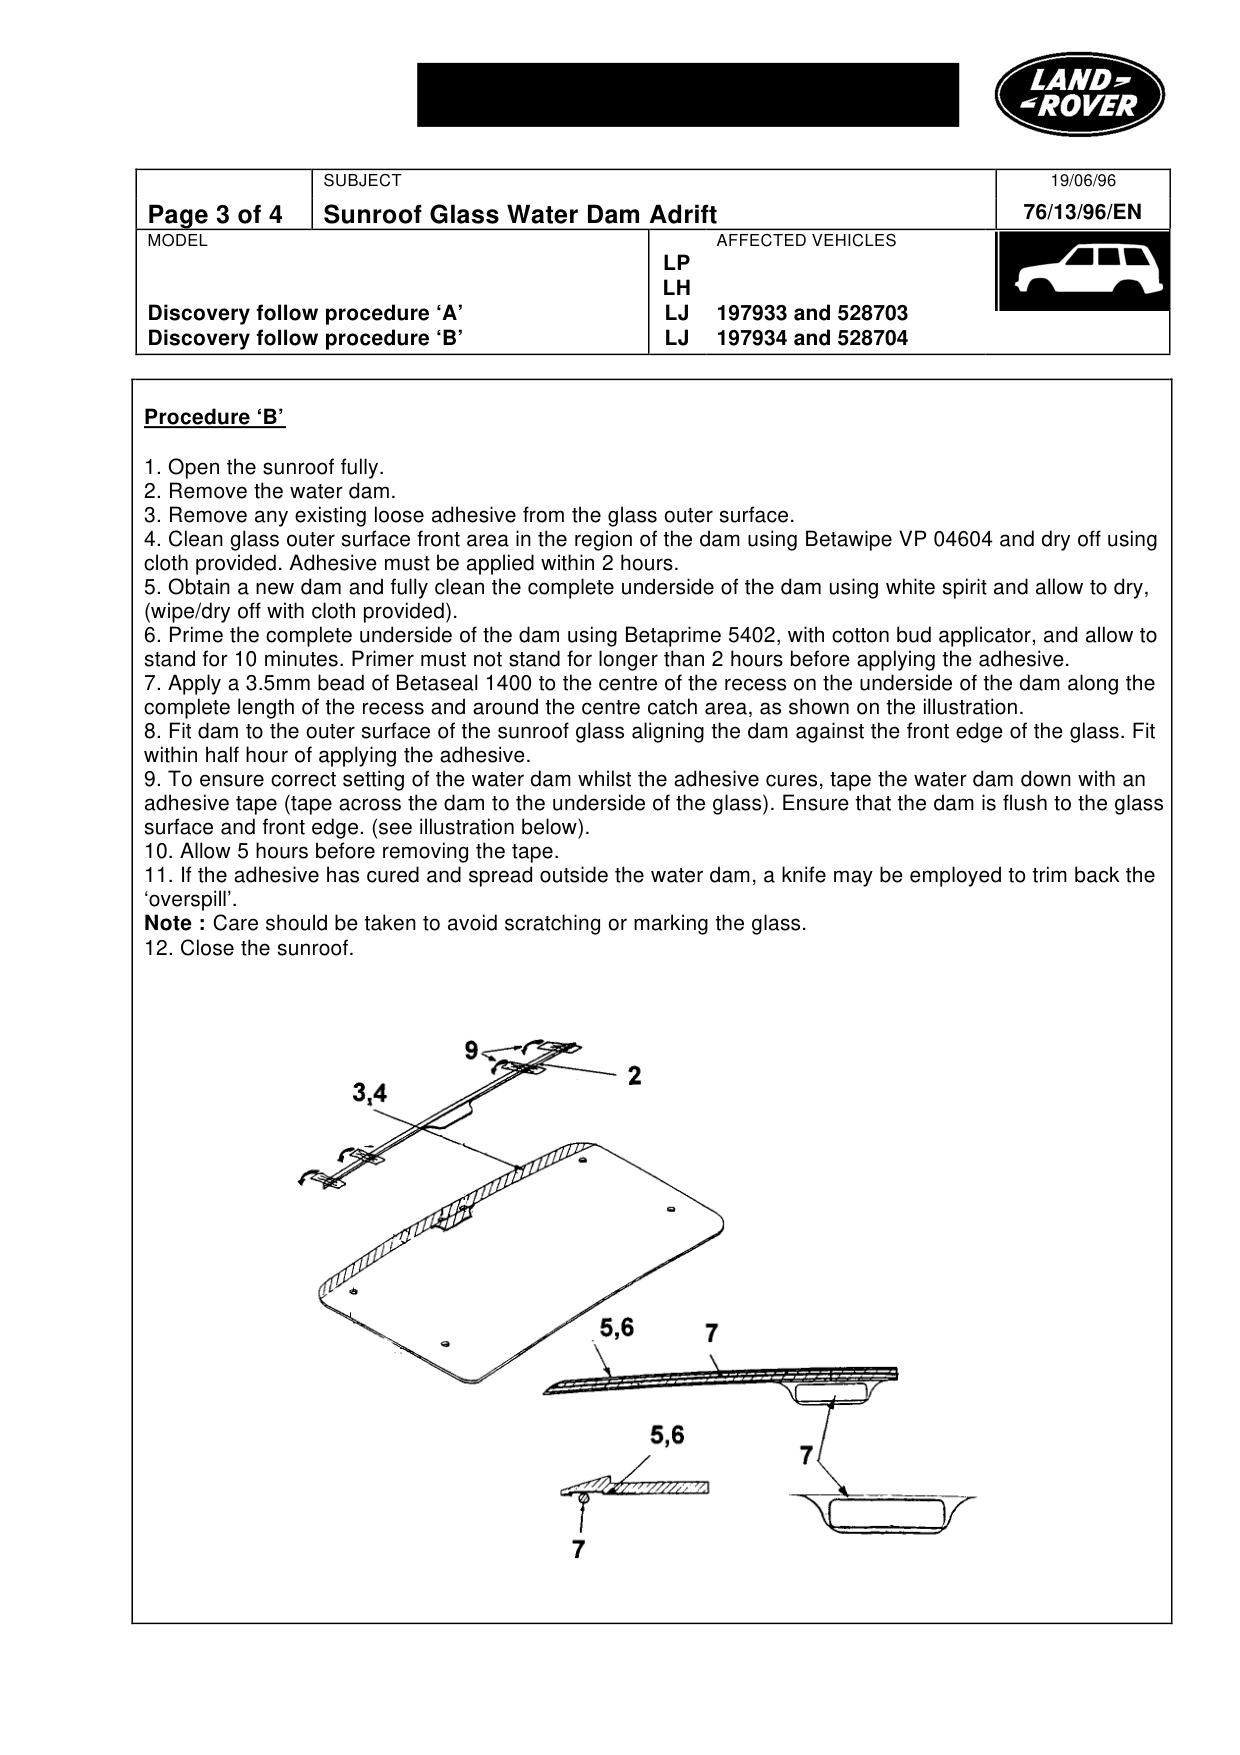
Procedure ‘B’
1. Open the sunroof fully. 2. Remove the water dam. 3. Remove any existing loose adhesive from the glass outer surface. 4. Clean glass outer surface front area in the region of the dam using Betawipe VP 04604 and dry off using cloth provided. Adhesive must be applied within 2 hours. 5. Obtain a new dam and fully clean the complete underside of the dam using white spirit and allow to dry, (wipe/dry off with cloth provided). 6. Prime the complete underside of the dam using Betaprime 5402, with cotton bud applicator, and allow to stand for 10 minutes. Primer must not stand for longer than 2 hours before applying the adhesive. 7. Apply a 3.5mm bead of Betaseal 1400 to the centre of the recess on the underside of the dam along the complete length of the recess and around the centre catch area, as shown on the illustration. 8. Fit dam to the outer surface of the sunroof glass aligning the dam against the front edge of the glass. Fit within half hour of applying the adhesive. 9. To ensure correct setting of the water dam whilst the adhesive cures, tape the water dam down with an adhesive tape (tape across the dam to the underside of the glass). Ensure that the dam is flush to the glass surface and front edge. (see illustration below). 10. Allow 5 hours before removing the tape. 11. If the adhesive has cured and spread outside the water dam, a knife may be employed to trim back the ‘overspill’. Note : Care should be taken to avoid scratching or marking the glass. 12. Close the sunroof.
19/06/96 76/13/96/EN
AFFECTED VEHICLES
LP LH LJ 197933 and 528703 LJ 197934 and 528704
SUNROOF WATER DAM ADRIFT
FACSIMILE CONTACT NUMBER 0121-351-4905
(Please list all chassis/Vin numbers)
CHASSIS/VIN NUMBER:LJ...................................
LJ...................................
LJ...................................
LJ...................................
LJ...................................
DEALER ADDRESS INFORMATION (where kit is to be despatched to) (Full postal address - please print clearly)
..................................................................................
..................................................................................
..................................................................................
..................................................................................
..................................................................................
..................................................................................
QUANTITY REQUIRED...Kit A.....No.................. QUANTITY REQUIRED...Kit B.....No...................
DISCOVERY ONLY
Parts & tools for this job For Land Rover Discovery
- TOOLTrim removal tool kitSearch: trim removal tool kit
- PARTTouch-up paintSearch: Land Rover touch up paint
- PARTPanel clip assortmentSearch: Land Rover panel clips assortment
Links open Amazon search results in a new tab. As an Amazon Associate I earn from qualifying purchases.