
Sunroof rattle (electric and manual)
- Make
- Land Rover
- Model
- Discovery Technical Bulletins
- Section
- Sunroof rattle (ELECTRIC AND MANUAL) › Sunroof rattle (electric and manual)
SUNROOF RATTLE (ELECTRIC AND MANUAL)
- Model
- Discovery With Factory Fitted Sunroofs
- Affected vehicles
- 081991 Onwards
- Date
- 1995-09-27
- Reference
- 27/09/95
Bulletin text
Sunroof Rattle (Electric and Manual)
MODEL
Discovery With Factory Fitted Sunroofs
DETAIL
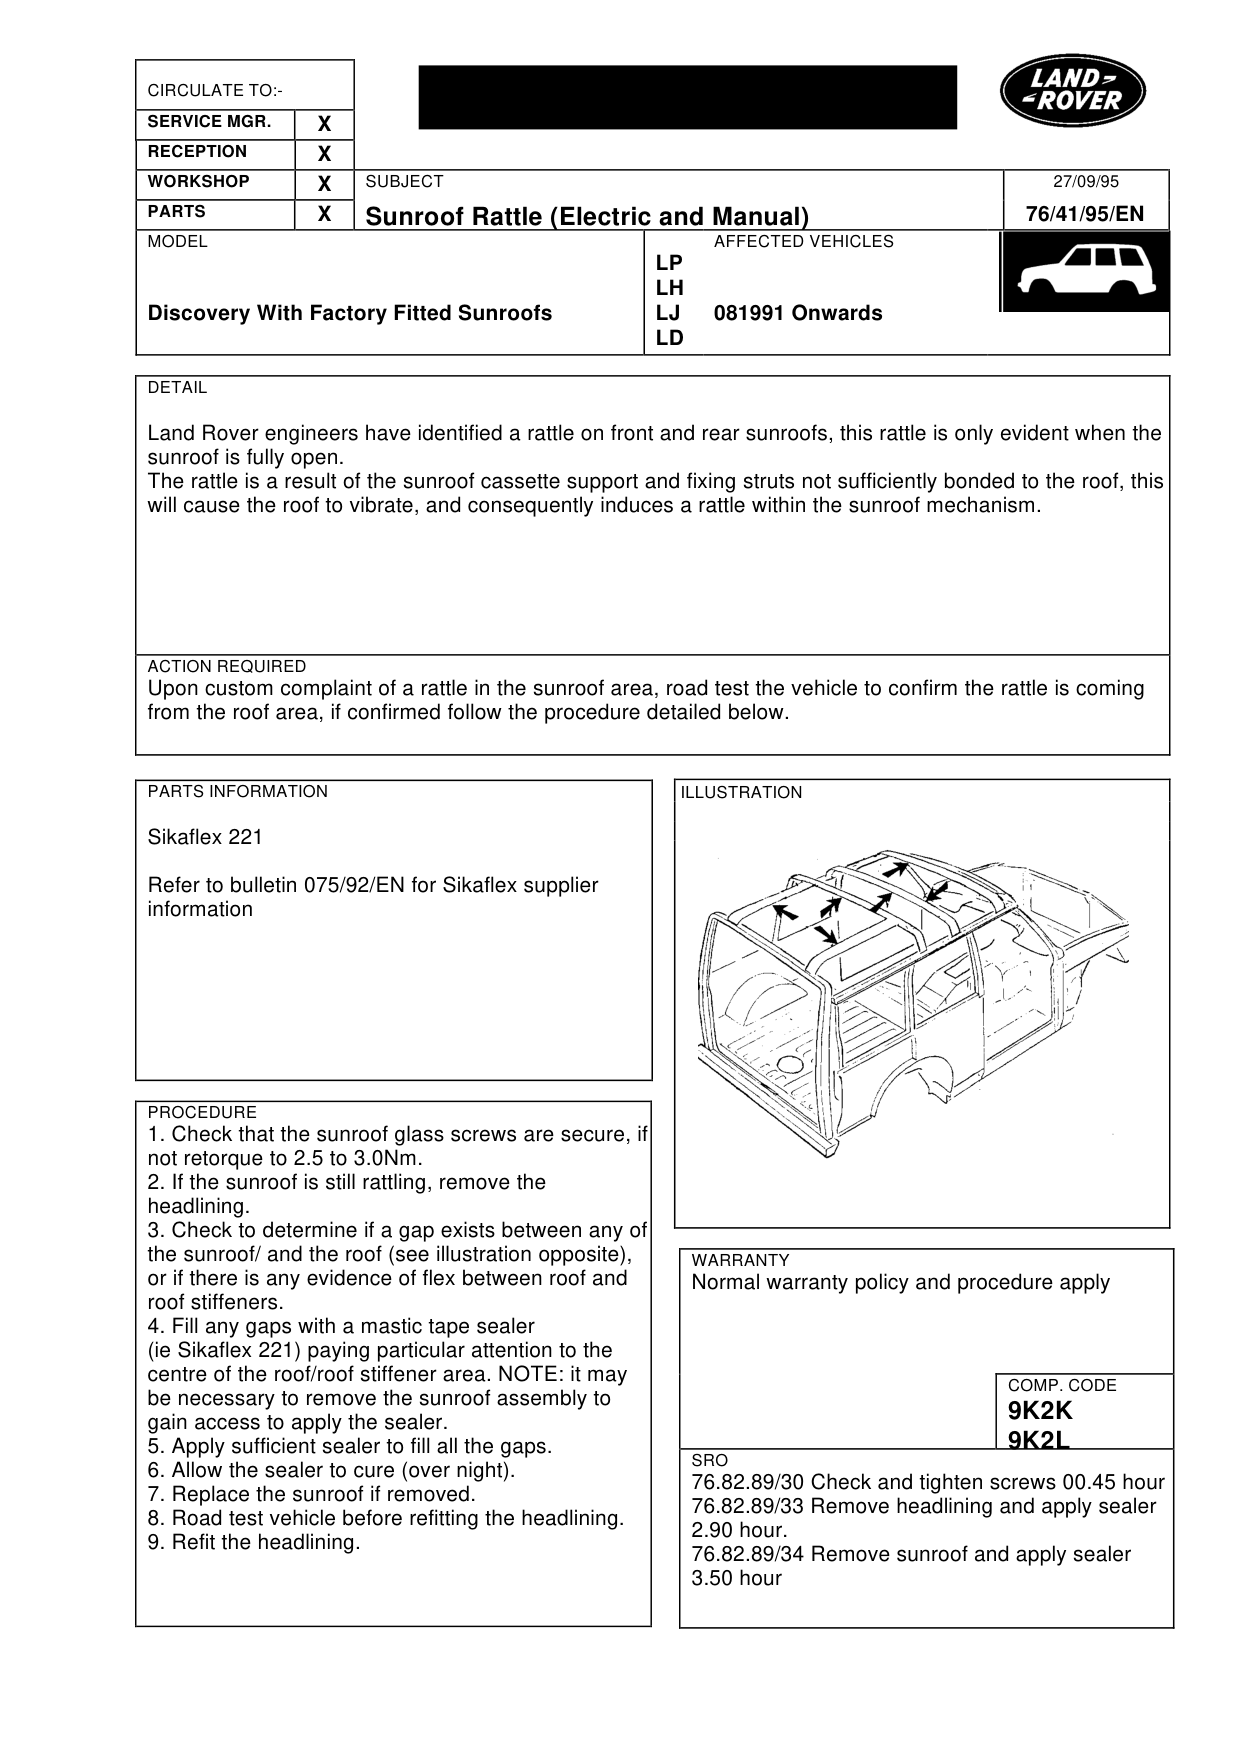
Land Rover engineers have identified a rattle on front and rear sunroofs, this rattle is only evident when the sunroof is fully open. The rattle is a result of the sunroof cassette support and fixing struts not sufficiently bonded to the roof, this will cause the roof to vibrate, and consequently induces a rattle within the sunroof mechanism.
ACTION REQUIRED
Upon custom complaint of a rattle in the sunroof area, road test the vehicle to confirm the rattle is coming from the roof area, if confirmed follow the procedure detailed below.
PARTS INFORMATION
Sikaflex 221
Refer to bulletin 075/92/EN for Sikaflex supplier information
PROCEDURE
1. Check that the sunroof glass screws are secure, if not retorque to 2.5 to 3.0Nm. 2. If the sunroof is still rattling, remove the headlining. 3. Check to determine if a gap exists between any of the sunroof/ and the roof (see illustration opposite), or if there is any evidence of flex between roof and roof stiffeners. 4. Fill any gaps with a mastic tape sealer (ie Sikaflex 221) paying particular attention to the centre of the roof/roof stiffener area. NOTE: it may be necessary to remove the sunroof assembly to gain access to apply the sealer. 5. Apply sufficient sealer to fill all the gaps. 6. Allow the sealer to cure (over night). 7. Replace the sunroof if removed. 8. Road test vehicle before refitting the headlining. 9. Refit the headlining.
27/09/95
76/41/95/EN
AFFECTED VEHICLES
LP LH LJ 081991 Onwards LD
WARRANTY
Normal warranty policy and procedure apply
COMP. CODE
9K2K 9K2L
SRO
76.82.89/30 Check and tighten screws 00.45 hour 76.82.89/33 Remove headlining and apply sealer 2.90 hour. 76.82.89/34 Remove sunroof and apply sealer 3.50 hour
Parts & tools for this job For Land Rover Discovery
- TOOLDigital multimeterSearch: automotive digital multimeter
- PARTAssorted fuse kitSearch: car fuse assortment kit
- TOOLWire crimper and connector kitSearch: wire crimper connector kit
Links open Amazon search results in a new tab. As an Amazon Associate I earn from qualifying purchases.