
300Tdi Discovery
19
FUEL SYSTEM
28
REPAIR
ADD: 09/95
Refit
26. Fit vent line to filler neck.
27. Fit NEW clip to filler neck hose.
28. Fit hose to filler neck.
29. Position filler neck hose clip and tighten until
head shears.
30. Fit filler neck assembly to vehicle.
NOTE: To aid fitment of filler neck through
body grommet apply a soap solution to lip
of grommet.
31. Fit NEW clip to fuel filler neck hose.
32. Connect fuel filler neck internal breather to tank.
33. Connect fuel filler neck hose to tank.
34. Position fuel filler neck hose clip and tighten until
head shears.
35. Connect vent line quickfit connector to
liquid/vapour separator.
36. Connect the pressure sensor breather pipe
connection.
37. Connect the vent line hose connection.
38. Fit mud flap and secure with nuts and bolts.
39. Position filler neck support bracket and earth
strap to mud flap bracket and secure with nut
and bolt.
40. Remove stand(s) and lower vehicle.
41. Reposition loadspace sound insulation and
carpet.
42. Fit RH luggage compartment side panel.
See
CHASSIS AND BODY, Repair,
43. Fit tail door tread strip and secure with screws.
44. Refill tank with drained fuel.
45. Fit fuel filler cap to filler neck.
46. Close filler flap, lock with ignition key and
remove key.
47. Reconnect battery negative lead.
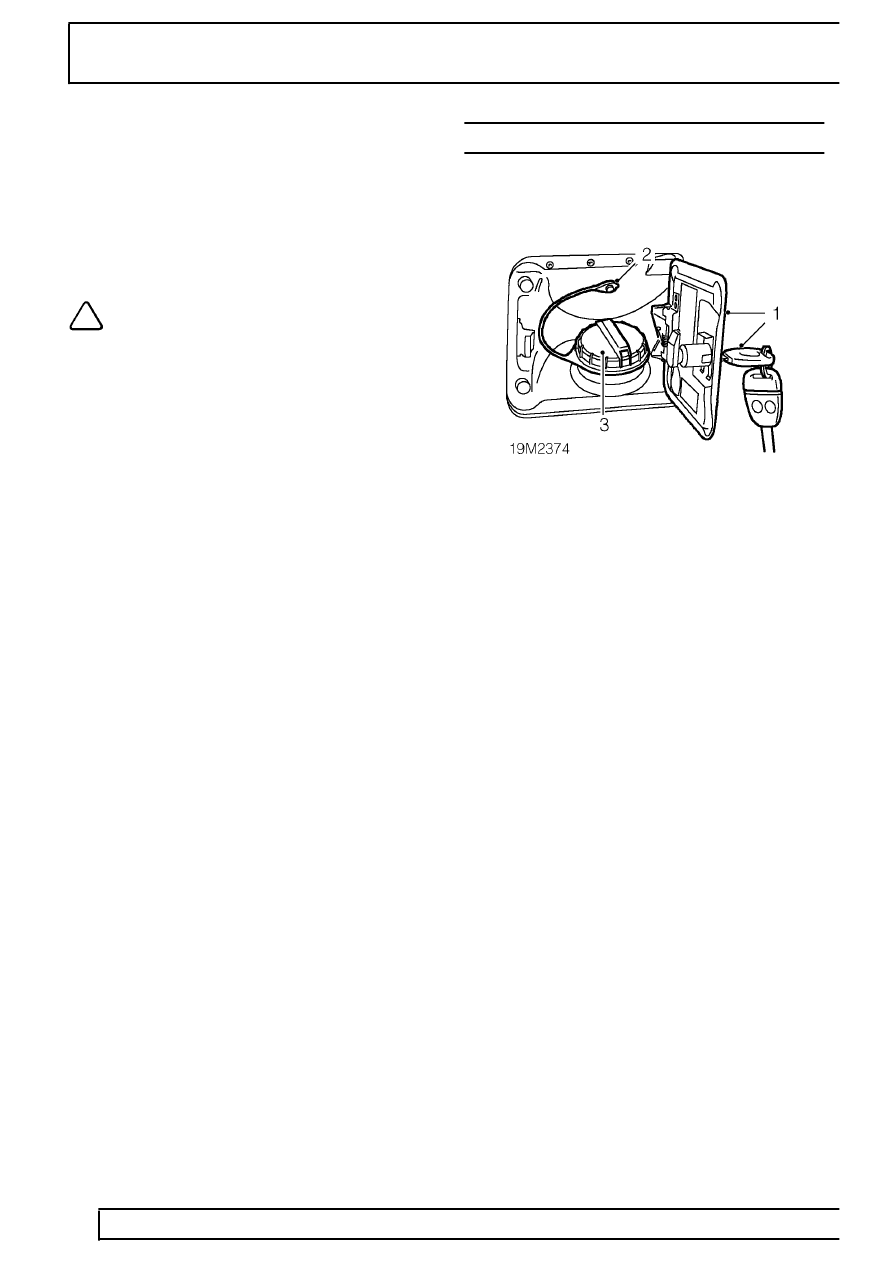
FUEL TANK FILLER CAP - ADVANCED EVAPS
Service repair no - 19.55.08
Remove
1. Fit ignition key to fuel filler flap lock and open
flap.
2. Remove screw securing cap retaining strap to
body.
3. Remove fuel filler cap.
Refit
4. Fit fuel filler cap.
5. Position cap retaining strap to body and secure
with screw.
6. Close filler flap, lock with ignition key and
remove key.