
300Tdi Discovery
CHASSIS AND BODY
45
REPAIR
Refit
20. Position centre console assembly, ensuring
harnesses and connectors are not trapped and
are routed to their correct locations.
21. Connect cigar lighter multiplug and illumination
bulb Lucar.
22. Align centre console to body fixings and fascia.
23. Fit and tighten screws securing centre console to
body.
24. Lubricate hand brake lever to cable clevis pin.
25. Align hand brake cable to lever, fit clevis pin and
secure with clip.
26. Secure hand brake lever gaiter to centre
console.
Models fitted with electric front seats
27. Position electric front seat switches,connect
multiplugs and secure to centre console.
All models
28. Position centre console switch pack and connect
multiplugs to switches.
29. Align switch pack to centre console and secure
with screws.
30. Fit centre console switch pack cover.
31. Fit centre console rubber mat.
32. Fit gear selector lever knob and secure gaiter.
33. Fit transfer gear lever knob and secure gaiter.
34. Reconnect battery earth lead.
DRINKS TRAY
Service repair no - 76.46.41
Remove
1. Disconnect battery negative lead.
2. Remove ash tray.
See ash tray - dash panel
central louvre panel.
3. Remove switch pack.
See switch pack - dash
panel central louvre panel.
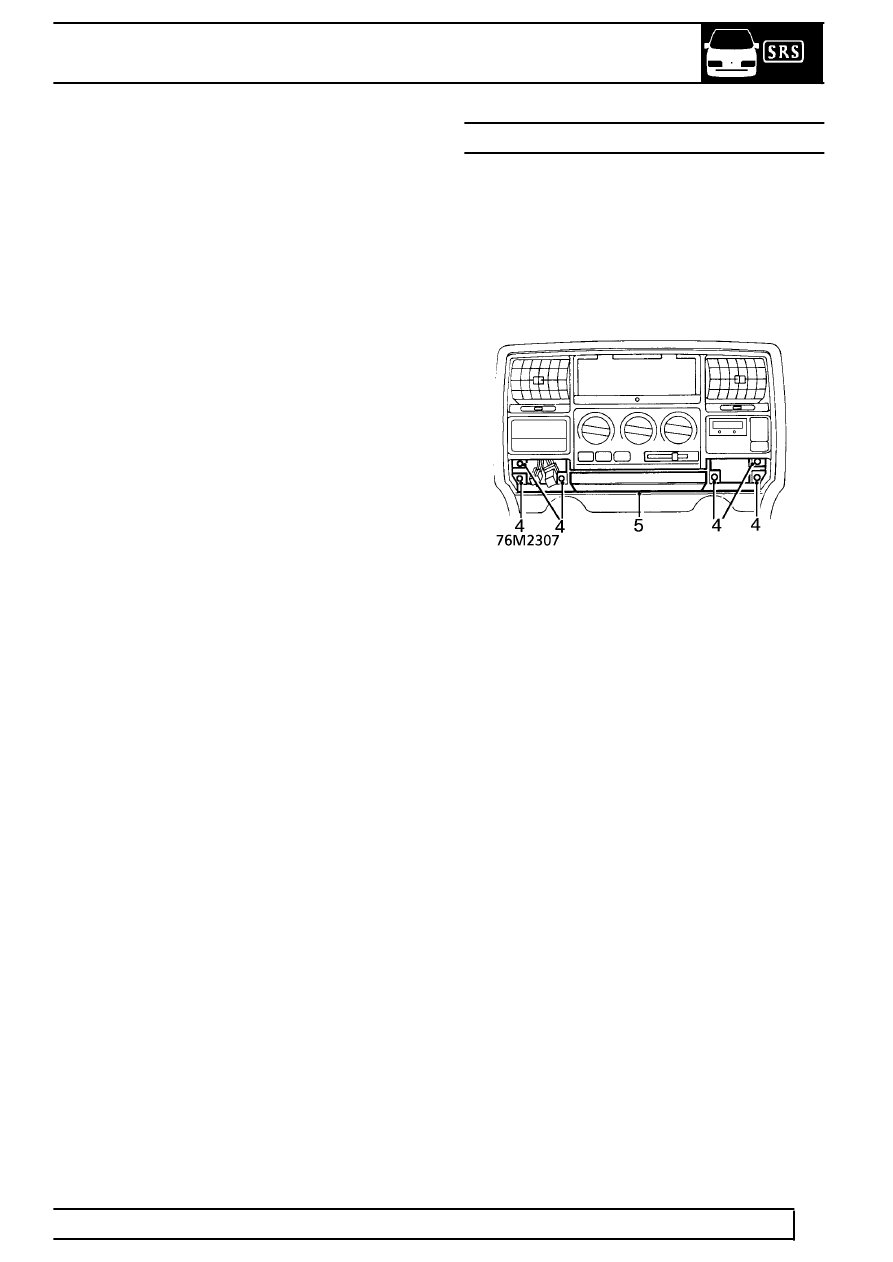
4. Remove 6 screws securing drinks tray to dash
panel central louvre panel.
5. Remove drinks tray.
Refit
6. Position drinks tray to dash panel central louvre
panel and secure with screws.
7. Fit switch pack.
See switch pack - dash panel
central louvre panel.
8. Fit ash tray.
See ash tray - dash panel central
louvre panel.
9. Connect battery negative lead.