
300Tdi Discovery
82
AIR CONDITIONING
16
REPAIR
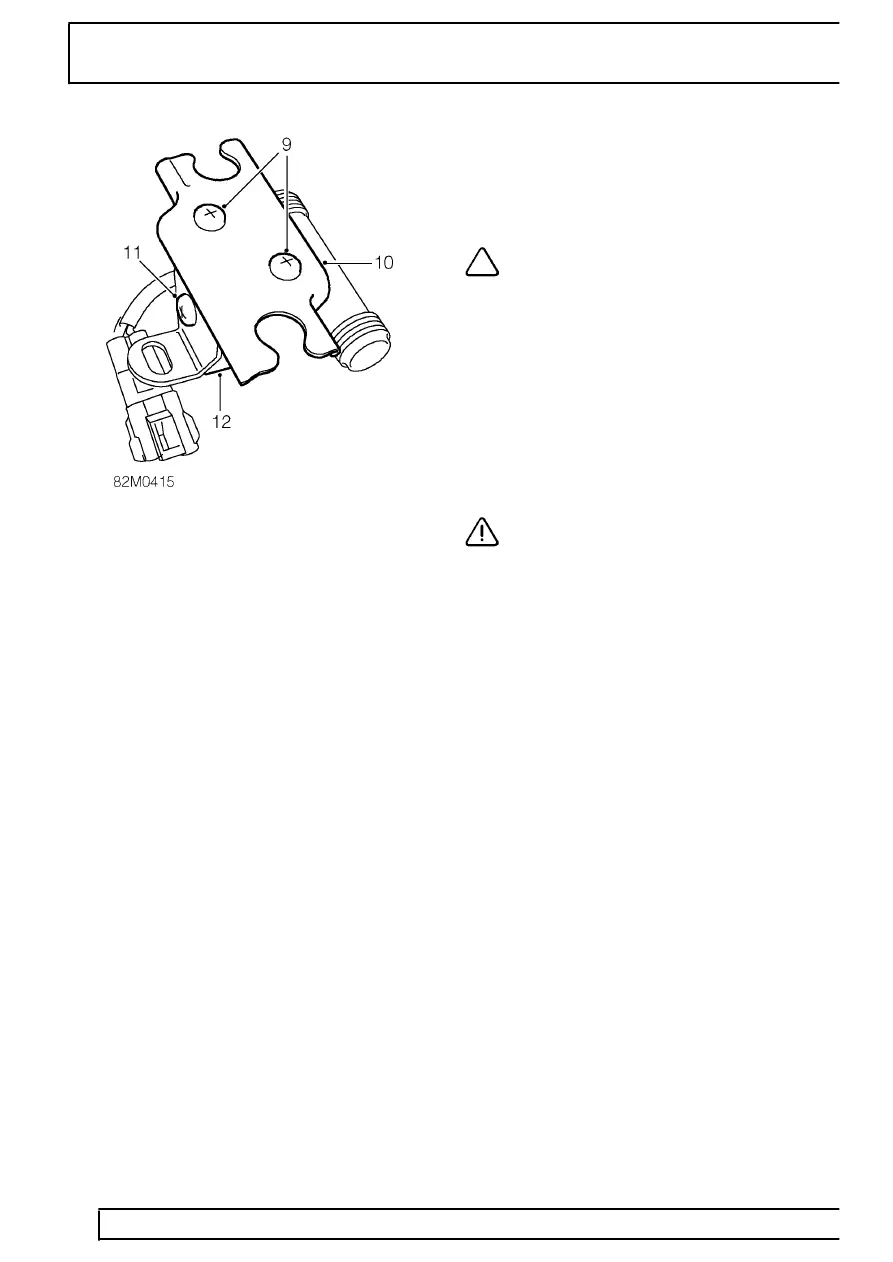
9. Remove 2 screws securing mounting bracket to
control valve.
10. Remove mounting bracket.
11. Noting the direction arrow on control valve,
remove screw securing solenoid to valve.
12. Remove solenoid from valve.
Refit
13. Fit solenoid to valve.
14. Fit but do not tighten screw securing solenoid to
control valve.
NOTE: Ensure arrow on control valve is
pointing in the correct recorded direction.
15. Position mounting bracket to control valve
solenoid and secure with screws.
16. Remove plugs from unions and control valve
connections.
17. Lubricate NEW ’O’ rings with refrigerant oil and
fit to valve.
18. Fit control valve to pipes, connect unions, but do
not tighten.
19. Fit and tighten screws securing control valve
mounting bracket to blower motor housing.
20. Tighten control valve unions to
14 Nm .
CAUTION: Use 2 spanners when loosening
or tightening air conditioning pipe unions.
21. Tighten screw securing solenoid to control valve.
22. Connect solenoid multiplug and secure to
solenoid bracket .
23. Fit evaporator/blower motor assembly.
See
evaporator/blower motor assembly - rear;
Refit