Freelander K18 Compressor Repair Procedure

AIR CONDITIONING
82-8
REPAIRS
Refit
1. If a new compressor is being installed, drain the
required amount of refrigerant oil from the new
compressor.
conditioning compressor replacement.
2. A new compressor is sealed and pressurised
with Nitrogen gas, slowly release the sealing
cap, gas pressure should be heard to release
as the seal is broken.
3. Clean compressor and mating face on front
mounting plate and cylinder block.
4. Position compressor, fit but do not fully tighten
lower bolt.
5. Position heat shield and fit compressor upper
securing bolts. Tighten compressor upper and
lower securing bolts to 25 Nm (18 lbf.ft).
6. Remove caps from compressor and high
pressure pipe.
7. Clean compressor high pressure pipe
connection.
8. Lubricate new 'O' ring with refrigerant oil and fit
to high pressure pipe.
9. Connect high pressure pipe to compressor, fit
and tighten bolt to 25 Nm (18 lbf.ft).
10. Connect multiplug to compressor.
11. Remove caps from compressor and low
pressure pipe.
12. Clean compressor low pressure pipe
connection.
13. Lubricate new 'O' ring with refrigerant oil and fit
to low pressure pipe.
14. Connect low pressure pipe to compressor, fit
and tighten bolt to 25 Nm (18 lbf.ft).
15. Clean pulley 'V's and tensioner pulley running
surface.
16. Using a 3/8” square drive socket bar, raise
ancillary drive belt tensioner and fit drive belt to
pulleys.
17. Fit splash shield and secure with bolts.
18. Fit RH road wheel and tighten nuts to 115 Nm
85 lbf.ft).
19. Replace receiver drier.
20. Recharge A/C system.
RECOVERY, RECYCLING AND
RECHARGING, Refrigerant recovery -
recycling and recharge.
21. Connect battery earth lead.
22. Fit underbelly panel.
Compressor - K1.8
$% 82.10.20
Remove
1. Disconnect battery earth lead.
2. Raise front of vehicle.
WARNING: Do not work on or under a
vehicle supported only by a jack. Always
support the vehicle on safety stands.
3. Remove underbelly panel.
4. Recover refrigerant from A/C system.
RECOVERY, RECYCLING AND
RECHARGING, Refrigerant recovery -
recycling and recharge.
5. Remove alternator.
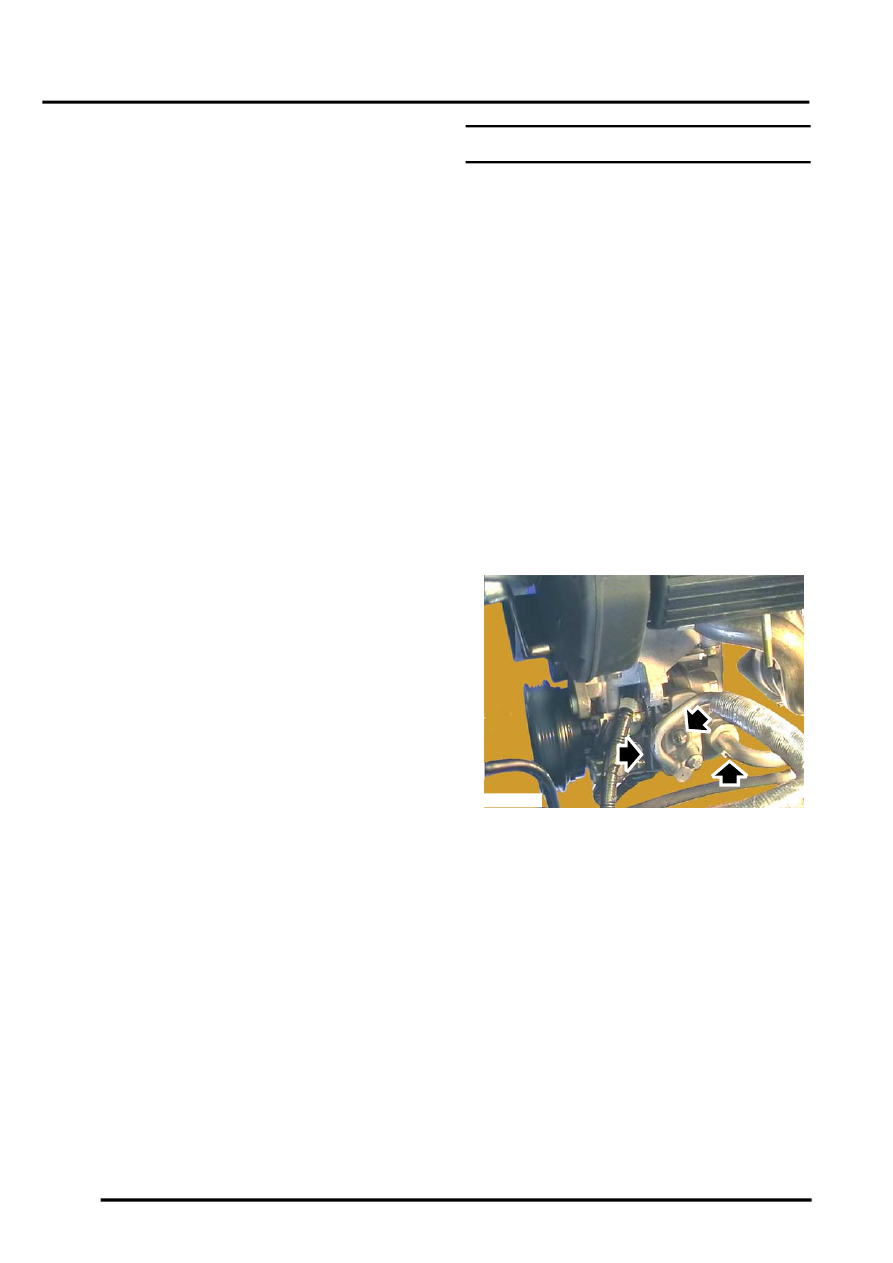
6. Disconnect multiplug from compressor.
7. Remove 2 bolts securing A/C pipes to
compressor, release A/C pipes from
compressor.
CAUTION: Before disconnecting or
removing components, ensure the
immediate area around joint faces and
connections are clean. Plug open
connections to prevent contamination.
8. Remove and discard 'O' rings from A/C pipes.
M82 0730
