
L322 Range Rover Service Procedures
INTERIOR FITTINGS
76-3-34 REPAIRS
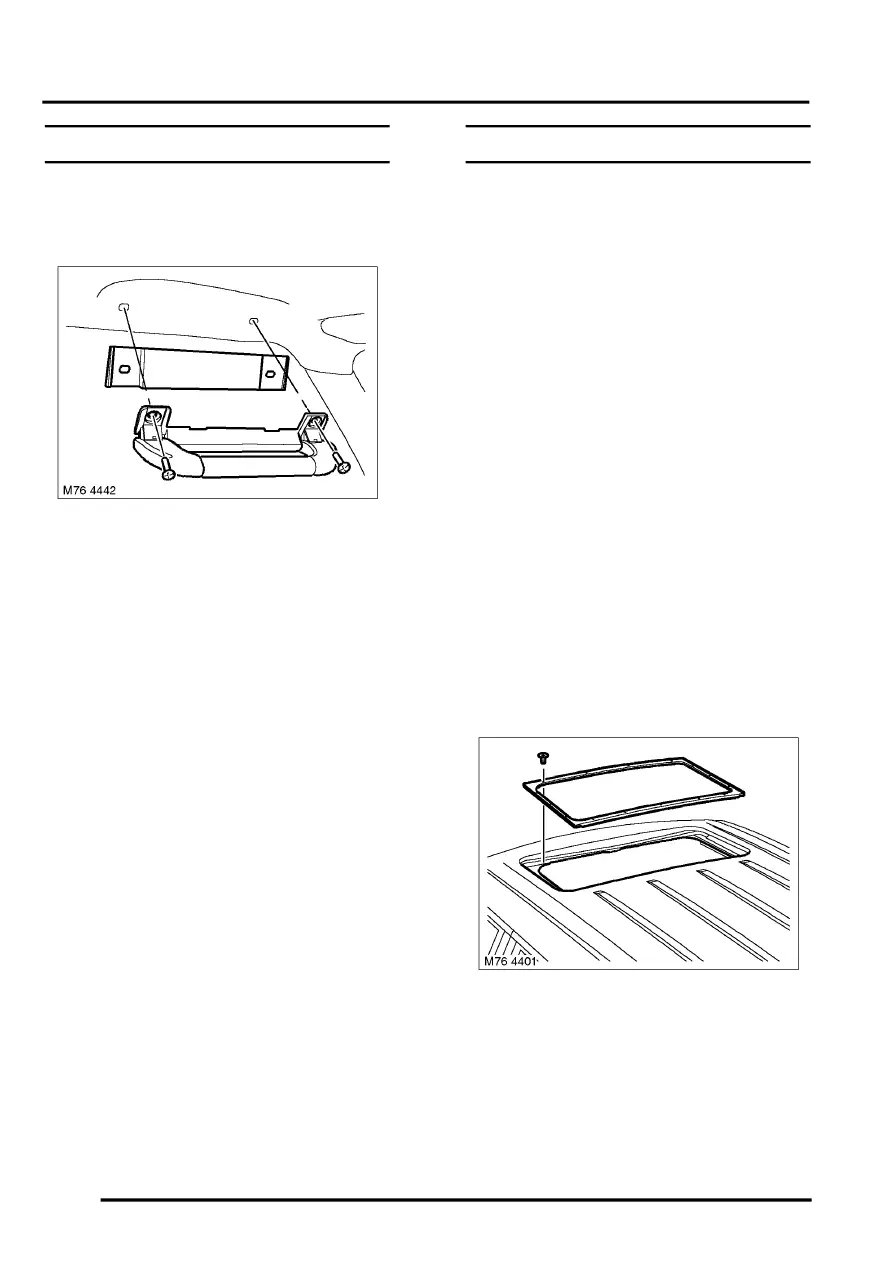
Handle - grab
$% 76.58.30
Remove
1. Release covers from grab handle retaining
screws.
2. Remove 2 screws securing grab handle and
remove handle.
3. Remove grab handle support plate.
Refit
1. Fit grab handle support plate.
2. Fit grab handle and secure with screws.
3. Fit screw covers.
Headlining
$% 76.64.15
Before disconnecting the battery, ensure all text and
cautions in the battery disconnection section are
observed.
GENERAL INFORMATION, Electrical
Remove
1. Models fitted with sunshine roof: Open
sunshine roof.
2. Make the SRS system safe.
Supplementary Restraint System (SRS)
Precautions.
3. Remove RH rear seat.
4. Remove 'A' post upper finishers.
Trim finisher - 'A' post - upper.
5. Remove 'B' post upper finishers.
Trim finisher - 'B' post - upper.
6. Remove 'D' post upper finishers.
Trim finisher - 'D' post - upper.
7. Remove 'E' post finishers.
8. Models fitted with sunshine roof: Remove 15
Torx screws securing headlining to sun roof
and remove clamp plate.
9. Remove sun visors.
INTERIOR FITTINGS, REPAIRS, Sun
10. Remove front console from headlining.