
LR3/Disco 3
Installation
Remove and discard the 4 Torx bolts.
5 .
With assistance, remove the driveshaft.
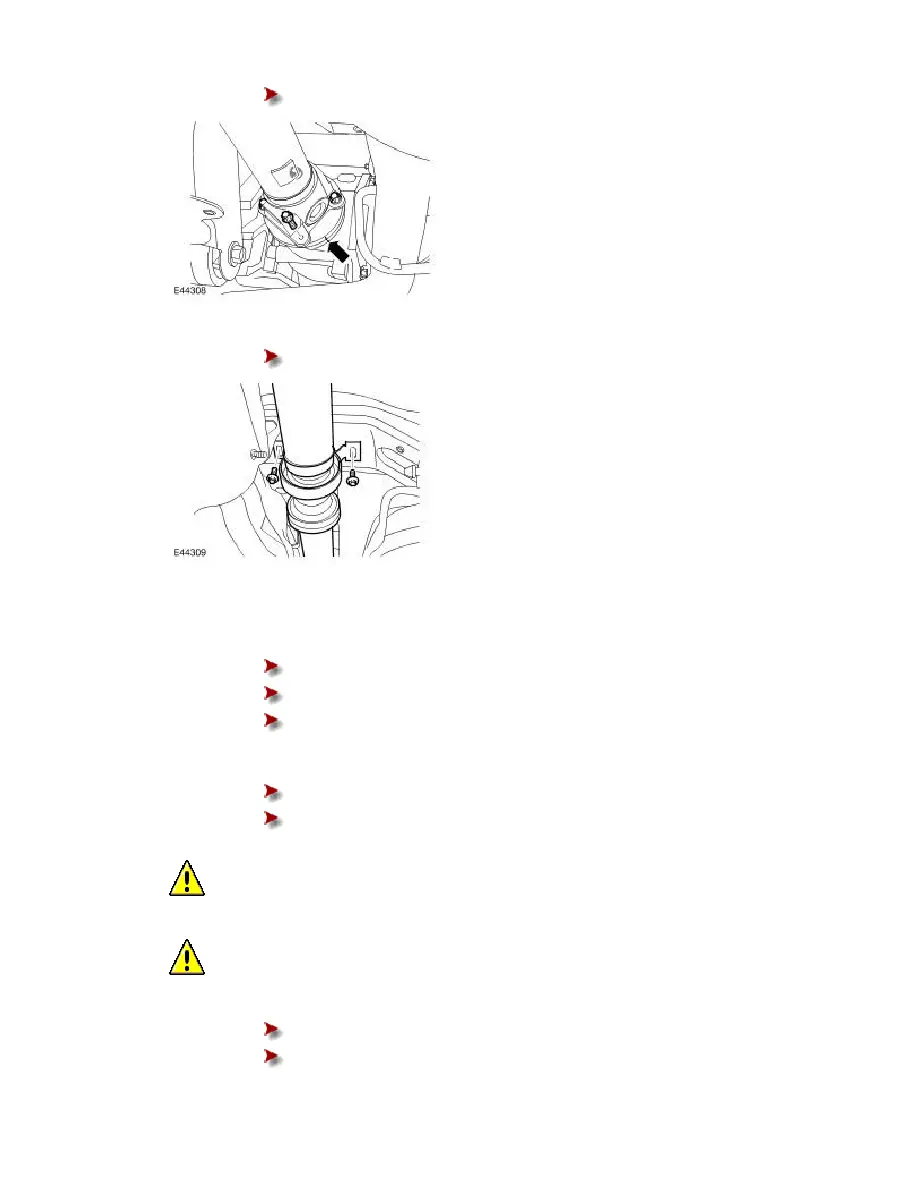
Remove the 2 driveshaft center bearing mount bolts.
1 .
Attach the driveshaft to the rear axle drive flange.
Clean the component mating faces.
Attach the driveshaft to the rear axle drive flange.
Tighten the new Torx bolts to 150 Nm (110 lb.ft).
2 .
Attach the driveshaft to the transfer case drive flange.
Clean the component mating faces.
Tighten the Torx bolts to 55 Nm (40 lb.ft).
3 .
CAUTION: Align the driveshaft center bearing mount by moving the floating front section of the
shaft backward or forwards until the bolt holes in the mount align with the holes in the chassis.
CAUTION: Make sure the center bearing mount is not under tension.
Install the driveshaft center bearing mount bolts.
Align the center bearing mount.
Tighten the driveshaft center bearing retaining bolts to 30 Nm (22 lb.ft).