LR3/Disco 3

17 .
Install the RH primary timing chain tensioner guide.
Tighten the bolts to 12 Nm (9 lb.ft).
18 .
CAUTION: During timing chain tensioner compression, do not release the ratchet stem until
the timing chain tensioner piston is fully bottomed in its bore or damage to the ratchet stem will
result.
Install the RH primary timing chain tensioner.
Using 3 mm diameter metal rod, retain the chain tensioner piston.
Tighten the bolts to 12 Nm (9 lb.ft).
Remove the retaining rod.
19 .
CAUTION: The intake camshaft sprocket retaining bolt MUST be tightened before the exhaust
camshaft sprocket retaining bolt. Engine damage will occur if this procedure is not followed.
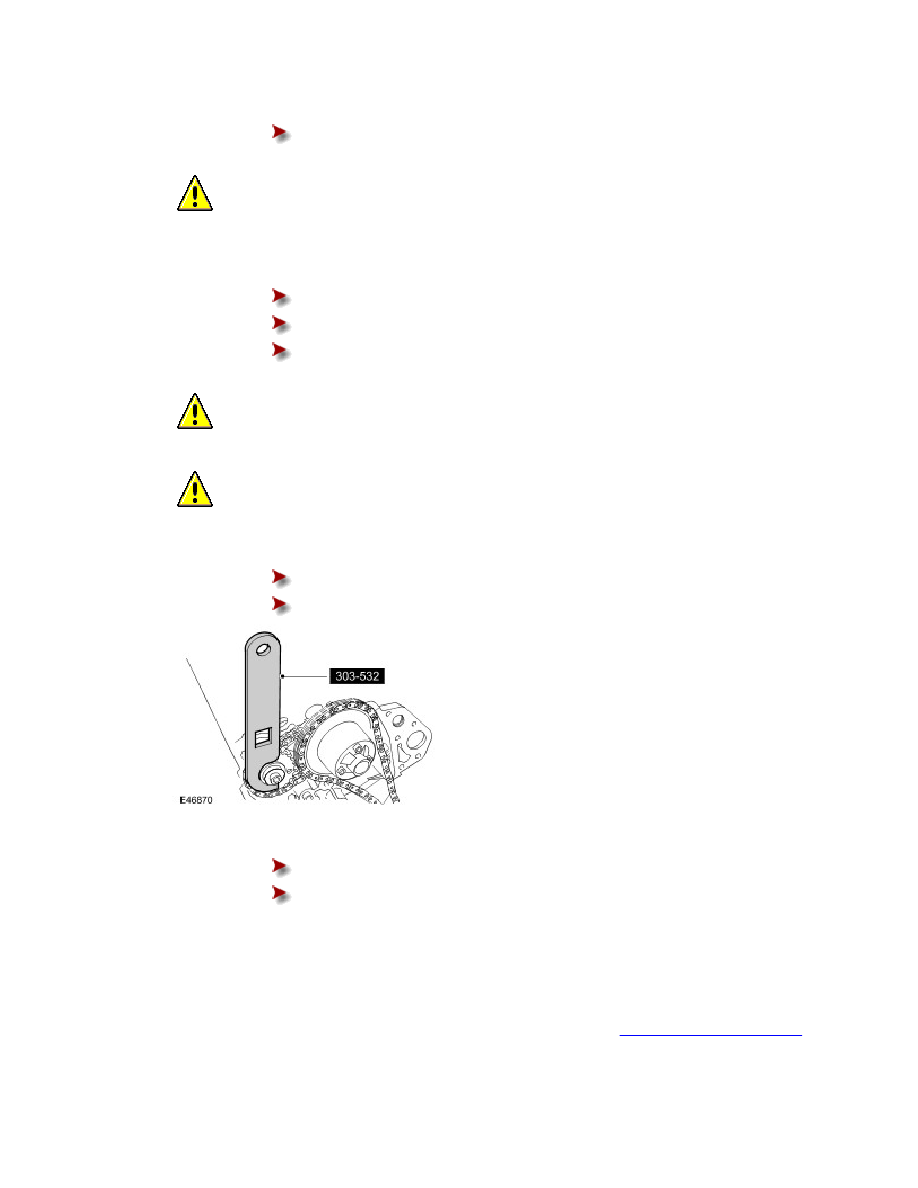
CAUTION: Using the special tool, apply force to the tool in a counter-clockwise direction, to
tension the primary timing chain on its drive side.
Install the special tool to the RH exhaust camshaft sprocket.
Tighten the intake camshaft sprocket retaining bolt to 120 Nm (88 lb.ft).
Tighten the exhaust camshaft retaining bolt to 120 Nm (88 lb.ft).
20 .
Install the RH VCT control solenoid housing.
Install the new O-ring seals.
Tighten the new bolts to 22 Nm (16 lb.ft).
21 .
Remove the special tool from the RH cylinder head.
22 .
Remove the special tool from the LH cylinder head.
23 .
Install the engine front cover. For additional information, refer to
Engine Front Cover (12.65.01)
(Section 303-01)
24 .
Remove the crankshaft locking tool.
