
LR3/Disco 3
Gear Position Sensor
Removal
Installation
Published : Jul 4, 2005
1 .
Disconnect the battery ground cable. For additional information, refer to
Specifications
(Section 414-
00 Charging System - General Information)
2 .
WARNING: Do not work on or under a vehicle supported only by a jack. Always support the
vehicle on safety stands.
Raise and support the vehicle.
3 .
Remove the transmission. For additional information, refer to
Transmission (37.20.02.99)
(Section
308-03 Manual Transmission/Transaxle - 2.7L Diesel)
4 .
CAUTION: Before disconnecting or removing the components, ensure the area around the joint
faces and connections are clean. Plug open connections to prevent contamination.
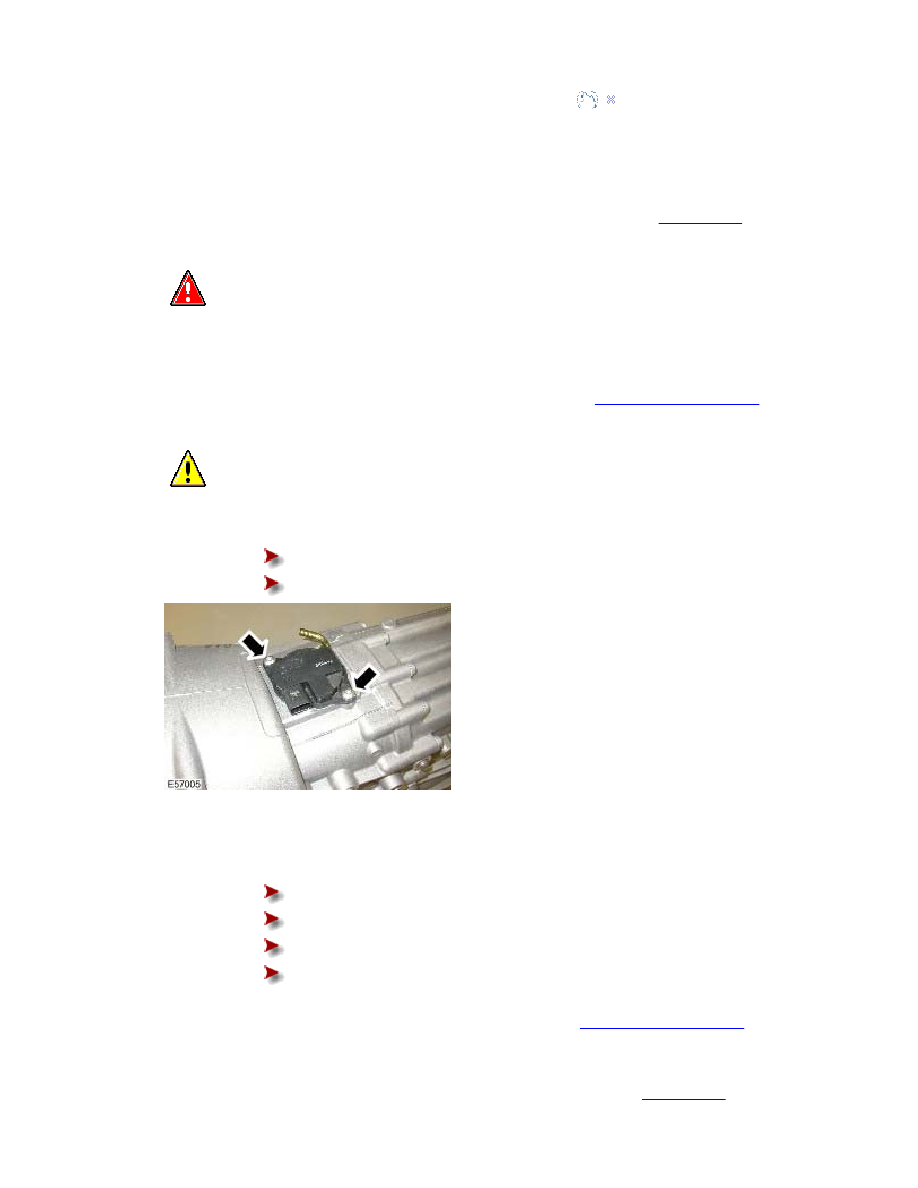
Remove the gear position sensor.
Remove the 2 Torx screws.
Remove and discard the O-ring seal.
1 .
Install the gear position sensor.
Clean the component mating faces.
Install a new O-ring seal.
Apply sealant to the Torx screw thread.
Tighten the Torx screws to 10 Nm (7 lb.ft).
2 .
Install the transmission. For additional information, refer to
Transmission (37.20.02.99)
(Section 308-
03 Manual Transmission/Transaxle - 2.7L Diesel)
3 .
Connect the battery ground cable. For additional information, refer to
Specifications
(Section 414-00