
LR3/Disco 3
Alignment jig
Universal measuring system
Jig system
Ruler or tape measure
Any attached body parts that require accurate alignment and fitting must be incorporated in this step; for instance
bumpers, seals, headlamps, rear lamps and lock assembly components. If this is not done carefully it may result in
water leaks, wind noises and substantial follow-on work.
Ensure that edges line up with adjacent parts and check that gaps are consistent (compare left and right-hand
sides). Make sure that the shape of the vehicle is retained.
Secure the new part
NOTE :
Depending on accessibility the following methods for securing are available: Grip pliers (set of) Screw clamp (set
of) Self-tapping screws Tack welds
Grip pliers (set of)
Screw clamp (set of)
Self-tapping screws
Tack welds
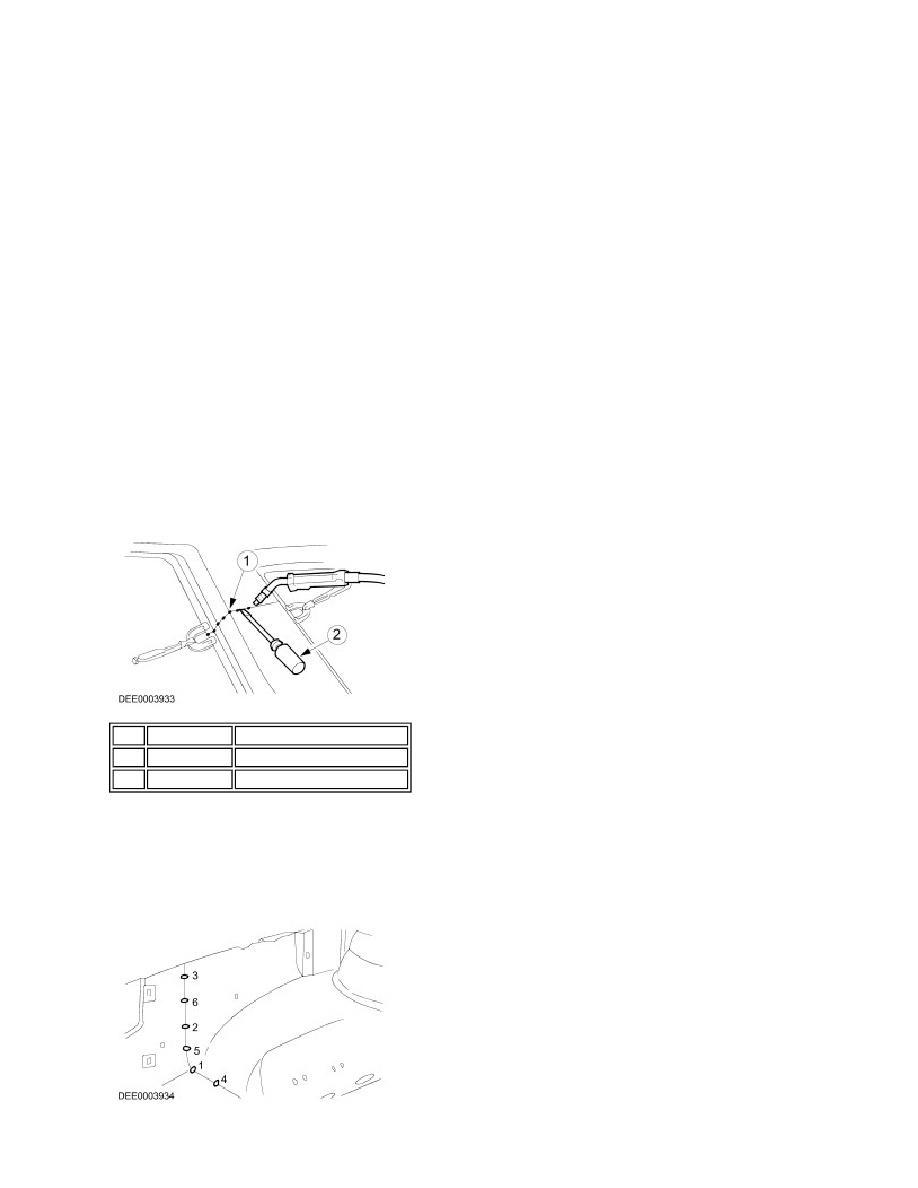
Using a suitable tool ensure that the edges of sectional replacements of profiled parts line up. The edge is then
tack welded to ensure that it lines up.
Aligning and tack weld
Longer joins are usually tack welded to prevent the panel from warping. It is important to carry out the tack welds
in the correct sequence (see diagram).
Weld in the new part following the instructions in the repair manual.
Correct tack welding sequence
The need for subsequent follow-on work can be significantly reduced if aligning and tack-welding are
carried out with due care.
Item Part Number
Description
1
Tack welds
2
Using a suitable tool to align