
Range Rover P38
PANEL REPAIRS
1
REPAIR
VALANCE AND WHEEL ARCH
Remove
1. Disconnect both battery leads, negative lead
first.
2. Raise front of vehicle.
WARNING: Support on safety stands.
3. Disconnect all ECUs.
4. Disconnect airbags and sensor system.
5. Remove airbag modules.
See
SUPPLEMENTARY RESTRAINT SYSTEM,
Repair.
6. Disconnect alternator.
7. Remove front bumper valance.
See CHASSIS
AND BODY, Repair.
8. Remove extension spoiler front bumper.
See
CHASSIS AND BODY, Repair.
9. Remove front grille.
See CHASSIS AND BODY,
Repair.
10. Remove headlamp.
See Workshop Manual -
ELECTRICAL.
11. Remove bonnet.
See CHASSIS AND BODY,
Repair.
12. Remove bonnet strut.
See CHASSIS AND
BODY, Repair.
13. Remove bonnet lock RH or LH.
See CHASSIS
AND BODY, Repair.
14. Remove wheel arch liner - front.
See CHASSIS
AND BODY, Repair.
15. Remove front door assembly.
See CHASSIS
AND BODY, Repair.
16. Remove ’A’ post trim.
See CHASSIS AND
BODY, Repair.
17. Remove fascia.
See CHASSIS AND BODY,
Repair.
18. Remove front wing.
19. Remove engine.
See Workshop Manual -
ENGINE.
20. Remove gearbox.
See Workshop Manual -
GEARBOX.
Refit
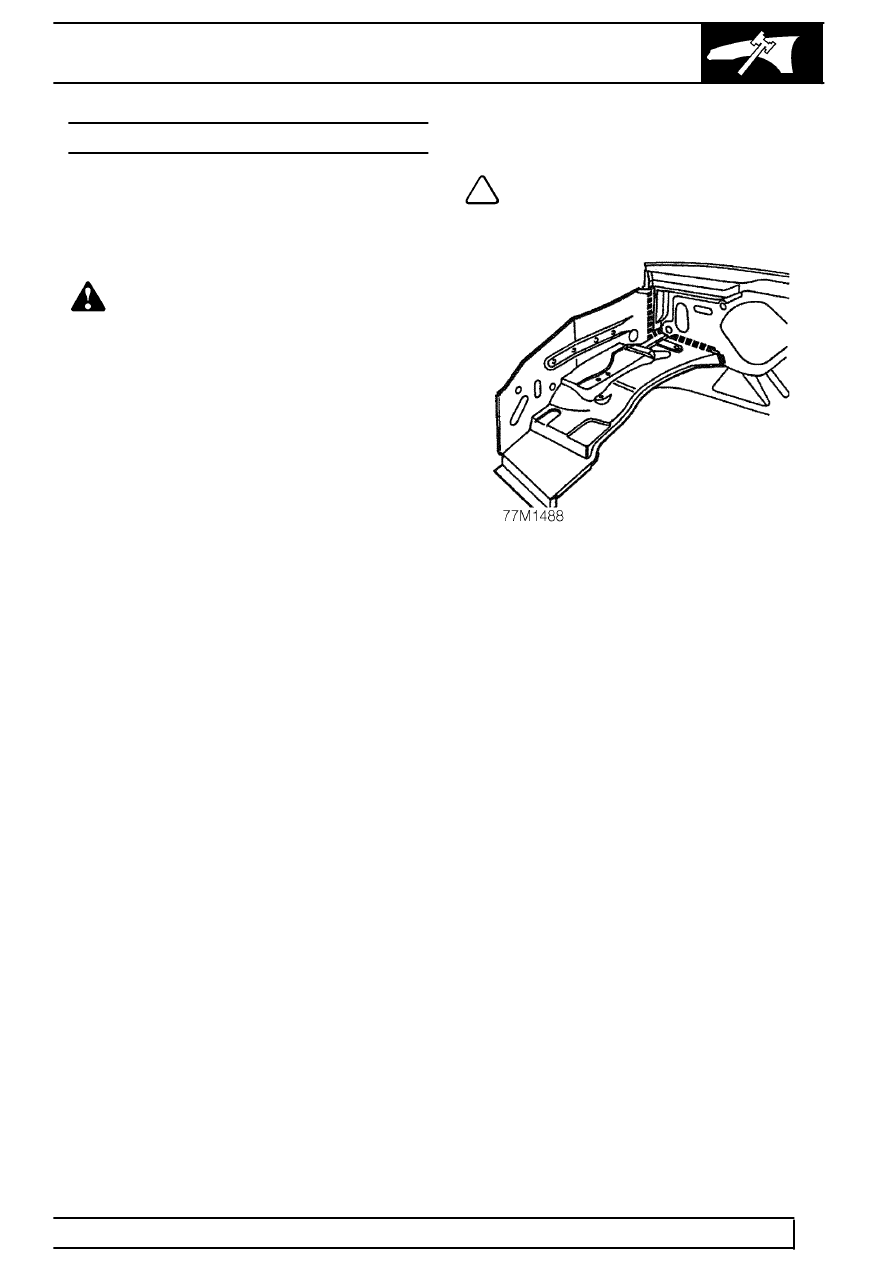
NOTE: In this operation the valance and
wheel arch is fitted in combination with a
front side member.
21. Prepare and clean panel joint faces. Punch or
drill holes in new valance and wheel arch for
plug welding as shown.
22. Reverse removal procedure.
23. Remove stands and lower vehicle.