
Electronic air suspension (EAS) valve block icing
- Make
- Land Rover
- Model
- Range Rover Classic Technical Bulletins
- Section
- Electronic air suspension (EAS) valve block icing › Electronic air suspension (EAS) valve block icing
ELECTRONIC AIR SUSPENSION (EAS) VALVE BLOCK ICING
- Model
- Range Rover Classic
- Affected vehicles
- All Electronic Air Suspension (EAS) derivatives
- Date
- 1994-09-13
- Reference
- 13/09/94
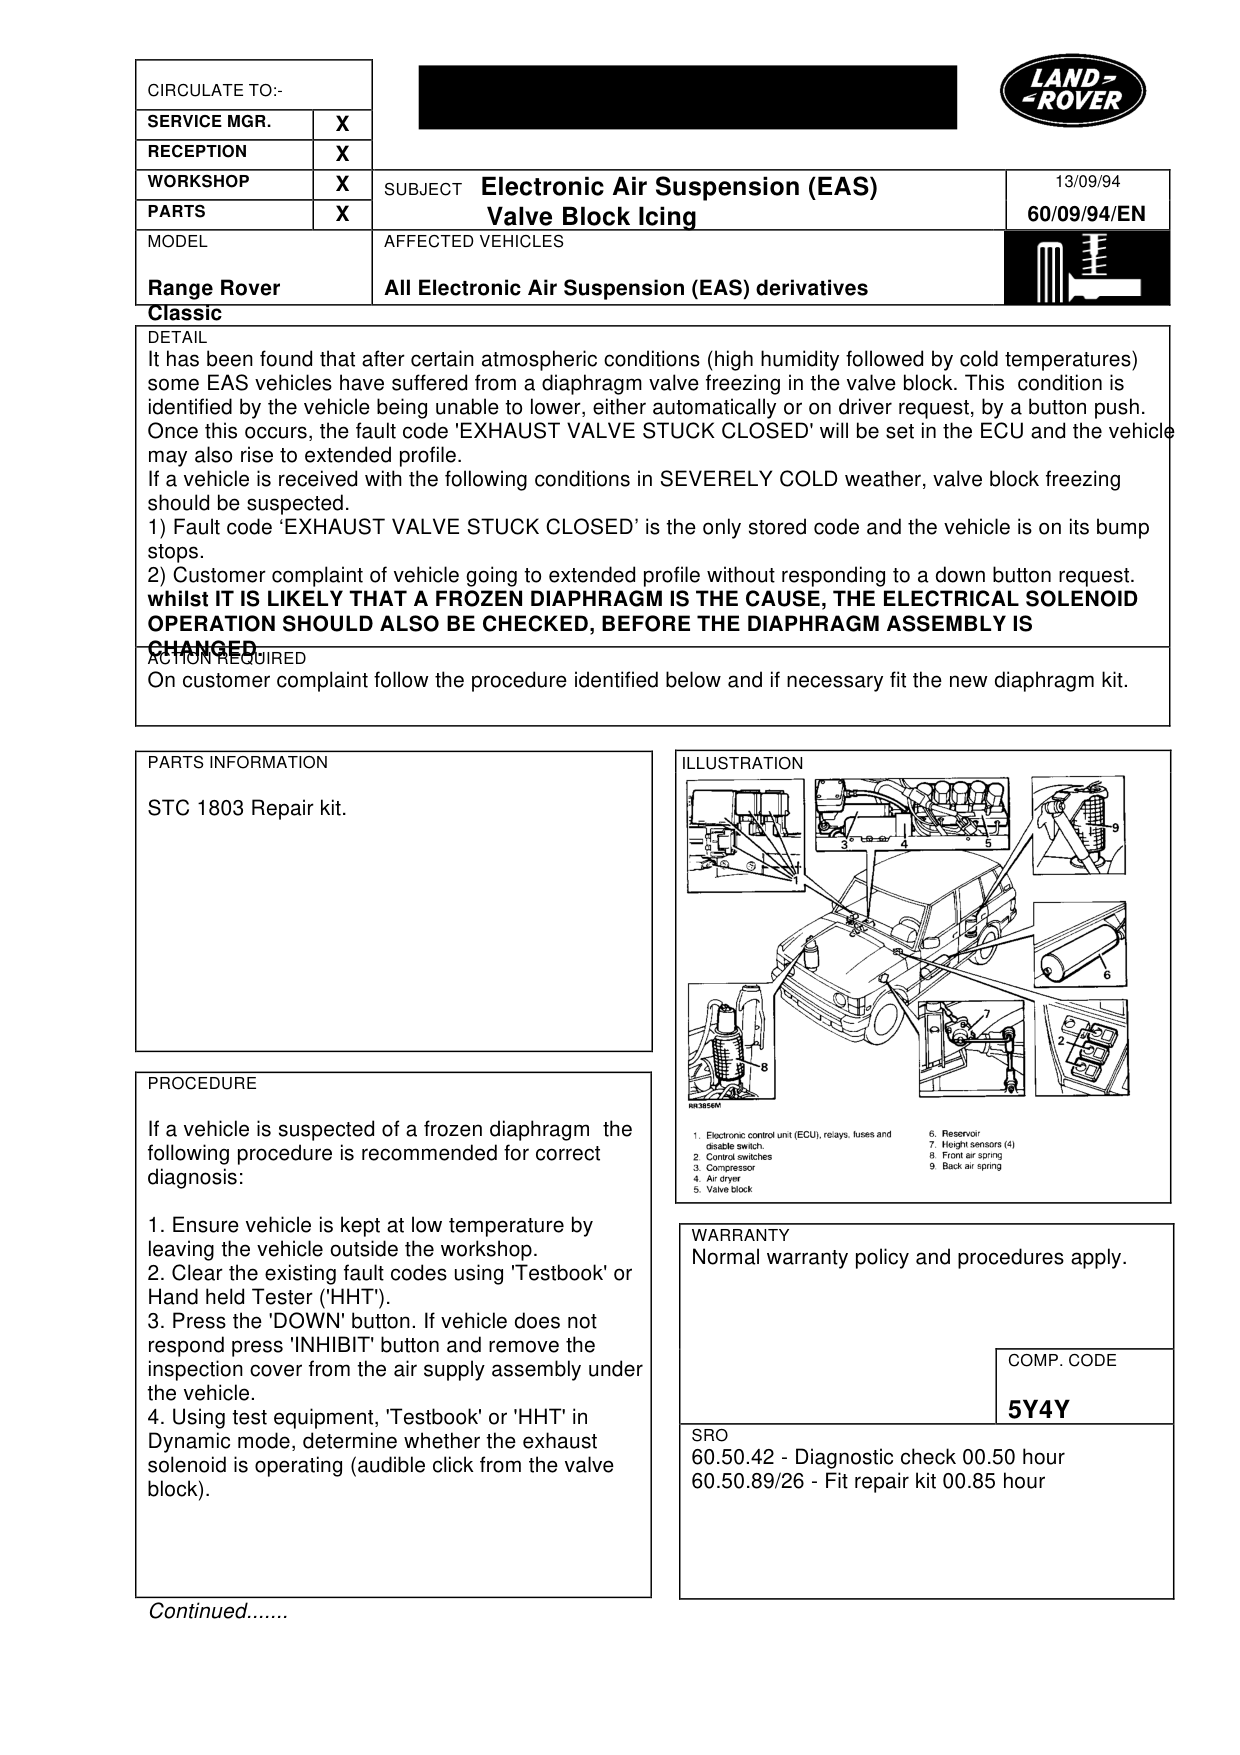
Bulletin text
SUBJECT Electronic Air Suspension (EAS) Valve Block Icing
MODEL AFFECTED VEHICLES
Range Rover All Electronic Air Suspension (EAS) derivatives Classic
DETAIL
It has been found that after certain atmospheric conditions (high humidity followed by cold temperatures) some EAS vehicles have suffered from a diaphragm valve freezing in the valve block. This condition is identified by the vehicle being unable to lower, either automatically or on driver request, by a button push. Once this occurs, the fault code 'EXHAUST VALVE STUCK CLOSED' will be set in the ECU and the vehicle may also rise to extended profile. If a vehicle is received with the following conditions in SEVERELY COLD weather, valve block freezing should be suspected. 1) Fault code ‘EXHAUST VALVE STUCK CLOSED’ is the only stored code and the vehicle is on its bump stops. 2) Customer complaint of vehicle going to extended profile without responding to a down button request. whilst IT IS LIKELY THAT A FROZEN DIAPHRAGM IS THE CAUSE, THE ELECTRICAL SOLENOID OPERATION SHOULD ALSO BE CHECKED, BEFORE THE DIAPHRAGM ASSEMBLY IS CHANGED.
ACTION REQUIRED
On customer complaint follow the procedure identified below and if necessary fit the new diaphragm kit.
PARTS INFORMATION
STC 1803 Repair kit.
PROCEDURE
If a vehicle is suspected of a frozen diaphragm the following procedure is recommended for correct diagnosis:
1. Ensure vehicle is kept at low temperature by leaving the vehicle outside the workshop. 2. Clear the existing fault codes using 'Testbook' or Hand held Tester ('HHT'). 3. Press the 'DOWN' button. If vehicle does not respond press 'INHIBIT' button and remove the inspection cover from the air supply assembly under the vehicle. 4. Using test equipment, 'Testbook' or 'HHT' in Dynamic mode, determine whether the exhaust solenoid is operating (audible click from the valve block).
Continued.......
13/09/94
60/09/94/EN
WARRANTY
Normal warranty policy and procedures apply.
COMP. CODE
5Y4Y
SRO
60.50.42 - Diagnostic check 00.50 hour 60.50.89/26 - Fit repair kit 00.85 hour
SUBJECT Electronic Air Suspension (EAS) Valve Block Icing
MODEL AFFECTED VEHICLES
Range Rover All Electronic Air Suspension (EAS) derivatives Classic 5. If the solenoid can be heard, remove the exhaust pipe from port 7 and after releasing the 'INHIBIT', press 'DOWN' button. If the vehicle lowers the exhaust diaphragm is stuck shut.
Fit kit STC1803 as follows:
The following procedure repair procedure covers the new diaphragm fitment and minimises the disturbance to the vehicle. IT IS NOT RECOMMENDED THAT ALL PIPES ARE DISCONNECTED AS DAMAGED PIPES MAY RESULT IN A VEHICLE BEING RETURNED FOR AIR LEAKS> CARE SHOULD ALSO BE TAKEN TO PREVENT DIRT ENTERING THE SYSTEM.
1. Depressurise the EAS system as detailed in section 68 of the workshop manual. 2. Disconnect the compressor inlet pipe. 3. Detach the compressor air supply assembly from the chassis and support the assembly to avoid straining air supply and electrical harnesses. 4. Remove the lid and inspection hatch to expose the valve block. 5. Disconnect the blue teflon pipe at the valve block end. 6. Disconnect pipes from ports 5,7 and 9 sealing the ends of the pipes and open ports to prevent dirt ingress. 7. Disconnect the 13 way electrical plug and detach from its support tag. 8. Remove the 4 screws attaching the valve block to the air supply assembly and lift the valve block clear of the box. 9) Remove the four screws securing the diaphragm block and remove from the main valve block body.(The main block should be maintained in its normal orientation to prevent dirt ingress)
Note: Take care to retain the small 'loose' spring. Also check for signs of moisture on the top side of the diaphragm. If none is present then valve block icing is unlikely and further investigation should be undertaken.
13/09/94 60/09/94/EN
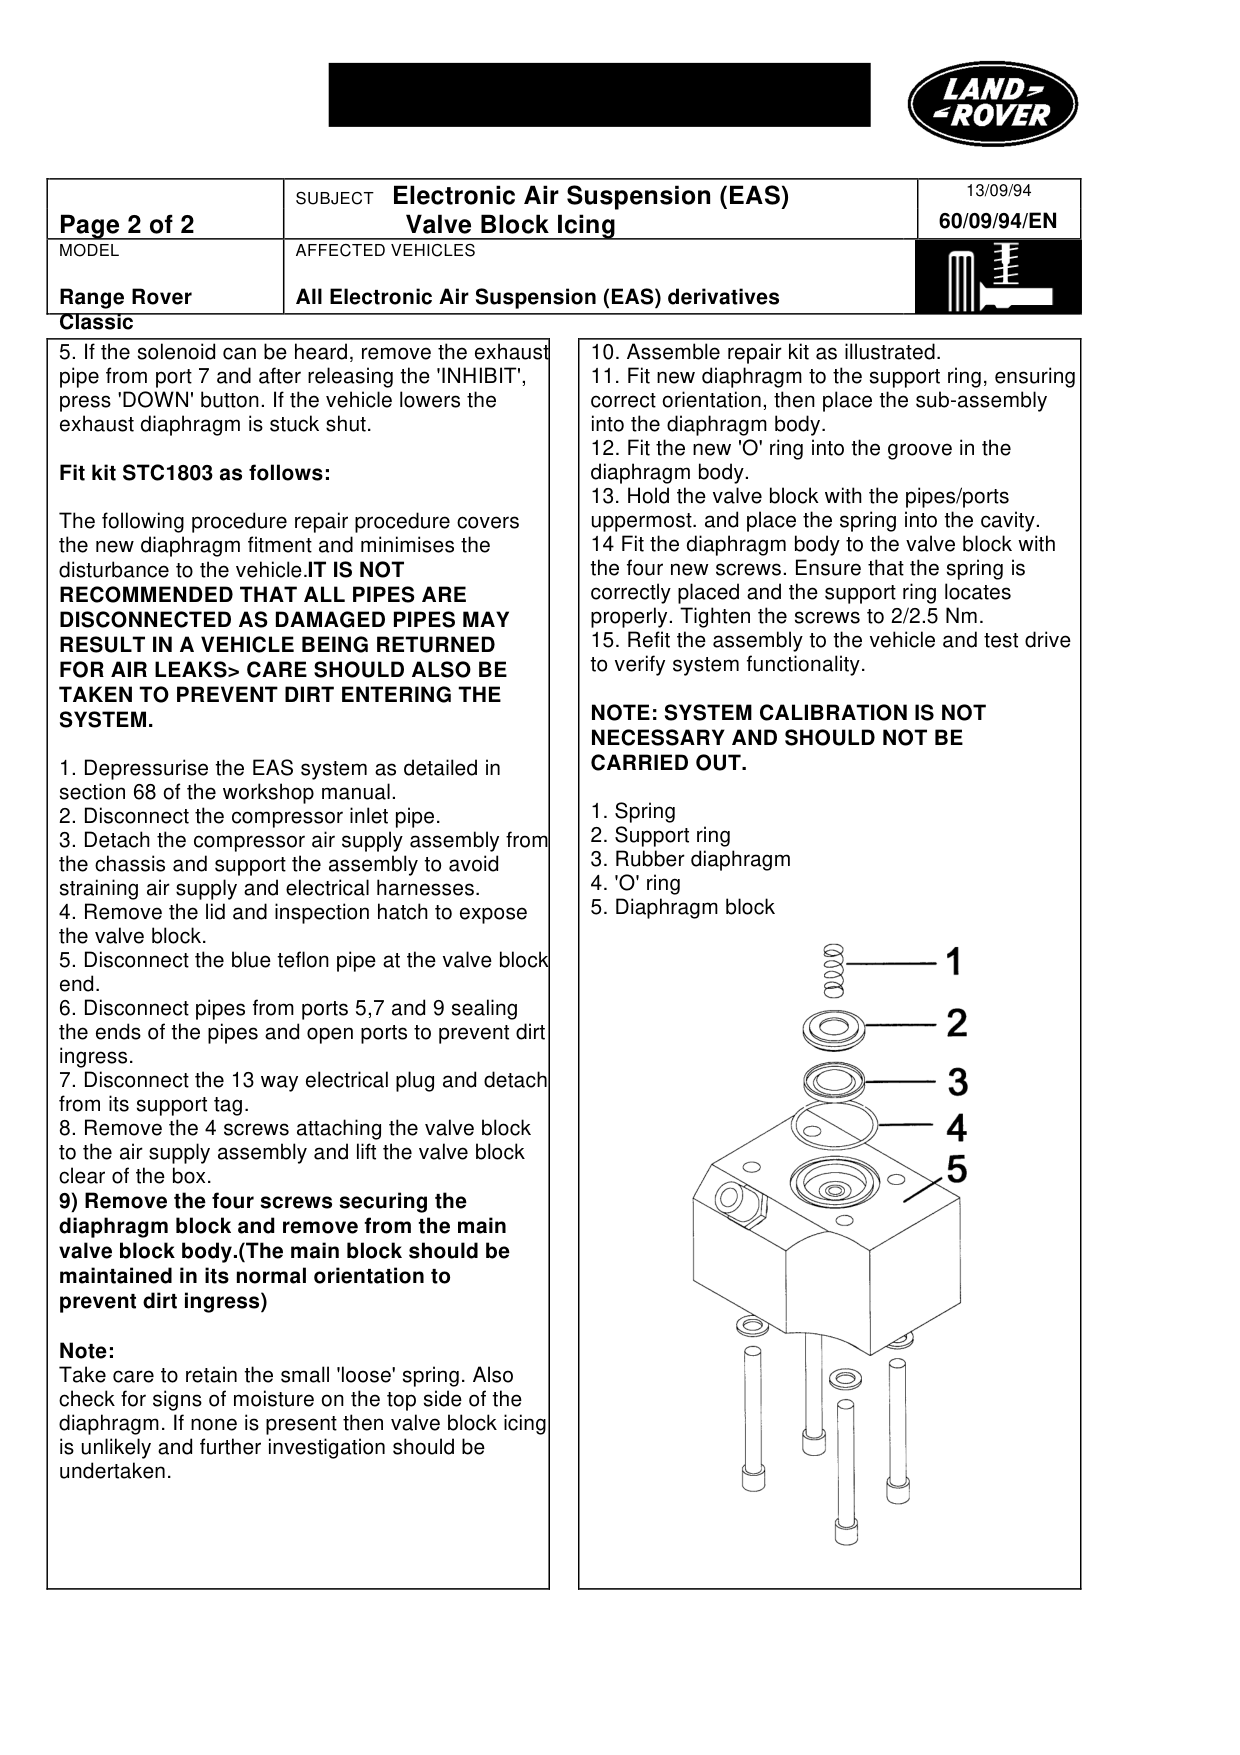
10. Assemble repair kit as illustrated. 11. Fit new diaphragm to the support ring, ensuring correct orientation, then place the sub-assembly into the diaphragm body. 12. Fit the new 'O' ring into the groove in the diaphragm body. 13. Hold the valve block with the pipes/ports uppermost. and place the spring into the cavity. 14 Fit the diaphragm body to the valve block with the four new screws. Ensure that the spring is correctly placed and the support ring locates properly. Tighten the screws to 2/2.5 Nm. 15. Refit the assembly to the vehicle and test drive to verify system functionality.
NOTE: SYSTEM CALIBRATION IS NOT NECESSARY AND SHOULD NOT BE CARRIED OUT.
1. Spring 2. Support ring 3. Rubber diaphragm 4. 'O' ring 5. Diaphragm block
Parts & tools for this job For Land Rover Range Rover
- PARTEngine gasket setSearch: Land Rover Range Rover engine gasket set
- TOOLTorque wrenchSearch: 3/8 inch torque wrench
- TOOLFeeler gauge setSearch: feeler gauge set
Links open Amazon search results in a new tab. As an Amazon Associate I earn from qualifying purchases.