MKT FWD V6-3.7L (2010)

Removal
NOTE: The vertical and horizontal alignment procedures need to be carried out to align the sensor.
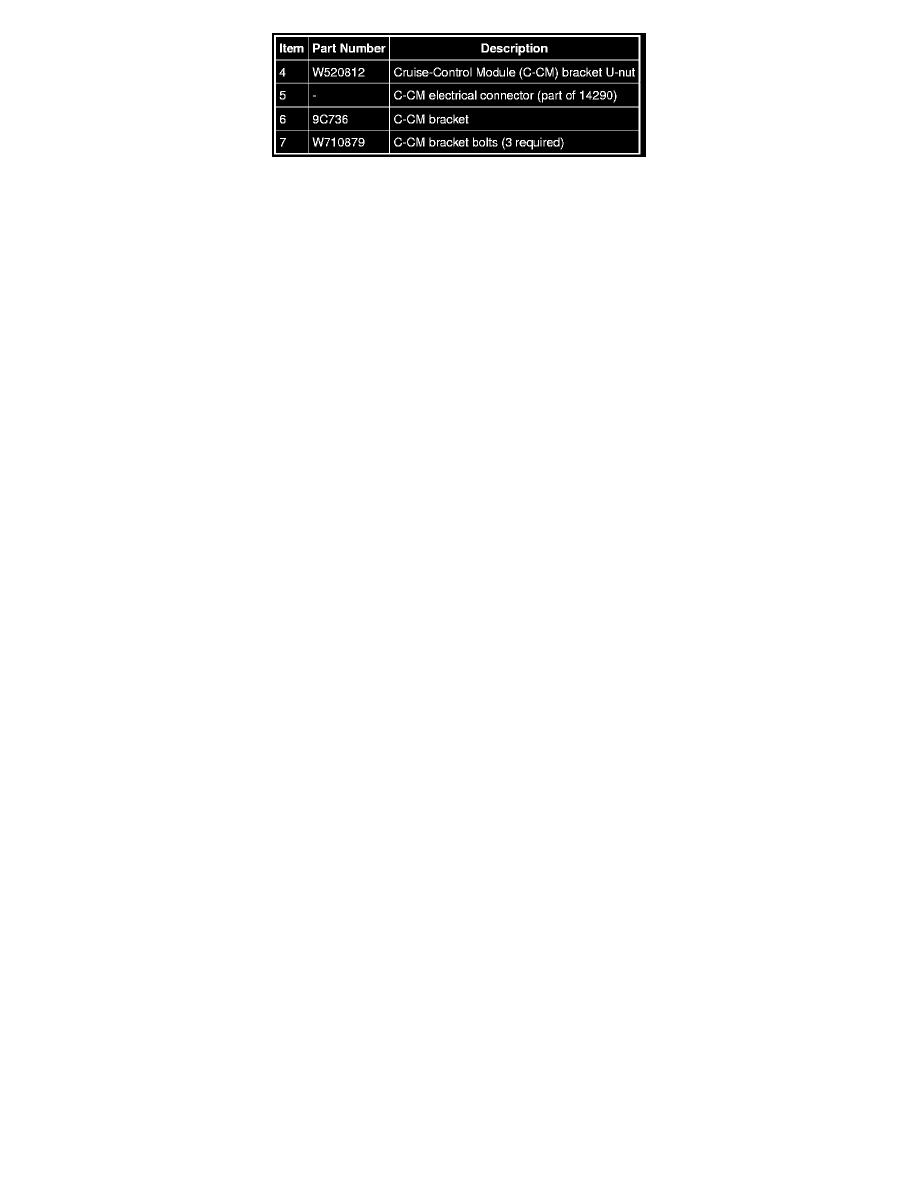
Cruise-Control Module (C-CM) or bracket
1. With the vehicle in NEUTRAL, position it on a hoist. For additional information, refer to Vehicle Jacking and Lifting.
2. Remove the front bumper cover. For additional information, refer to Bumper.
3. Gently pry the C-CM away from the retaining studs.
-
Disconnect the electrical connector.
4. Inspect the C-CM grommets for any damage.
Bracket
5. Remove the 3 bolts and the C-CM bracket assembly.
Installation
Bracket
1. Install the 3 bolts and the C-CM bracket assembly.
-
Tighten the bolts to 9 Nm (80 lb-in).
C-CM or bracket
NOTE: The vertical and horizontal alignment procedures need to be carried out to align the sensor.
2. NOTE: If one plastic grommet breaks while the C-CM is being installed, a new grommet should be installed.
Firmly apply pressure to the C-CM so that it seats completely in the grommets.
3. Once the C-CM is installed, pull the C-CM to confirm that all 3 ball studs are fully seated in the grommets.
4. Connect the C-CM connector.
1. Fill the C-CM component connector cavity with the electrical grease.
2. Connect the C-CM connector.
3. Disconnect the C-CM connector.
4. Fill the C-CM component connector cavity with the electrical grease again.
5. Connect the C-CM connector.
5. Do not install the front bumper cover until the alignment procedures are carried out.
-
Vertically and horizontally align the C-CM. For additional information, refer to Cruise Control Module (C-CM) (with Sensor) Adjustment
See: Cruise Control/Adjustments.
