Navigator 4WD V8-5.4L (2010)

Removal and Installation
1. With the vehicle in NEUTRAL, position it on a hoist. For additional information, refer to Vehicle Jacking and Lifting.
2. Drain the cooling system. For additional information, refer to Cooling System Draining, Filling and Bleeding See: Service and Repair/Cooling
System Draining, Filling and Bleeding.
3. Remove the RH and LH headlamp assemblies.
4. Remove the cooling fan motor and shroud. For additional information, refer to Cooling Fan Motor and Shroud See: Radiator Cooling
Fan/Radiator Cooling Fan Motor/Service and Repair.
5. Disconnect the radiator overflow hose from the radiator.
6. Release the clamp and disconnect the upper radiator hose from the radiator.
7. Remove the spring clip and disconnect the lower radiator hose from the radiator.
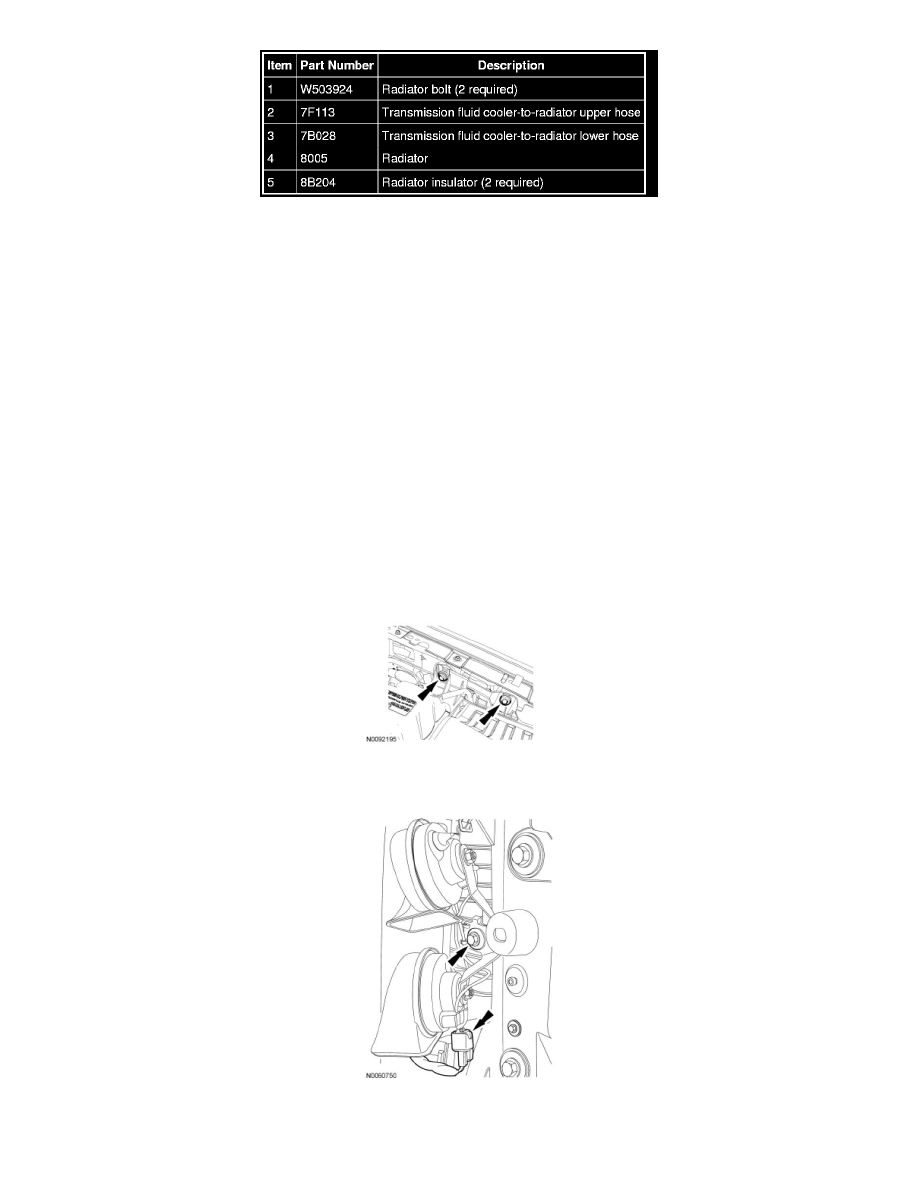
8. Remove the 2 radiator bolts.
-
To install, tighten to 15 Nm (133 lb-in).
9. Remove the 2 bolts and position the coolant expansion tank aside.
-
To install, tighten to 15 Nm (133 lb-in).
10. Disconnect the electrical connector and remove the bolt and the horn assembly.
-
To install, tighten to 10 Nm (89 lb-in).
11. NOTE: LH shown, RH similar.
Remove the 6 LH and RH air deflector-to-condenser core pin-type retainers.
