
Navigator 4WD V8-5.4L SOHC VIN L (1998)
Part 3 Of 3
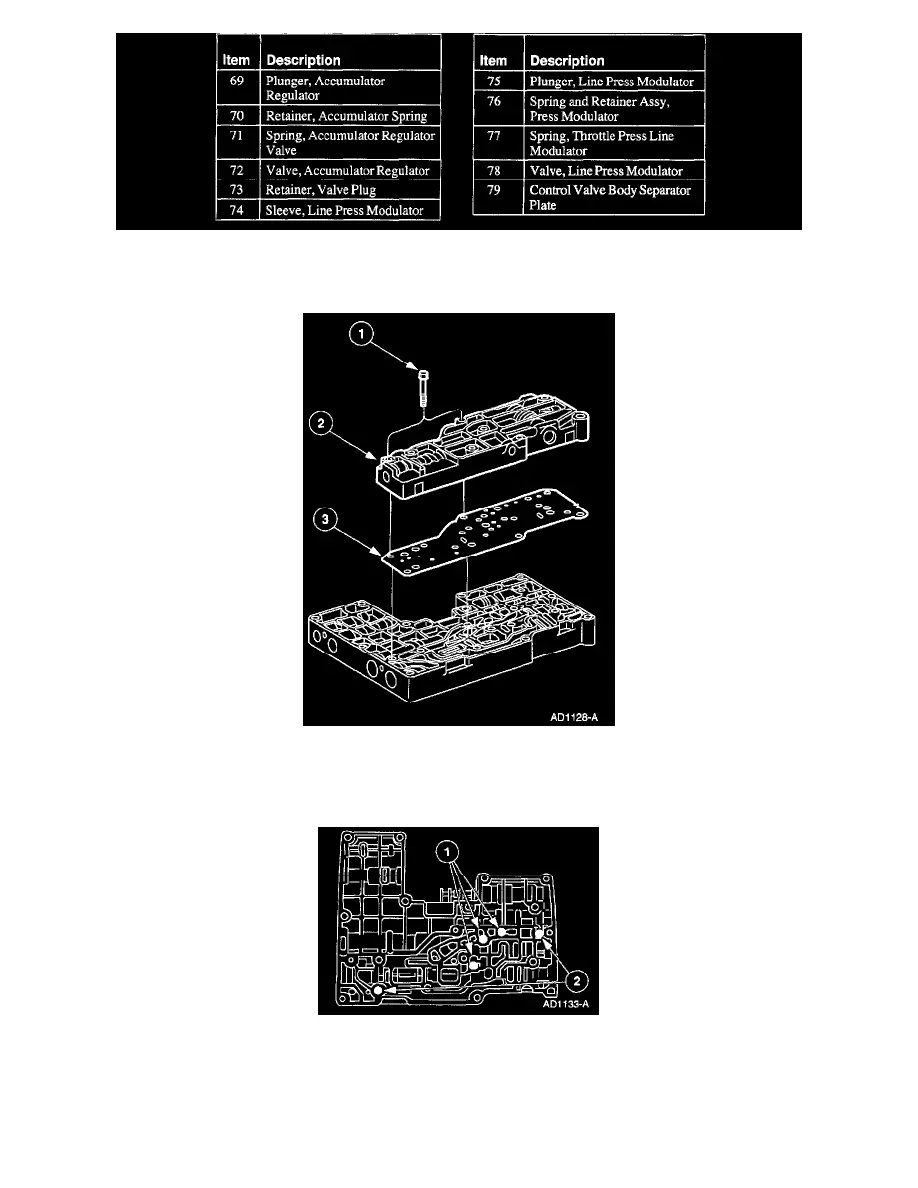
DISASSEMBLY
1. Remove the lower control valve body.
1
Remove the bolts.
2
Remove the lower control valve body.
3
Remove the control valve body separator plate.
2. CAUTION: Note the location of the check balls prior to removal. If the check balls are not installed in their proper location shift problems will
occur.
Remove the check balls.
1
Remove three small check balls.
2
Remove two large check balls.