
Cougar/XR7 V8-4.6L VIN W (1997)
14. Return front suspension lower arm strut to sub-frame nut to original position.
15. Install lower shock bolt and nut. Do not tighten at this time.
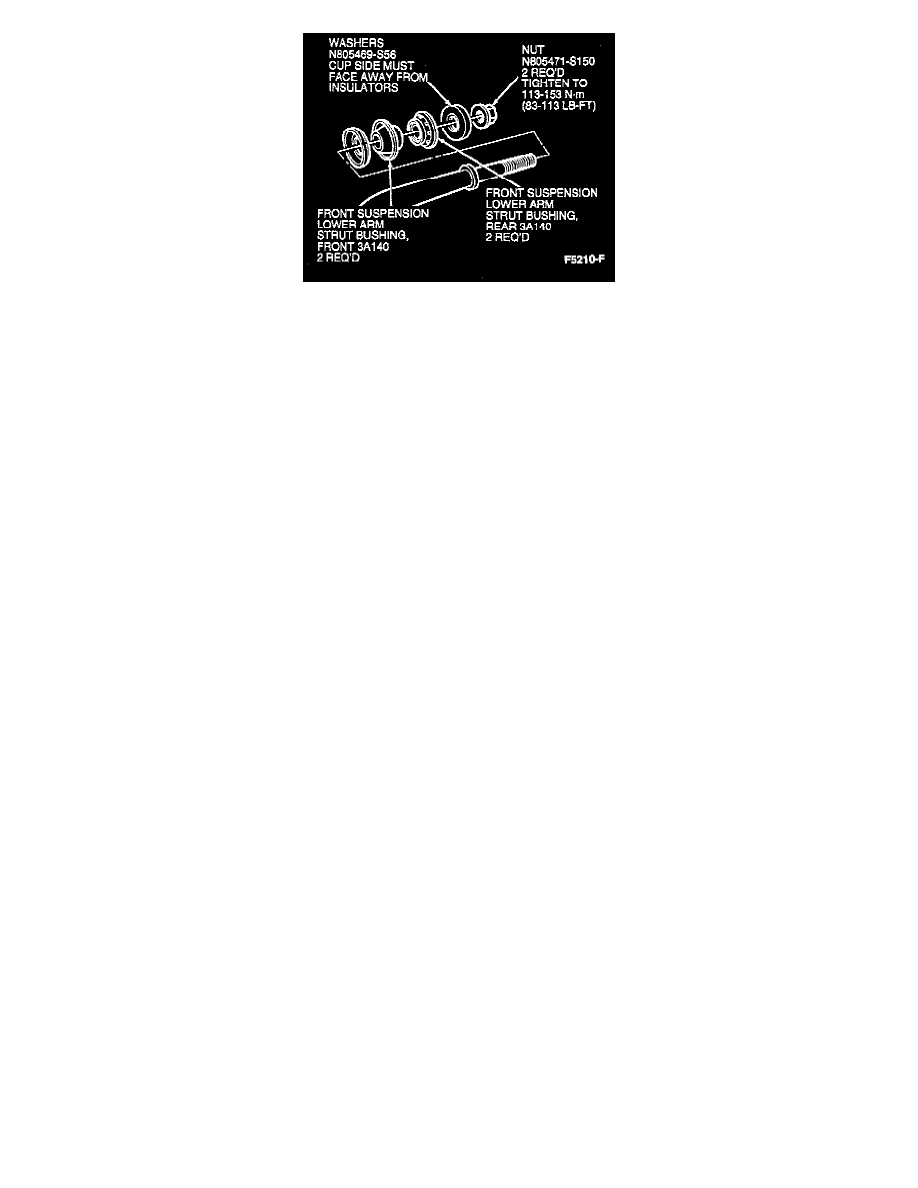
16. Holding front suspension lower arm strut with wrench, tighten front suspension lower arm strut to sub-frame retaining nut to 113-153 Nm (84-112
ft. lbs.).
17. Install brake hose support bracket. Tighten retaining bolt to 11-16 Nm (9-11 ft. lbs.).
18. Install front brake anti-lock sensor. Tighten bolt to 4.6-6.8 Nm (41-60 in. lbs.).
19. Install tire and wheel assembly. Tighten lug nuts to 115-142 Nm (85-104 ft. lbs.).
NOTE: Do not use power tools, use torque wrench.
20. Lower vehicle.
21. Position vehicle on "drive-on" hoist alignment rack. Push down on front end of vehicle and release to neutralize front suspension lower arm strut
bushings. Tighten lower front shock absorber nut to 170-230 Nm (126-169 ft. lbs.).
CAUTION: To prevent front suspension lower arm strut bushing wind-up, lower front shock absorber nut must be tightened with vehicle weight
on wheels.
22. Check wheel alignment.