
Cougar/XR7 V8-4.6L VIN W (1997)
Pressure Regulating Solenoid: Service and Repair
Installation
NOTE: MERCON Automatic Transmission Fluid is being replaced by MERCON V as a service fluid.
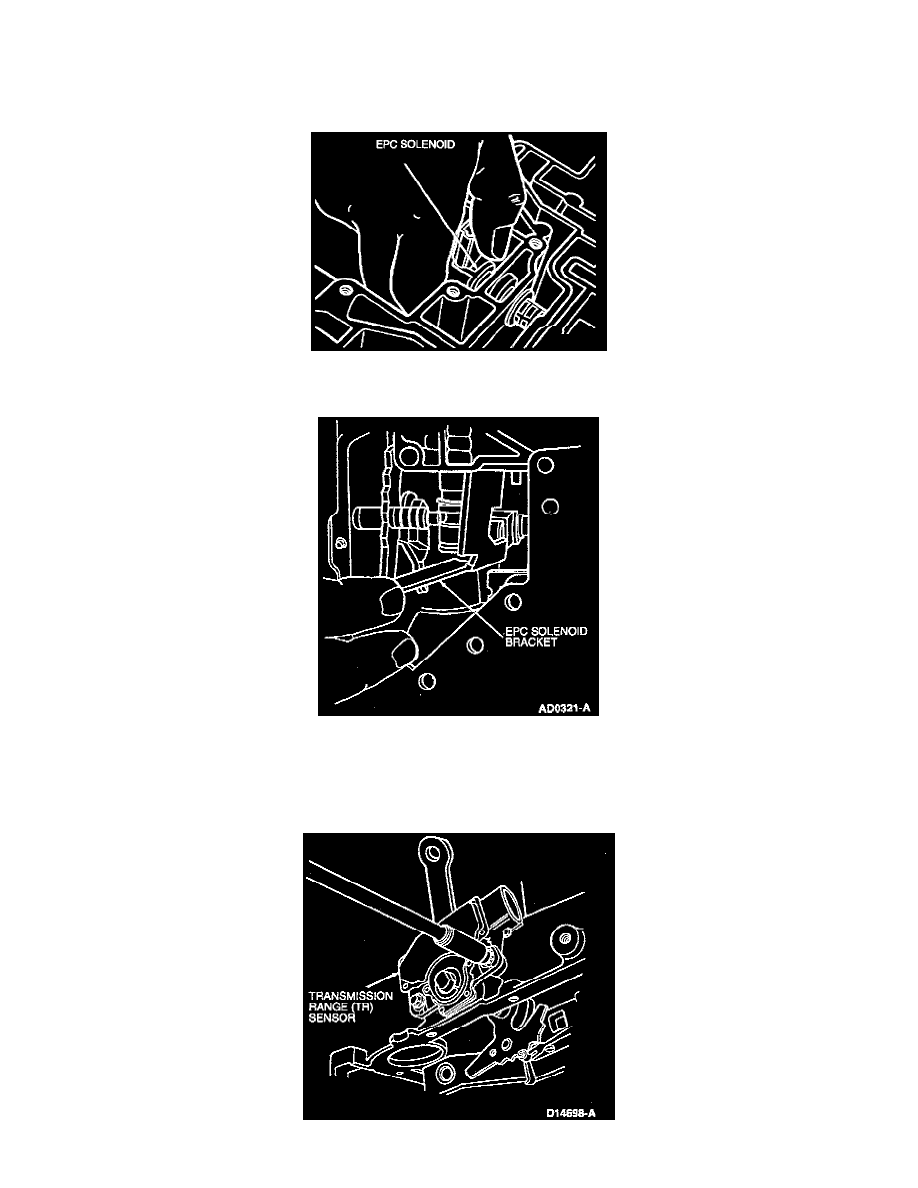
1. Lubricate EPC solenoid seal and O-ring with a light coating of Motorcraft MERCON or MERCON V Automatic Transmission Fluid or equivalent
meeting FORD specification. Install electronic pressure (EPC) control solenoid by sliding it into the bore.
2. Install the EPC solenoid bracket. Install bolt and tighten to 11-15 Nm (98-132 in. lbs.).
3. Install connector to EPC solenoid by pushing connector body in place.
4. Position manual valve detent lever and parking lever actuating rod into case. Parking lever actuating rod must be positioned over parking pawl.
5. Slide manual control lever into case and position through detent. Install nut and tighten to 26-37 Nm (20-27 ft. lbs.).
6. Install manual lever shaft retaining pin.