
Mariner 2WD V6-3.0L (2008)
9. NOTE: Lubricate the urethane adhesive with water to aid the special tool when cutting.
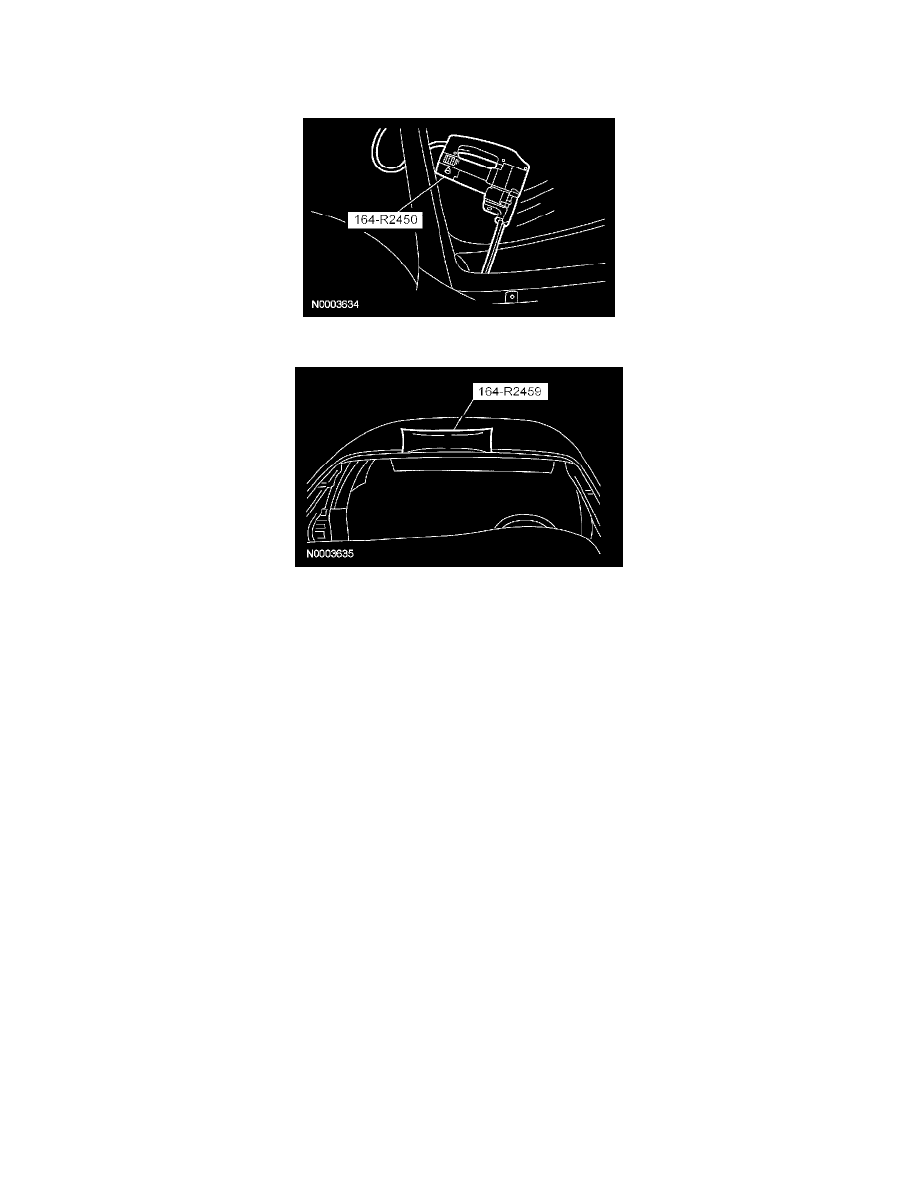
Using the special tool, cut the urethane adhesive from the windshield glass starting at the top center and working toward the bottom corners.
10. Using the special tool, distance the windshield glass from the body.
11. Using the special tool, cut the remaining urethane adhesive and remove the windshield glass.
12. Using a soft brush or vacuum, remove any foreign material or dirt from the pinch weld.
Installation
WARNING: Do not drive vehicle until the urethane seal has cured. Follow urethane manufacturer's curing directions. Inadequate or
incorrect curing of the urethane seal will adversely affect glass retention. Failure to follow these instructions may result in serious injury to
vehicle occupant(s).
CAUTION: Open the windows to prevent the windshield glass from being pushed out by air pressure if the doors are closed.
1. Dry fit the windshield glass, making alignment marks with tape or a non-staining grease pencil.
2. WARNING: Repair any corrosion found on the pinch weld. The pinch weld is a structural component of the vehicle. Corrosion left
unrepaired may reduce the structural integrity of the vehicle. Failure to follow this instruction may result in serious injury to vehicle
occupant(s).
NOTE: Do not scratch the pinch weld area. For minor scratches or exposed metal on the pinch weld, see manufacturer's recommendations.
Trim the remaining urethane adhesive on the pinch weld to within the specification.
-
The existing urethane adhesive surface should be smooth and free of cuts and contamination.