
Mariner 4WD L4-2.5L (2010)
2. NOTICE: Never mix yellow and black snap rings on opposing sides or damage to the component can occur.
Remove the shaft from the C-Frame and Screw Installer/Remover and install a new yellow snap ring.
3. Repeat steps to install the new bearing cup and snap ring on the opposite side of the driveshaft yoke.
-
If the yellow snap ring will not seat in the snap ring groove, install the black snap rings.
4. Install the driveshaft slip yoke and new bearing cup.
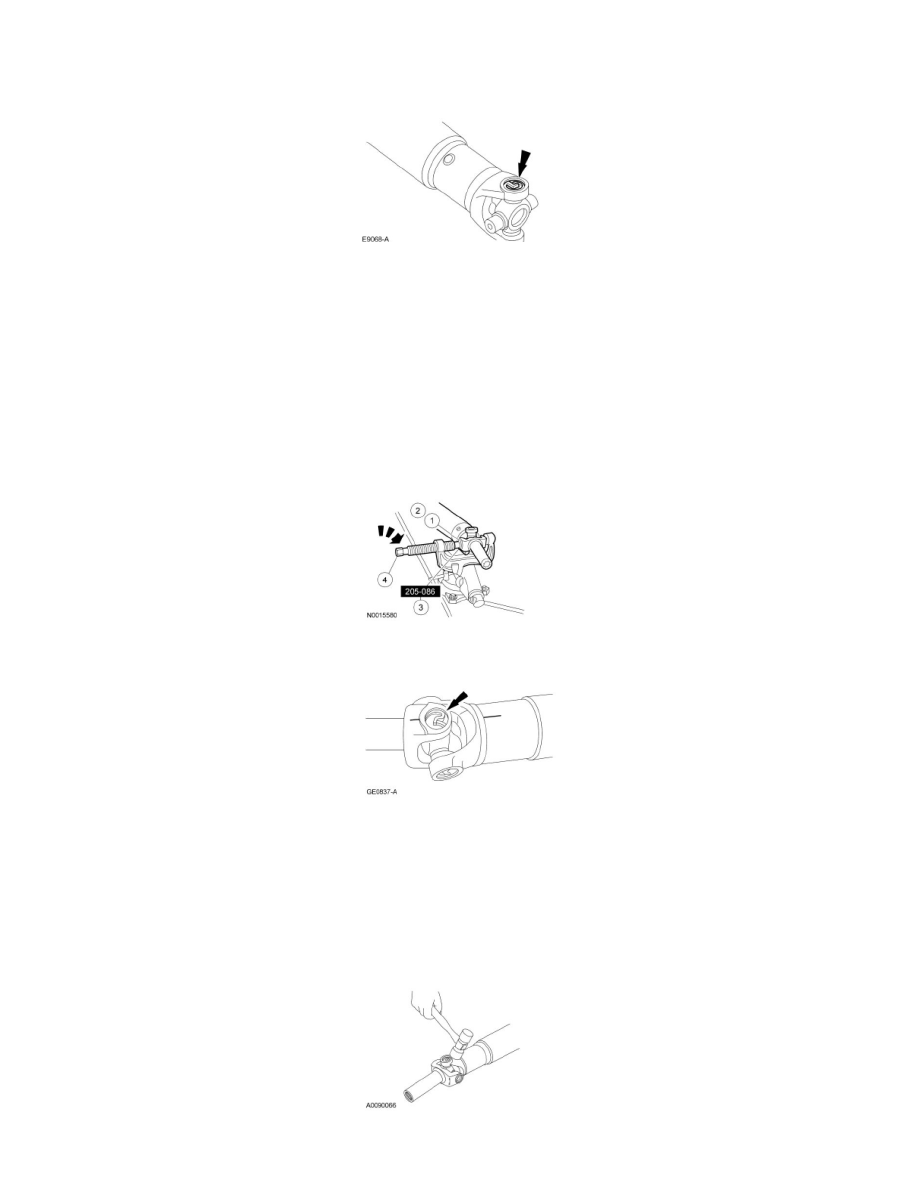
1. Align the index marks made during disassembly and install the driveshaft slip yoke on the U-joint spider.
2. Start a new bearing cup in the driveshaft slip yoke.
-
Check the needle bearings for correct positioning.
3. Position the assembly in the C-Frame and Screw Installer/Remover.
4. Press the bearing cup to just below the snap ring groove.
5. Remove the driveshaft from the C-Frame and Screw Installer/Remover and install a new yellow snap ring.
6. NOTICE: Never mix yellow and black snap rings on opposing sides or damage to the component can occur.
Repeat steps to install the new bearing cup and snap ring on the opposite side of the driveshaft slip yoke.
-
If the yellow snap ring will not seat in the snap ring groove, install the black snap rings.
7. NOTICE: Do not strike the bearings or damage to the component can occur.
A sharp rap on the driveshaft yoke with a brass or plastic hammer will seat the bearing cups.
8. Rotate the driveshaft yoke to make sure the U-joints are free to rotate easily, without binding, before installing the driveshaft.