
Merkur Xr4ti L4-140 2.3L SOHC Turbo (1985)
NOTE:
The cap on the relief valve must be removed.
2.
Remove the two fuel supply manifold retaining bolts.
3.
Remove retaining nut from fuel pulse dampener, then disengage dampener from bracket.
4.
Carefully disengage the fuel supply manifold along with the fuel injectors from the intake manifold.
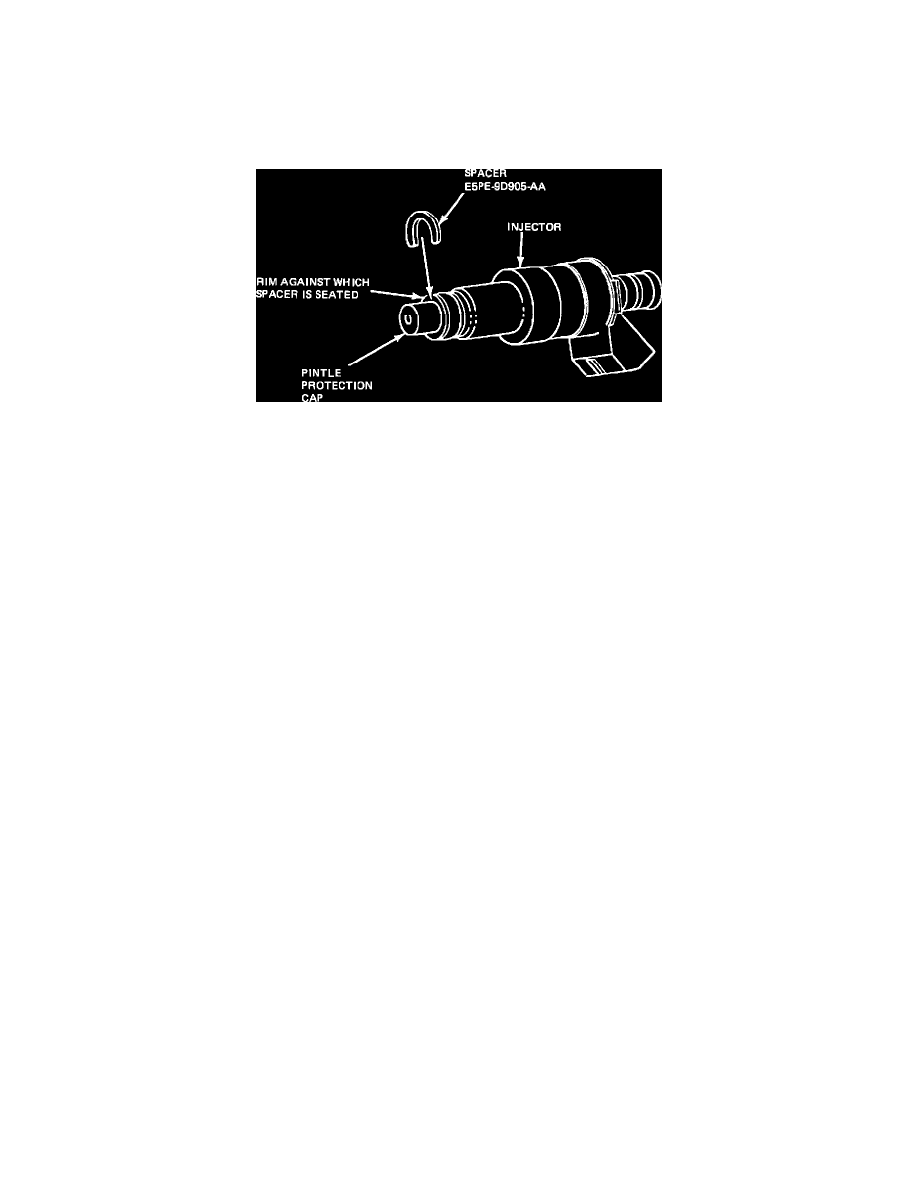
Figure 12 - SPACER INSTALLATION
5.
Install injector spacer to pintle protection cap and seat against rim as shown in Figure 12. Use one spacer per injector. The spacer is designed to
function as a spring clip, but use caution and visually inspect for damage after installation onto the cap.
6.
Lubricate the lower injector O-ring on each injector with light grade oil. Do not use silicone grease, as it will clog the injectors.
7.
Carefully seat fuel injector manifold assembly (with the four injectors) to the intake manifold, and secure manifold with two attaching bolts.
Tighten to 20-30 N-m (15-22 ft.lb.).
8.
Install fuel pulse dampener to bracket. Tighten nut to 7.3 - 9.0 N-m (5.5 - 6.5 ft.lb.).
PART NUMBER
PART NAME
CLASS
E5PZ-9D905-A
Injector Spacer
BG
OTHER APPLICABLE ARTICLES: NONE
WARRANTY STATUS: Reimbursable within the provisions of the Warranty and Policy Manual.
OPERATION: SP9424B85
TIME:
1.0 Hrs. DLR. CODING: Basic Part No. DRIVE - Code: L2