
Milan L4-2.3L VIN Z (2006)
10. Support the rear of the sub-frame with a suitable jack and remove the 4 rear bolts and 2 rear nuts.
^
To install, tighten the bolts and nuts in 2 stages.
^
Stage 1: Tighten to 89 Nm (66 ft. lbs.).
^
Stage 2: Tighten to 149 Nm (110 ft. lbs.).
11. Lower the rear of the front sub-frame 3 inches with the support of the jack.
12. Release the clamp and remove the steering gear-to-fluid cooler return hose.
13. Remove the power steering pressure line bracket-to-steering gear bolt.
^
To install, tighten to 9 Nm (80 inch lbs.).
14. CAUTION: While repairing the power steering system, care should be taken to prevent the entry of contaminants or premature failure of the
power steering components can result.
Remove the power steering pressure line banjo bolt and seals.
^
Discard seals and banjo bolt.
^
To install, tighten to 47 Nm (35 ft. lbs.).
15. Remove the steering gear bolts.
^
To install, tighten to 107 Nm (79 ft. lbs.).
16. Remove the steering gear from the LH side of the vehicle.
17. CAUTION: A new bolt and new seals must be installed any time the power steering pressure line is disconnected from the power steering gear.
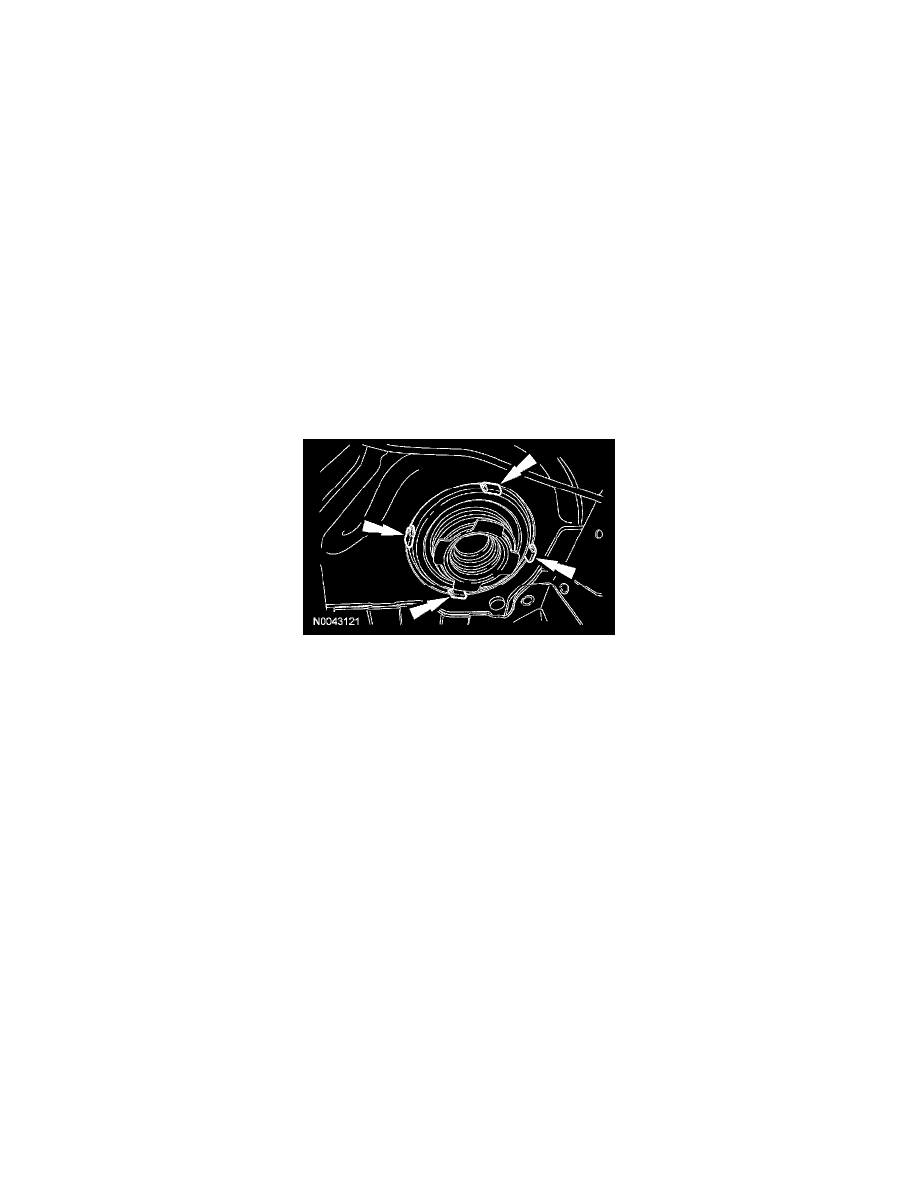
CAUTION: Make sure that the dash seal is properly installed on the steering gear and the retaining clips are fully engaged into the body or
damage to the steering gear can result.
To install, reverse the removal procedure.
18. Fill the power steering system.
19. Check and, if necessary, align the front end.