
Milan AWD L4-2.3L (2008)
-
Remove the bolts and remove the handles.
-
To install, tighten to 5 Nm (44 lb-in).
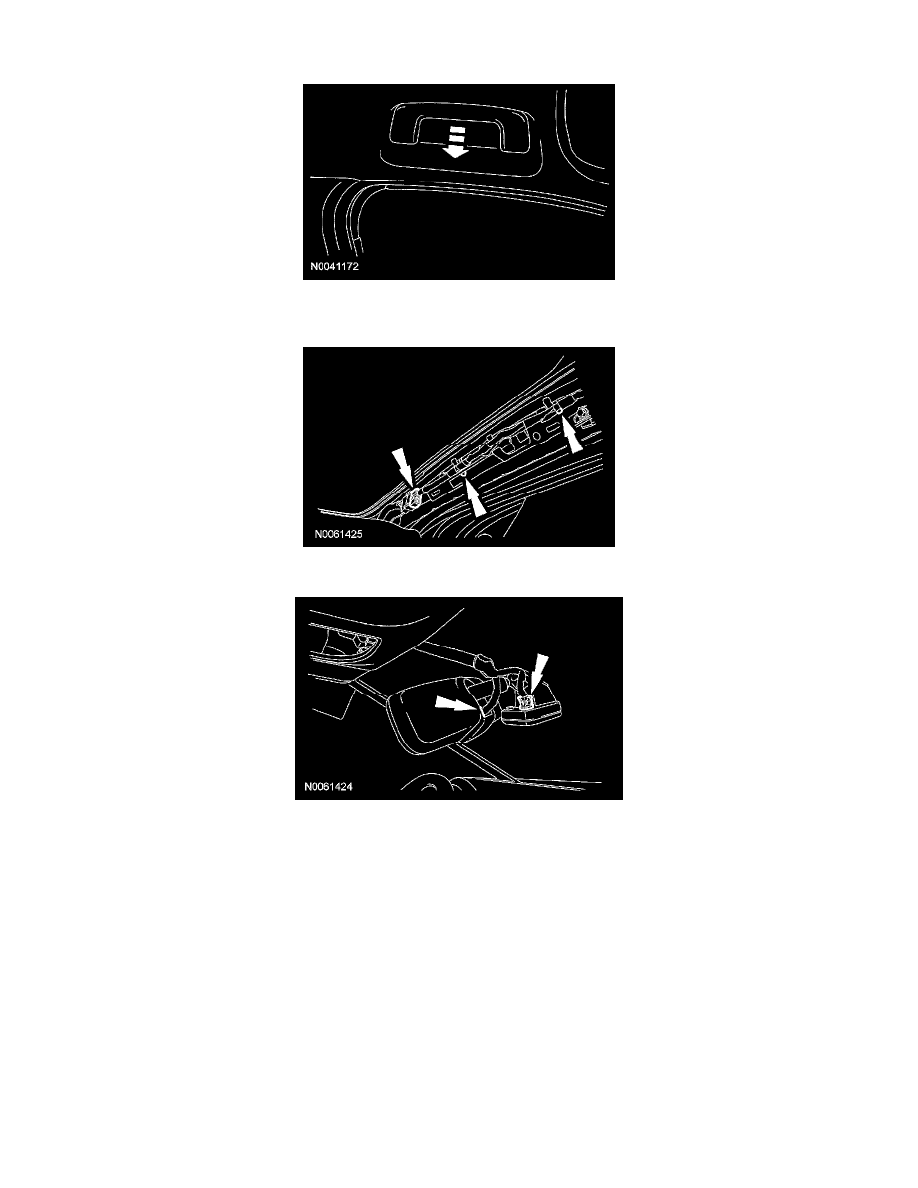
4. Remove the A-pillar trim panels.
5. Disconnect the wire harness connector and the 2 pushpins.
6. If equipped, disconnect the automatic dimming rear view mirror electrical connectors.
7. Remove the B-pillar trim panels.
8. Remove the C-pillar trim panels.
9. Remove the overhead console.
-
Disconnect the electrical connector.
10. Remove the sun visors and the sun visor clips.
-
If equipped, disconnect the electrical connectors.
11. Remove the 2 headliner pushpin retainers at the rear.
12. If equipped, position the headliner forward to gain access to disconnect the roof opening panel motor electrical connector.
13. CAUTION: To avoid bending or crimping the headliner, an assistant is required for this step.
Remove the headliner through the LH rear door.
14. To install, reverse the removal procedure.