
Milan AWD L4-2.3L (2008)
Part 2
Removal and Installation
WARNING:
-
Do not smoke, carry lighted tobacco or have an open flame of any type when working on or near any fuel-related component. Highly
flammable mixtures are always present and may be ignited. Failure to follow these instructions may result in serious personal injury.
-
Do not carry personal electronic devices such as cell phones, pagers or audio equipment of any type when working on or near any
fuel-related component. Highly flammable mixtures are always present and may be ignited. Failure to follow these instructions may result
in serious personal injury.
-
Before working on or disconnecting any of the fuel tubes or fuel system components, relieve the fuel system pressure to prevent accidental
spraying of fuel. Fuel in the fuel system remains under high pressure, even when the engine is not running. Failure to follow this
instruction may result in serious personal injury.
1. With the vehicle in NEUTRAL, position it on a hoist.
2. Release the fuel system pressure.
3. Remove the air cleaner outlet pipe.
4. NOTE: The lower cowl panel must be removed to access the fuel and vapor tube quick connect couplings.
Remove the lower cowl panel.
5. Disconnect the fuel jumper tube-to-fuel tube quick connect coupling.
6. Disconnect the vapor jumper tube-to-vapor tube quick connect coupling.
7. Remove the 4 nuts and the lower crossover support brace.
-
To install, tighten to 76 Nm (56 lb-ft).
8. Remove the fuel tank.
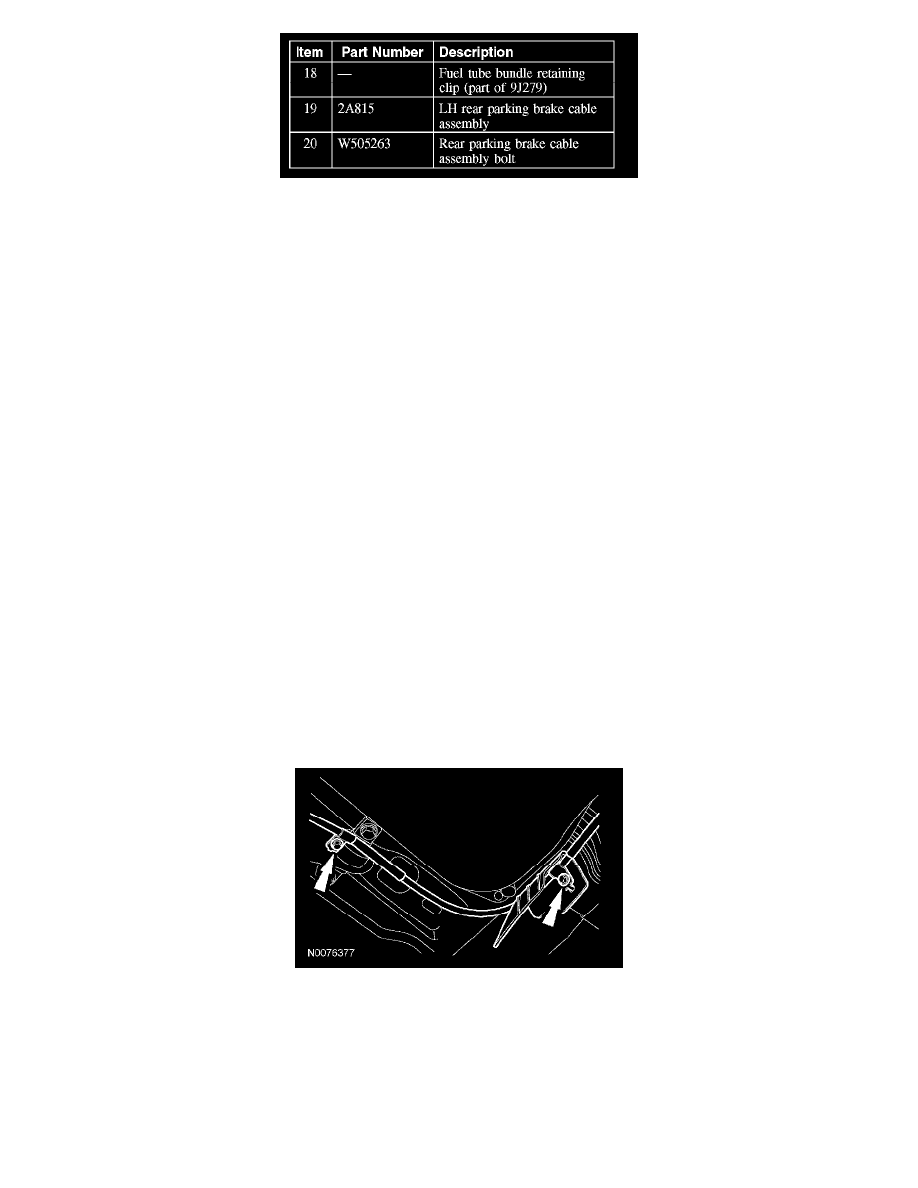
9. NOTE: The front parking brake cable bolt also retains a stone shield. Position the cable and shield aside.
Remove the 2 bolts and position the LH rear parking brake cable assembly aside.
-
To install, tighten to 23 Nm (17 lb-ft).
10. Disconnect the vapor jumper tube-to-vapor tube quick connect coupling.
11. Release the fuel tube bundle retaining clips and remove the fuel and vapor tubes.
12. Disconnect the vapor jumper tube-to-evaporative emission (EVAP) canister quick connect coupling.
13. Release the fuel bundle retaining clips and remove the vapor jumper tube.
14. To install, reverse the removal procedure.