
Montego AWD V6-3.0L VIN 1 (2005)
4. NOTE: If damaged when removed, install new rivets.
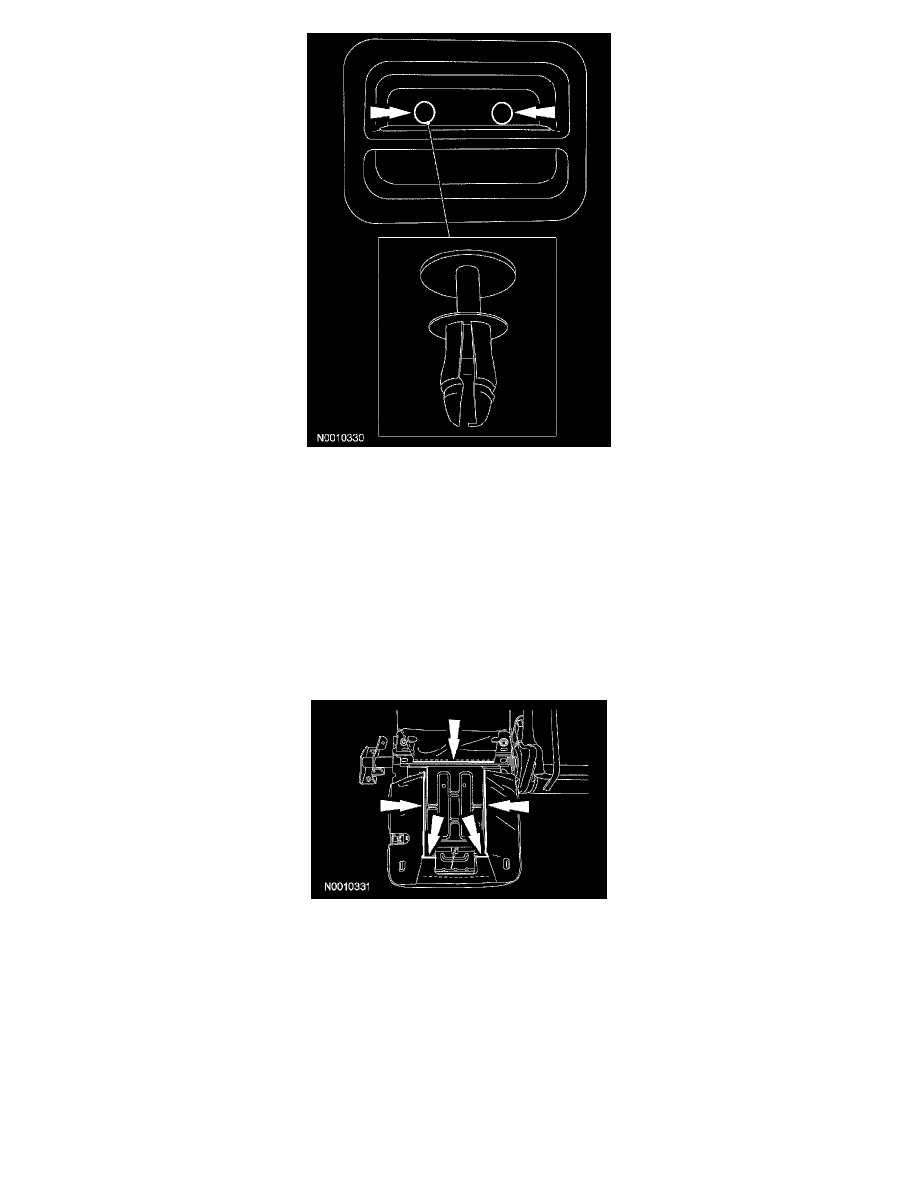
Remove the 2 rivets and pull the pivot release handle out of the pocket.
-
Using an appropriate tool, from under the rivet head, pry the rivet up.
-
When removing the rivet, make sure not to get under the insert or the rivet will not come out.
-
Another method that can be used to remove the plastic rivets is to drive a screw partially into the rivet head and pull the screw and rivet head
out. This will required new plastic rivets to be installed.
5. Separate the pivot release cable and casing and remove the pivot release handle.
6. Remove the 2 screws on each side at the bottom of the load floor panel.
7. Pull out to release the retainers and remove the load floor panel.
8. Remove the screw, release the tab and remove the floor latch cover.
9. Release the cushion trim cover retainers from the 50 percent cushion frame, and remove the cushion trim cover and cushion foam pad.
-
On assembly, the LATCH and child safety seat tether anchor must be accessible through the cushion trim cover.
10. Remove the 2 screws, pin-type retainer and the inboard pivot cover.
11. Remove the bushing.
12. Remove the 2 screws and remove the backrest latch inboard cover.
-
Pull the release strap through the trim cover.
13. Separate the floor latch cable from the backrest latch, remove 2 bolts and the floor latch assembly.
-
To install, tighten to 23 Nm (17 lb-ft).
14. Remove 2 backrest latch-to-cushion frame bolts and the backrest latch.
-
To install, tighten to 50 Nm (37 lb-ft).