
Montego AWD V6-3.0L VIN 1 (2005)
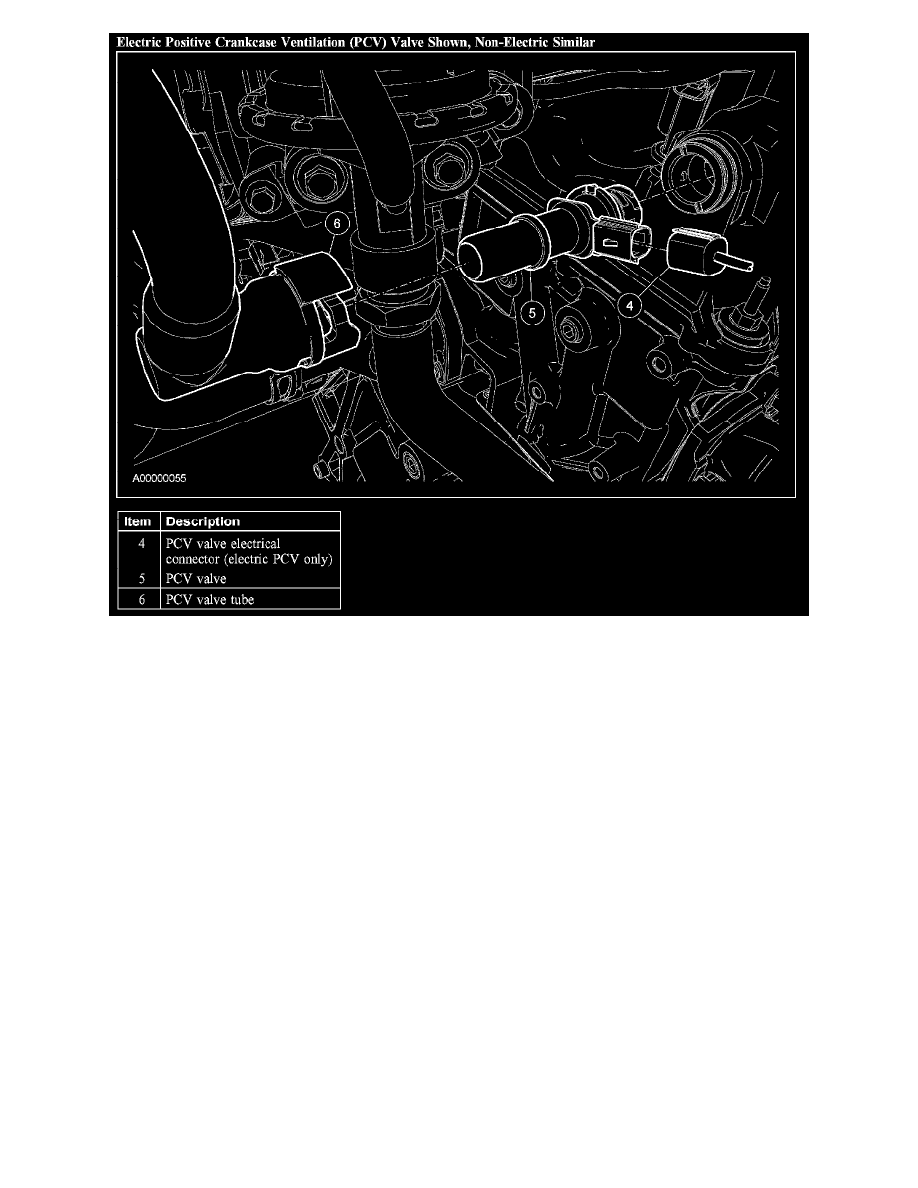
Electric Positive Crankcase Ventilation (PCV) Valve Shown, Non-Electric Similar
Removal and Installation
1. Remove the 4 transaxle roll restrictor brace bolts.
-
To install, clean the bolts using a wire brush, apply new threadlocker to the threads and tighten to 55 Nm (41 lb-ft).
2. Remove the bolt and the transaxle roll restrictor brace.
-
To install, clean the bolts using a wire brush, apply new threadlocker to the threads and tighten to 48 Nm (35 lb-ft).
3. Disconnect the positive crankcase ventilation (PCV) valve tube from the PCV valve.
4. If equipped, disconnect the PCV valve electrical connector.
5. CAUTION: A new PCV valve must be installed if removed from the cam cover. Damage will occur to the locking mechanism on the PCV
valve.
Rotate the PCV valve counterclockwise to remove from the valve cover.
6. To install, reverse the removal procedure.