
Montego AWD V6-3.0L VIN 1 (2005)
4. Remove the 8 pin-type retainers and the right lower splash shield.
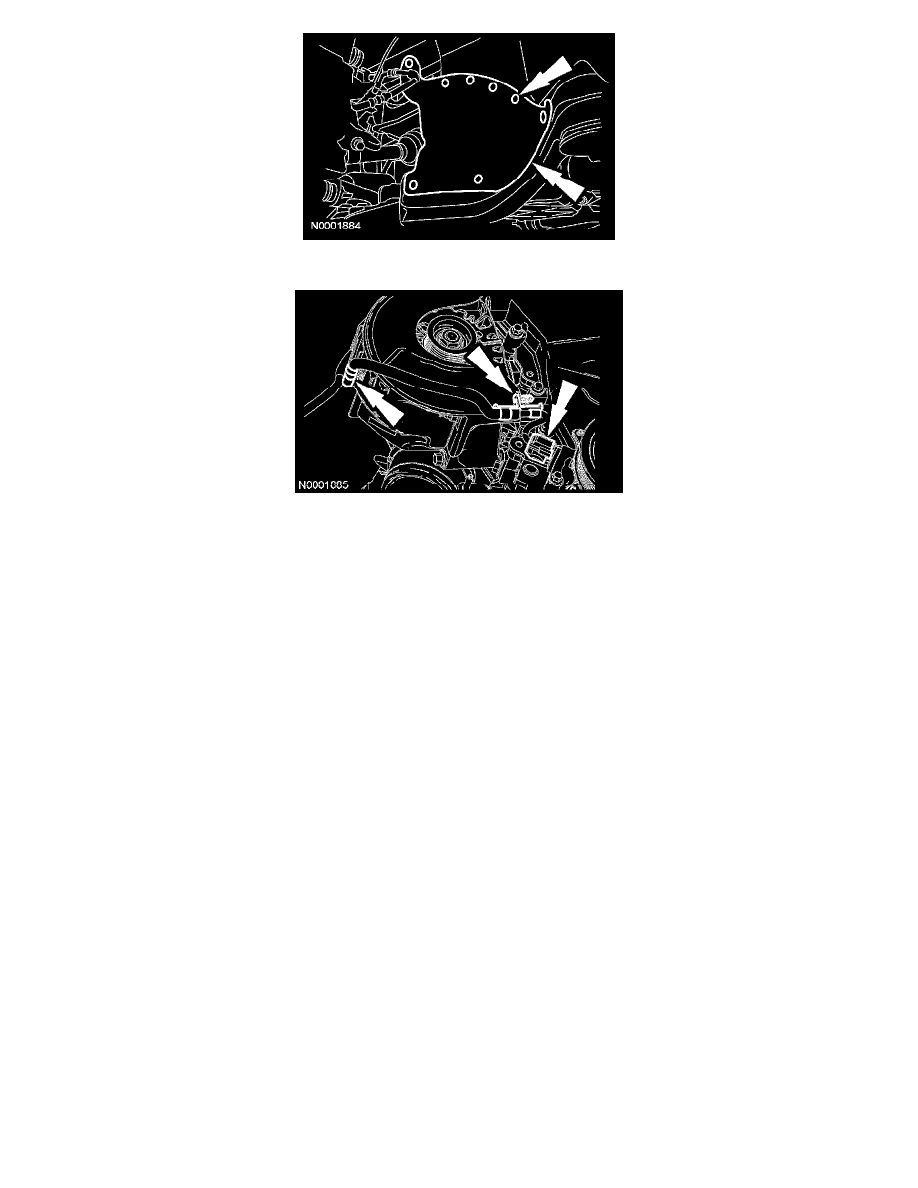
5. Disconnect the crankshaft position sensor and release the 2 wiring harness locators from the generator splash shield.
6. Remove the lower generator boot pin-type retainer, fold the boot upward and disconnect the generator electrical connector.
7. With the generator boot folded upward, position the protective cover aside and remove the generator B+ nut and terminal.
-
To install, tighten to 8 Nm (71 lb-in).
8. NOTE: The 3 generator studs and nuts may be replaced with 3 bolts (W709986-S437) to ease the installation of the generator.
Remove the 3 generator nuts and stud bolts.
-
To install, tighten the generator stud bolts to 8 Nm (71 lb-in).
-
To install, tighten the new generator bolts or generator nuts to 47 Nm (35 lb-ft).
9. Remove the generator shield and the generator.
10. To install, reverse the removal procedure.