
Mountaineer 2WD V8-4.6L VIN 8 (2006)
4. NOTE: The shock should be fully extended when removing.
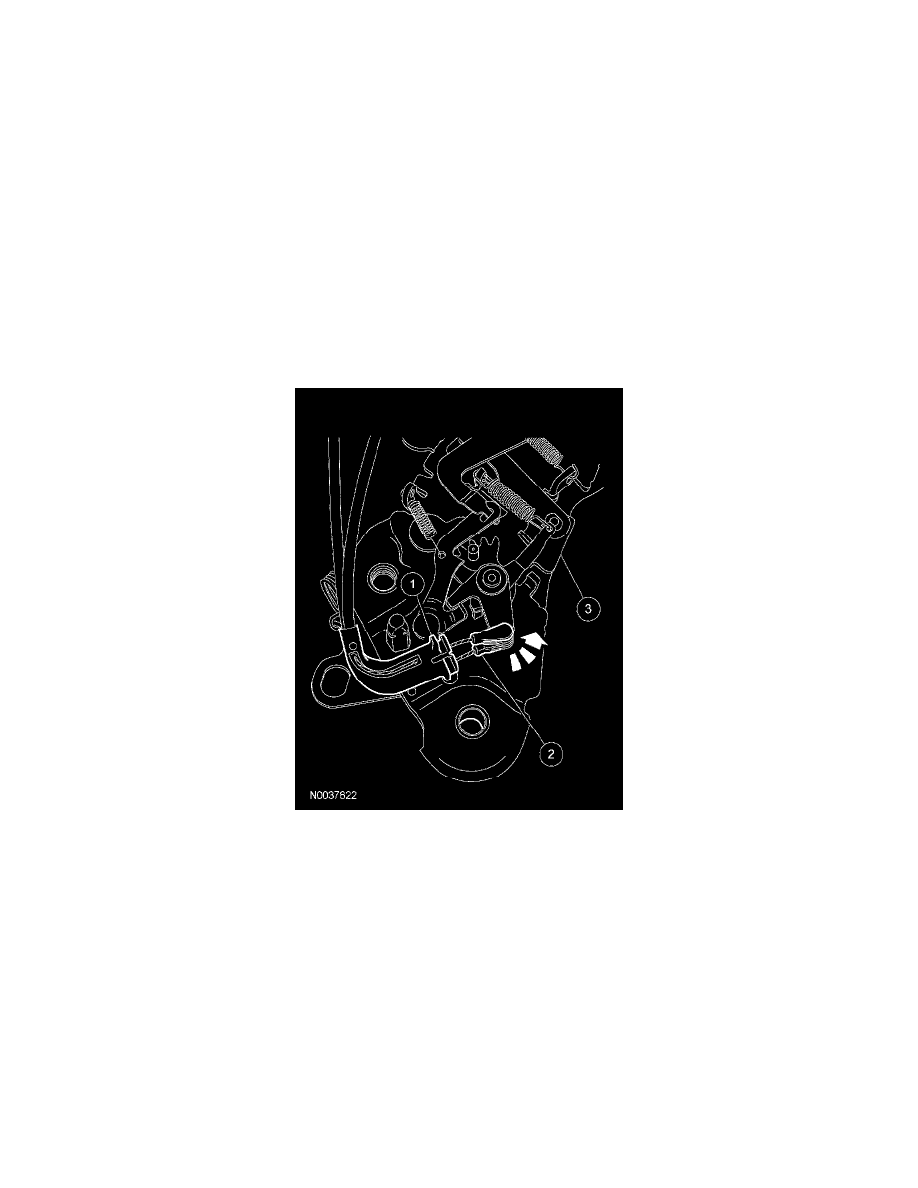
Remove the shock from the seat assembly.
-
Pry the retaining clip out and separate the shock at the mounting plate and cushion frame.
5. Remove the second row 40 percent E-Z entry seat backrest.
6. Remove 3 screws, recliner handle and outboard recliner outer cover.
7. Remove 2 screws and the inboard recliner outer cover.
8. Remove the 2 screws and the latch feet release bar.
9. Release all the cushion trim cover retainers and pin-type retainers.
10. Remove the cushion trim cover and cushion foam pad from the cushion frame.
11. CAUTION: Use care when separating the cushion trim cover from the hook and loop strip, or the hook and loop strip can be torn from
the cushion foam pad.
Release the hook and loop strips and separate the cushion trim cover from the cushion foam pad.
12. Remove 2 outboard recliner-to-cushion frame bolts and separate the outboard recliner.
13. Remove the outboard recliner inner cover.
14. Remove the outboard recliner.
1
Rotate the cable casing out of the outboard recliner.
2
NOTE: The cable ends are color coded/keyed to the levers.
Rotate the cable ends out of the outboard recliner levers.
3
Remove the outboard recliner.
15. Remove the 2 screws, pull to separate and remove the kneeling mechanism inboard leg inner and outer covers.