
Sable V6-182 3.0L (1986)
4.
Remove the ignition lock assembly.
a. Turn the key to the ON position.
b. Insert a 1/8" (3.17mm) pin or punch into the hole in the trim below the ignition cylinder.
c. Push in on the pin while pulling the lock cylinder out.
d. To reinstall, reverse procedure confirming the cylinder is FULLY seated prior to turning the key to the OFF position.
5.
Remove steering column opening cover attaching screws, then the cover.
6.
Remove round insulator in cowl area.
7.
Remove steering column trim shrouds, then disconnect steering column switches electrical connectors.
8.
Remove one (1) bolt and nut at lock pillar U-joint and four (4) screws at steering column bracket and lower column.
REMOVE INSTRUMENT PANEL ASSEMBLY
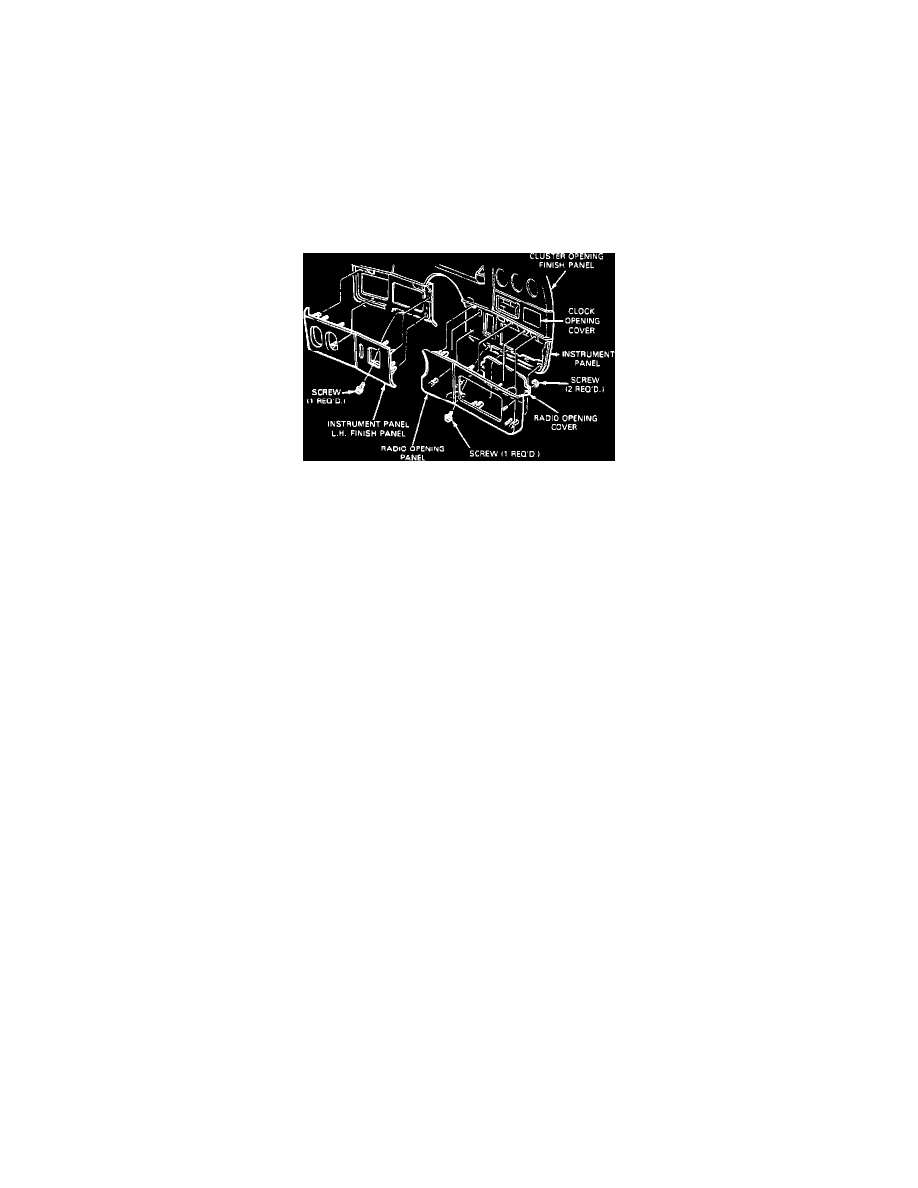
Radio Finish Panels
9.
Remove five (5) cluster opening trim screws.
10.
Remove cluster opening trim by disengaging five (5) hidden retainers along the upper edge. Free panel by rocking upper edge toward driver. The
panel can be removed without disassembling cluster from panel.
11.
Pivot glove compartment assembly by depressing side of glove compartment tray.
12.
Using glove compartment and steering column openings for access, disconnect electrical connections, vacuum hoses, heater and A/C (if equipped)
control cables and radio antenna cable.
13.
Remove two lower instrument panel-to-cowl side retaining screws both both sides of instrument panel.
14.
Disconnect under hood connectors from main wiring harness. Disengage main harness rubber grommet from dash panel, then feed wiring harness
and its connector halves into instrument panel area.
15.
Remove one (1) bolt attaching instrument panel to floor brace above LH side of tunnel.
16.
Remove two (2) lower instrument panel-to-cowl side retaining screws at both LH and RH side
17.
Snap out left and right front speaker opening covers and defroster grill, then remove three upper instrument panel attaching screws.
18.
Remove instrument panel and lay it on front seat.
REMOVE HEATER CASE
19.
Remove instrument panel to heater case shake brace attaching screw, then the instrument panel shake brace.
20.
Remove floor register or rear seat adapter to heater case attaching bolts, then the floor register.