
Sable V6-183 3.0L DOHC VIN S MFI (1997)
Vacuum Harness HVAC: Service and Repair
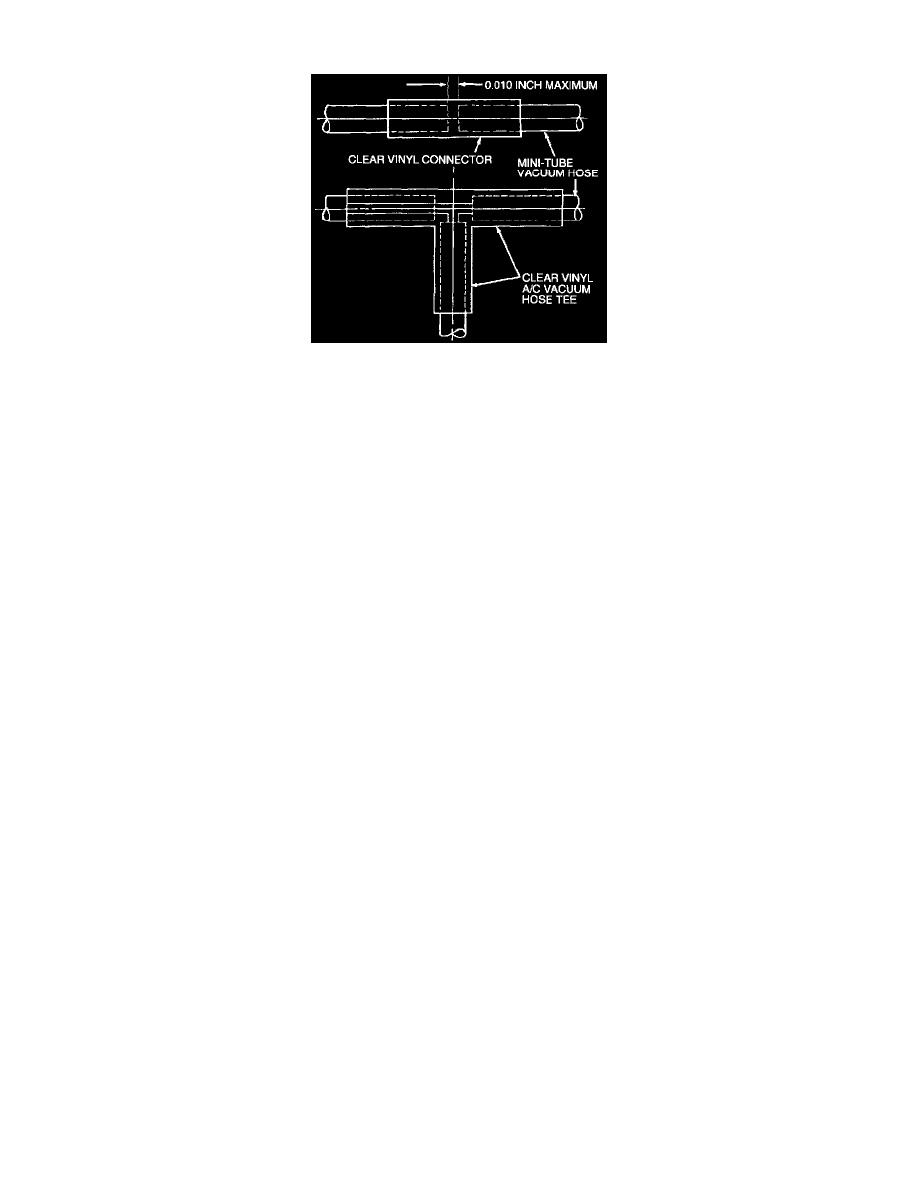
Mini-tube vacuum hoses are provided in the vacuum hose harness assemblies. They provide greater flexibility with less tendency to collapse and are less
susceptible to pinching. Service of damaged hoses is easily performed by using a short piece of standard 3 mm (118 inch) Inner Diameter (ID) vacuum
hose and inserting the cut ends of the mini-tube into the ends of the standard 3 mm (1/8 inch) ID vacuum hose. The following illustrates an in-line and
tee connector installation.
1. Measure length of damaged area of the mini-tube vacuum hose.
2. Cut a piece of standard 3 mm (1/8 inch) ID vacuum hose approximately 25 mm (1 inch) longer than damaged area of the mini-tube vacuum hose.
3. Cut off the mini-tube vacuum hose on each side of damaged area.
4. WARNING: READ THE WARNING INFORMATION ON THE PRODUCT LABEL TO PREVENT PERSONAL INJURY.
Dip the mini-tube hose ends in commercially available paint thinner containing methyl ethyl ketone. This will act as a solvent and seal the
mini-tube in the vacuum hose.
5. Insert ends of the mini-tube vacuum hose approximately 9 mm (3/8 inch) into ends of standard 3 mm (1/8 inch) service vacuum hose section.
6. Shake service joint after assembly to make sure solvent is dispersed and vacuum line is not plugged.
7. Test system for a vacuum leak in service area.