
Sable V6-183 3.0L DOHC VIN S MFI (1997)
10. Remove and discard lower ball joint nut. Using Ball Joint Remover T96P-3010-A, separate lower ball joint from front suspension lower arm.
11. CAUTION: Do not allow the halfshaft to move outboard. Overextension of the tripod CV joint can result in separation of internal parts,
causing failure of the halfshaft.
Remove wheel hub retaining nut. Remove and discard front wheel hub and spindle-to-front shock absorber pinch bolt. (A drift punch may be used
to remove bolt.)
12. Use a pry bar between the lower control arm and frame. Do not pry on halfshaft as damage may result. While prying down, roll strut base out of
knuckle. Once removed, wire hub rotor up to prevent halfshaft from moving outboard.
13. Press halfshaft from wheel hub as outlined. Wire halfshaft to body to maintain a level position.
14. Remove front wheel knuckle from the front shock absorber.
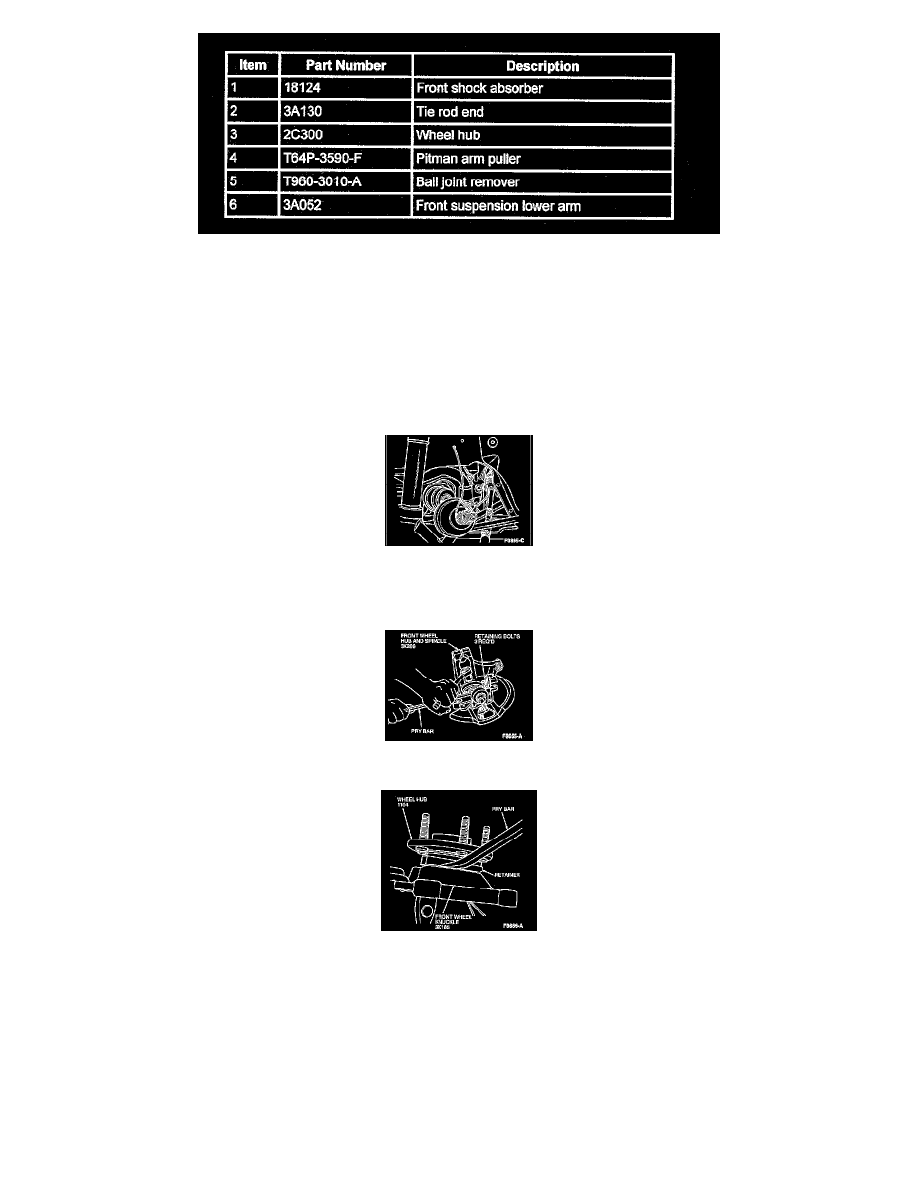
15. Place assembly on a bench. While using a pry bar to steady assembly, remove the three retaining bolts.
16. Remove wheel hub from front wheel knuckle by prying between retainer and front wheel knuckle. Use of a slide hammer will damage bearing.
17. Remove front disc brake rotor shield, if damaged.
Installation
1. Install front disc brake rotor shield using new rivets and Heavy Duty Riveter D8OL-23200-A or equivalent.
2. Position wheel hub into front wheel knuckle. Install three retaining bolts, tighten to 83-107 Nm (61-78 lb-ft).
3. Install front wheel knuckle onto front shock absorber and loosely install a new pinch bolt in front wheel knuckle to retain front shock absorber.