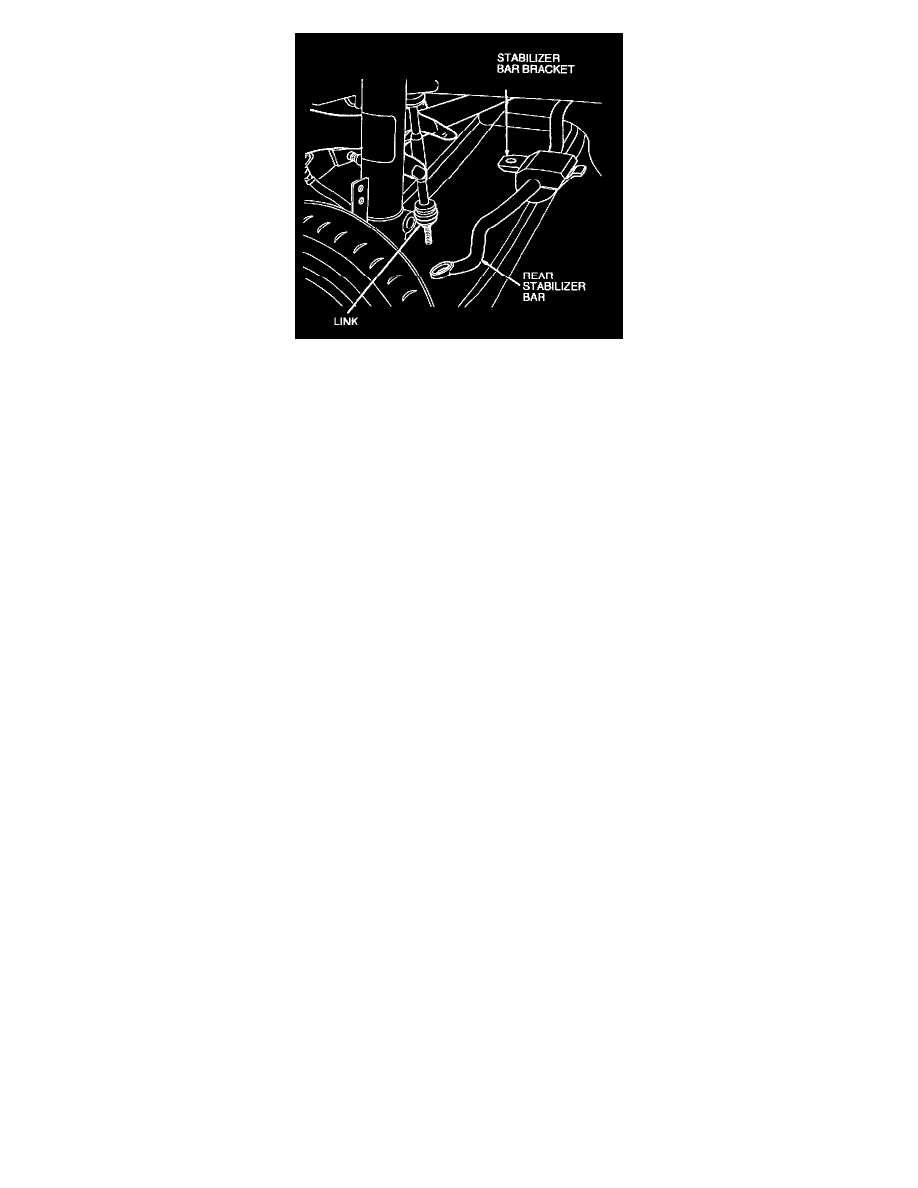
Sable V6-183 3.0L DOHC VIN S MFI (1997)

7. Remove nut and washer attaching rear stabilizer bar to rear stabilizer bar link and separate rear stabilizer bar from rear stabilizer bar link.
8. Remove nut, washer and rear suspension tie rod bushing retaining rear suspension tension strut and bushing to rear wheel spindle. Move rear
wheel spindle rearward enough to separate it from the rear suspension tension strut and bushing.
9. Remove and discard shock-to-spindle pinch bolt. Using a large screwdriver, slightly spread shock-to-spindle pinch joint, if required, for removal.
CAUTION: Care should be taken when removing the shock absorber so the rear wheel brake hose is not stretched or the steel brake tube is not
bent. Secure rear wheel spindle/brake assembly to body to prevent stretching of brake lines.
10. Remove nut and washer attaching rear stabilizer bar link to shock absorber and remove rear Stabilizer bar link.
11. From the package tray, remove and discard three upper mount-to-body nuts. Care should be taken so the shock absorber does not drop when
removing the three upper nuts.
12. Remove shock absorber from vehicle.
Disassembly and Assembly
DISASSEMBLY
1. Remove the rear spring and shock absorber.
WARNING: DO NOT ATTEMPT TO REMOVE THE SPRING FROM THE STRUT WITHOUT FIRST COMPRESSING THE
SPRING WITH A TOOL DESIGNED FOR THAT PURPOSE.
CAUTION: Do not attempt to remove strut rod nut by turning rod and holding nut. Nut must be turned and rod held stationary to avoid possible
fracture of rod at base of hex.
NOTE: Before compressing rear spring, mark location of rear spring to top mount using a grease pencil.
