
Sable V6-183 3.0L DOHC VIN S MFI (1997)
washer and nut on rear shock absorber shaft.
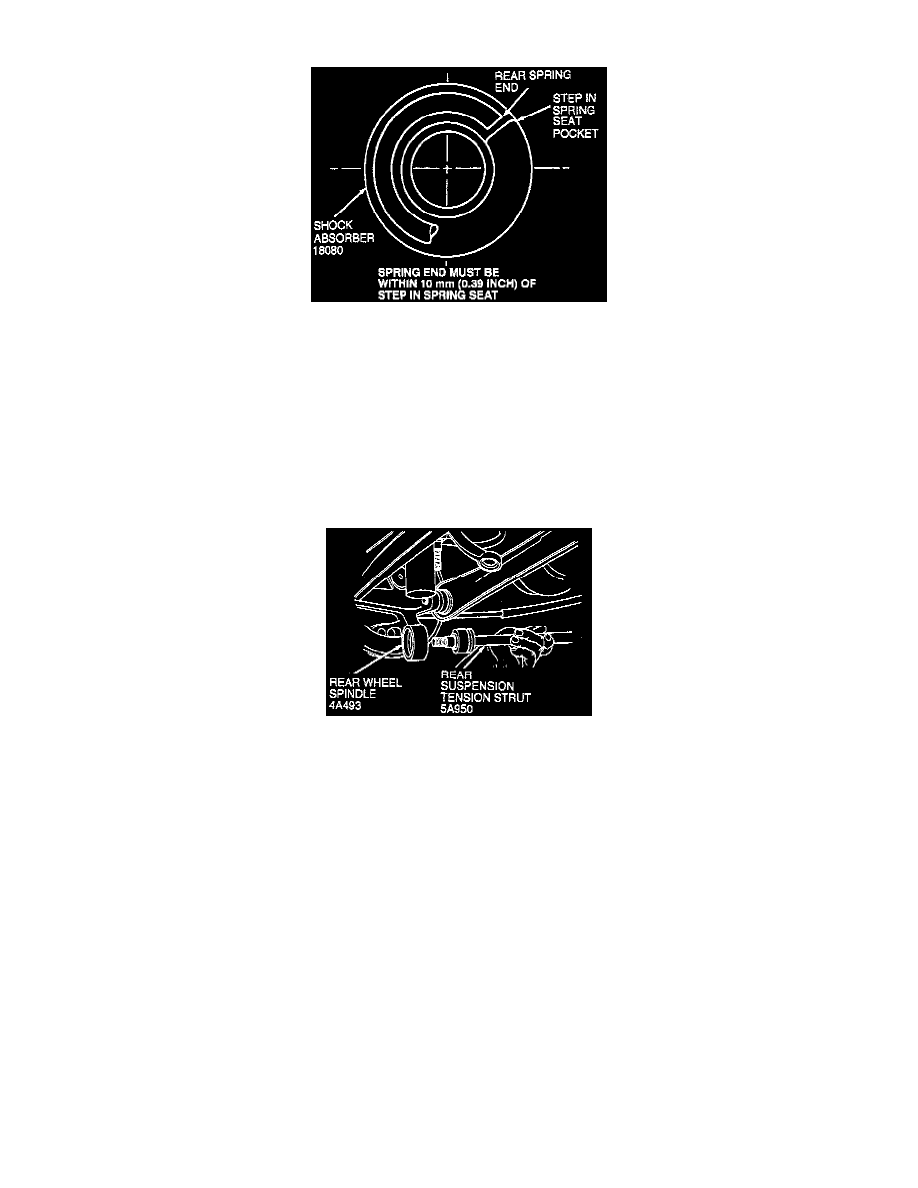
3. Make sure rear spring is properly located in upper mount and lower spring seat and that mount washers are positioned correctly.
4. Tighten rod nut to 53-71 Nm (39-53 ft. lbs.). Use Oxygen Sensor Wrench T94P-9472-A to turn the nut and a 10 mm six point deep well socket to
hold shaft so it will not turn while tightening nut. Do not use pliers on strut rod as finished rod surface could be damaged.
Installation
1. Position rear stabilizer bar link in shock absorber bracket. Install rear stabilizer bar link washer and nut. Tighten to 6.8-9.2 Nm (60-81 inch lbs).
2. Insert three upper mount studs into strut tower in package tray and hand-start three new nuts. Do not tighten at this time.
3. Partially raise vehicle.
4. Install shock absorber into spindle pinch joint.
5. Remove wire securing rear wheel spindle/brake assembly to body. Install a new pinch bolt into spindle and through the rear shock absorber
bracket. Tighten to 68-92 Nm (50-67 ft. lbs.).
6. Move rear wheel spindle rearward and install rear suspension tension strut and bushing into rear wheel spindle. Install rear suspension tie rod
bushing, washer and nut on rear suspension tension strut and bushing. Tighten nut to 47-63 Nm (35-46 ft. lbs.).
7. Position rear stabilizer bar link into rear stabilizer bar. Install stabilizer bar link, washer and nut on rear stabilizer bar link. Tighten to 7-9 Nm
(62-79 inch lbs).
8. Position stabilizer bar bracket on body. Install bolt. Tighten to 34-46 Nm (25-33 ft. lbs.).
9. Install rear brake hose to shock strut bracket.
10. Install brake load sensor proportioning valve on rear suspension arm and bushing.
11. Tighten three top mount-to-body nuts to 25-34 Nm (19-25 ft. lbs.).